Setting up the nShield Trusted Verification Device
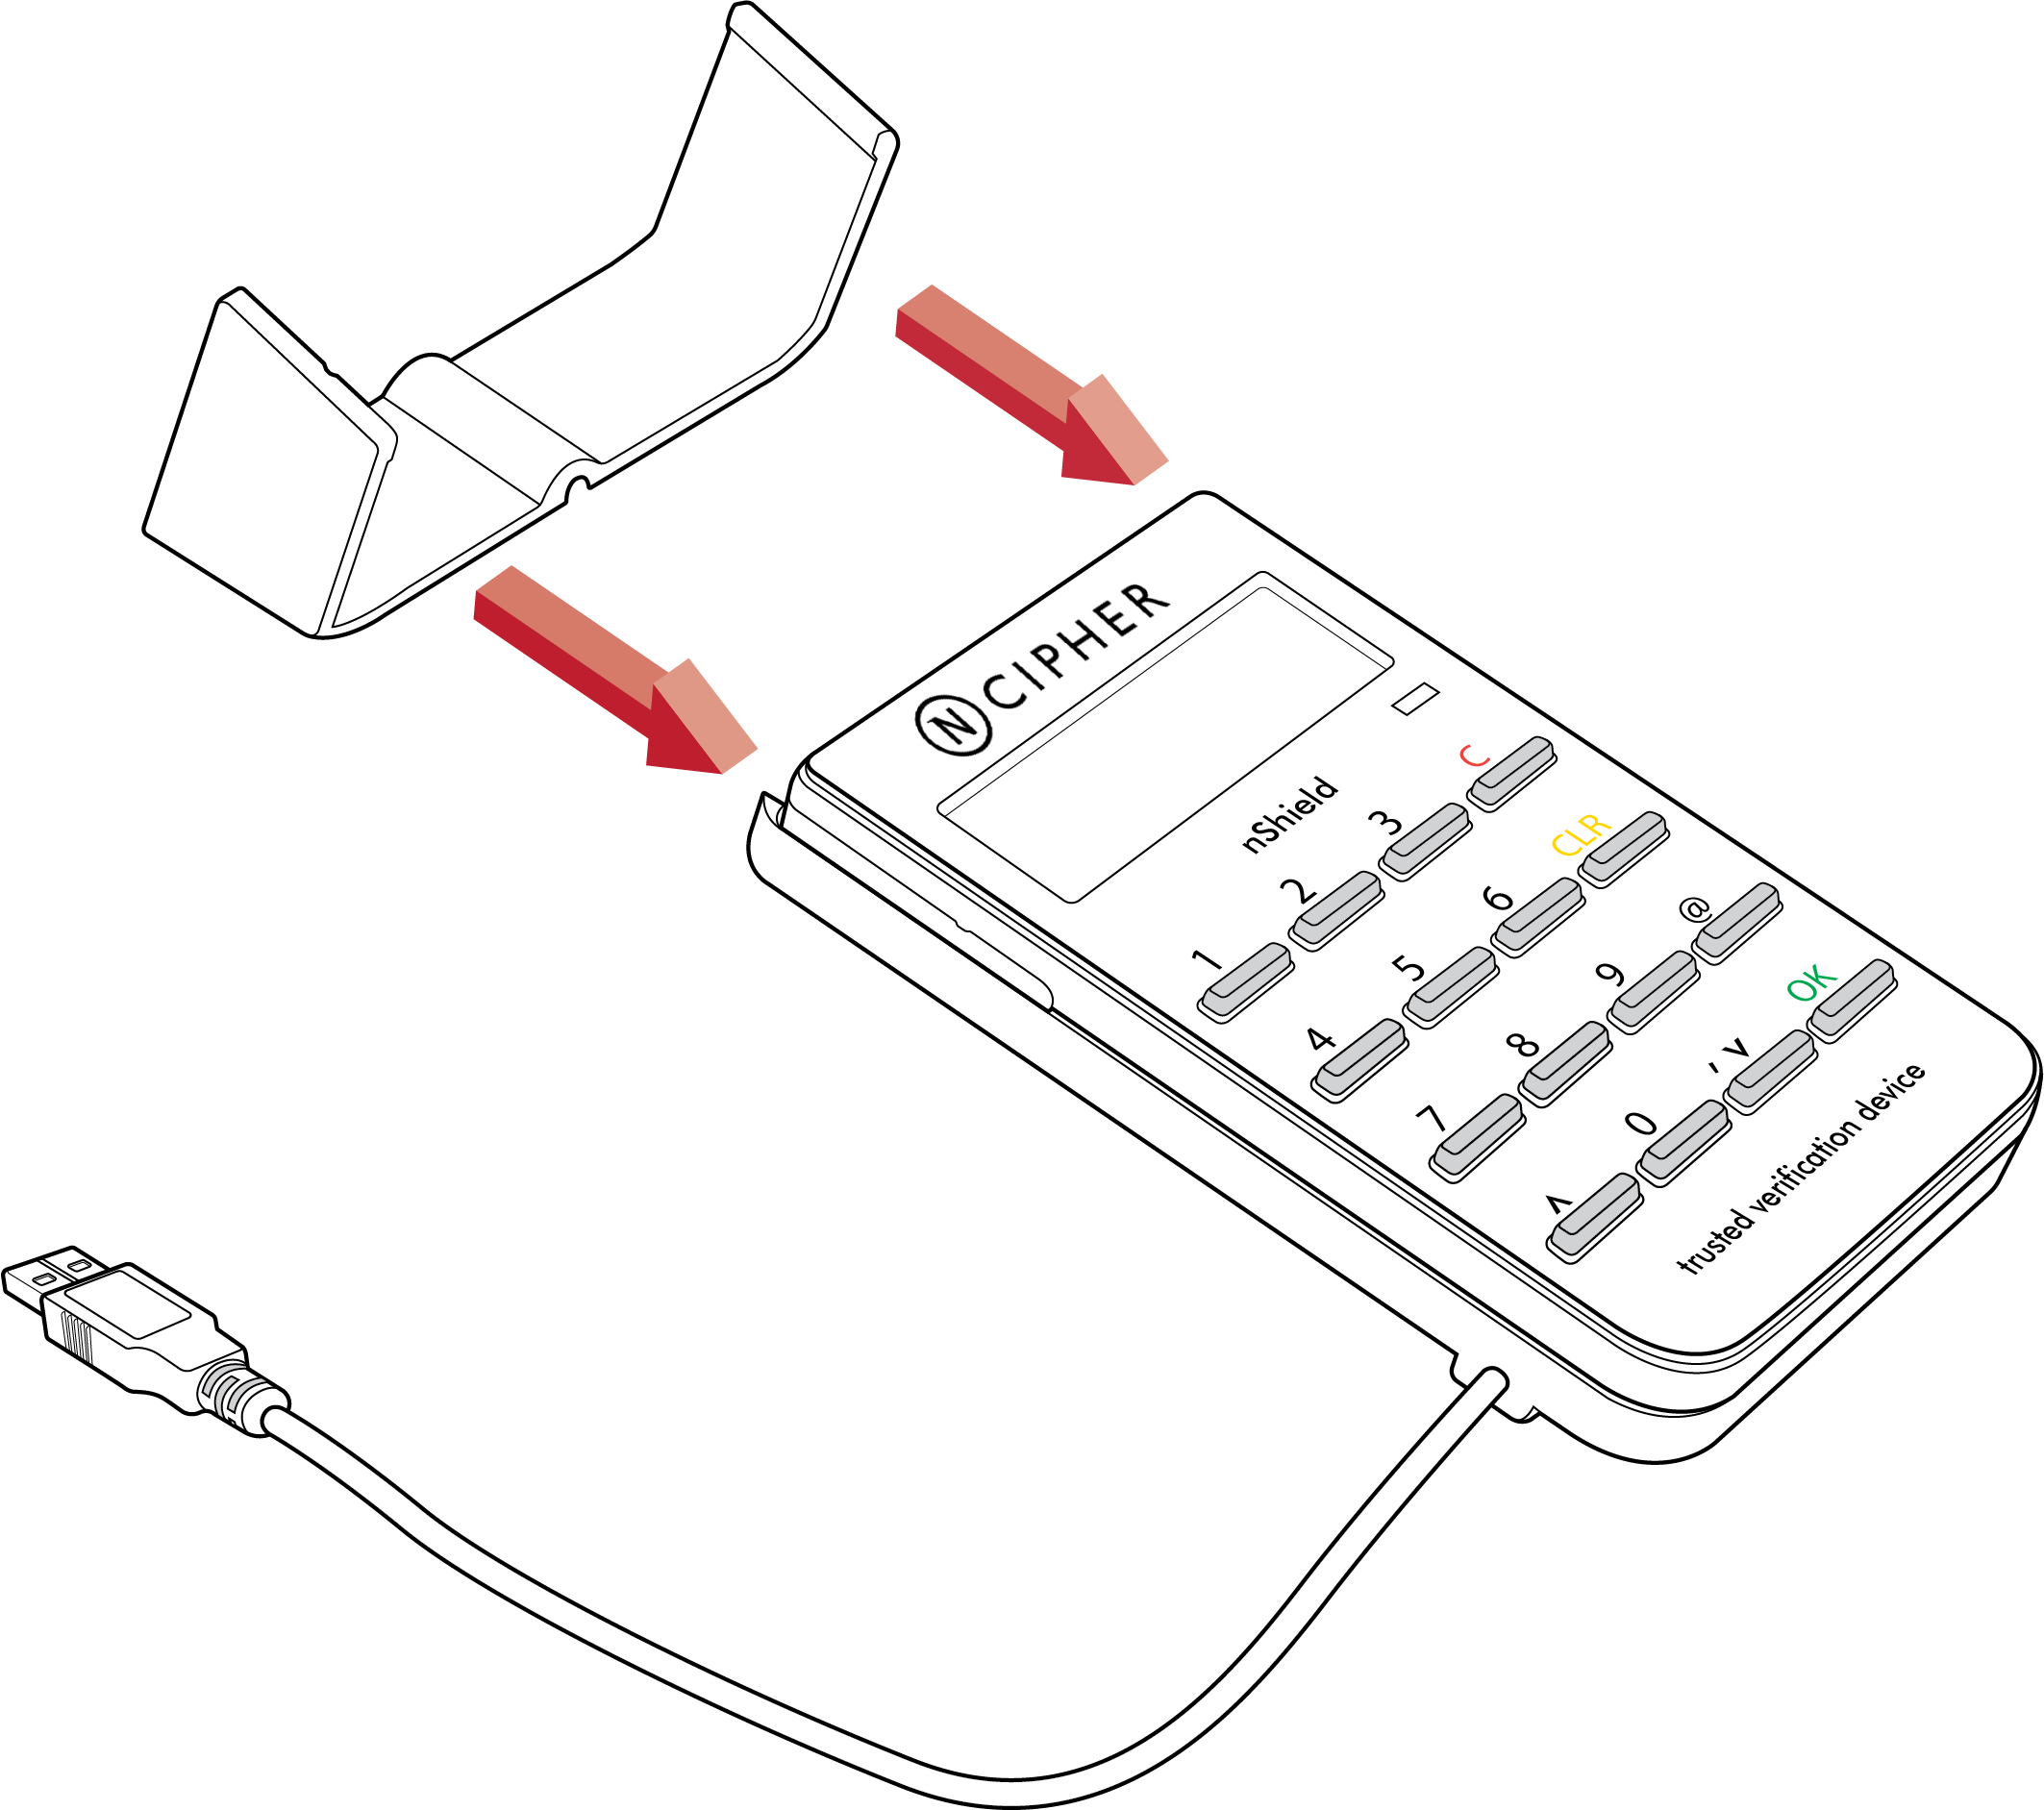
Connecting the metal support bracket
Do the following:
-
Remove the nShield TVD and the metal stand from the packaging.
-
Slide the metal stand into the slots on either side of the TVD.
-
Route the USB cable through the groove in the base of the metal stand (if required).
Software installation
For software installation instructions, see the Remote Administration Client User Guide, which is available on the installation media.
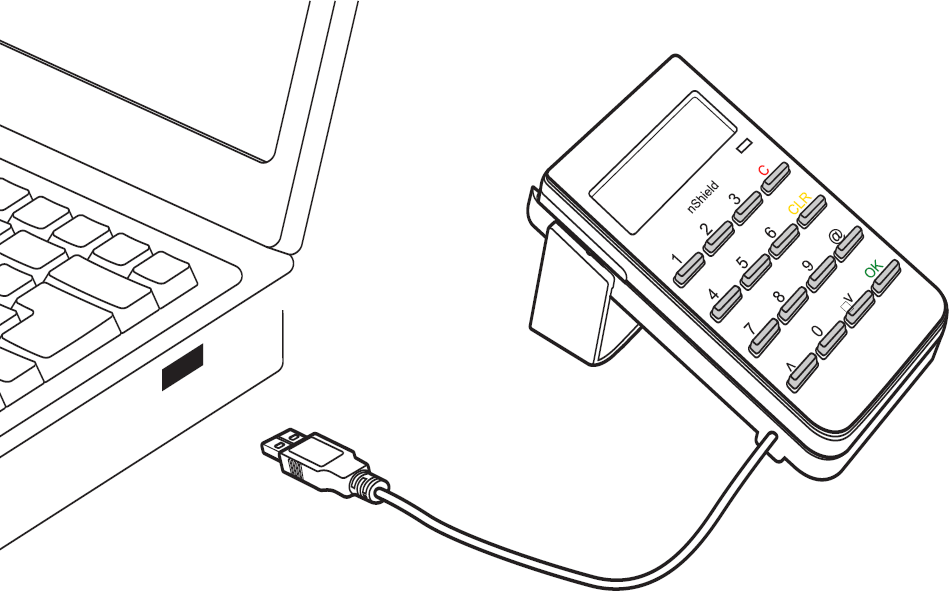
Connecting an nShield TVD
Do the following:
-
Connect the nShield TVD to your computer, using the USB cable.
-
If your operating system detects the nShield TVD automatically, allow it to finish.
| Do not connect a nShield TVD to your computer with a smart card already inserted. The nShield TVD will not be recognised and the message Please remove card will be displayed on the nShield TVD. When the smart card is removed the message Secoder 2 V2.2.1 will be displayed and the nShield TVD will be available. |
Disconnecting and reconnecting the nShield TVD
After use, you can disconnect the nShield TVD from the computer’s USB port, and then reconnect it when you next need to use it.
| Do not disconnect the nShield TVD or remove the smart card when data is being written to the inserted smart card. |
Troubleshooting
If the nShield TVD does not function as expected, disconnect the nShield TVD, wait a few seconds, and then reconnect it. If this does not solve your problem, contact Entrust nShield Support: https://nshieldsupport.entrust.com.