Configure the time stamp server
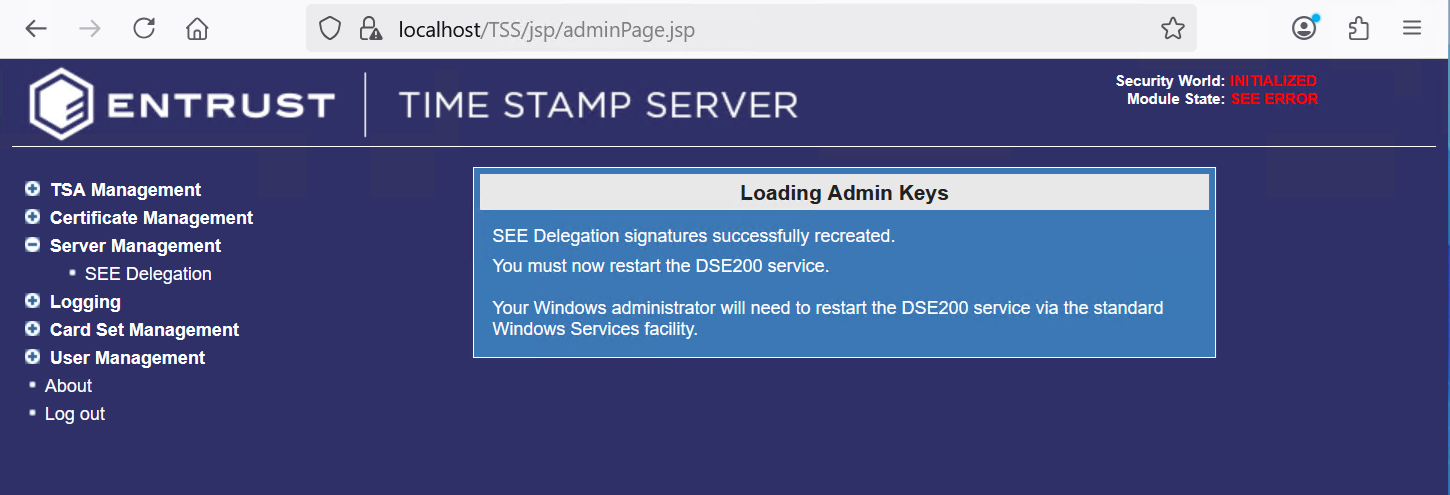
Activate the SEE delegation
The SEE Delegation gives the TSS SEE machine the permanent ability to set the real-time clock (RTC), to allocate nonvolatile memory (NVRAM), and to originate keys
-
Login to the WEB GUI with the security officer credentials.
-
Select Server Management → SEE Delegation. Then select Next.
-
Present the security world ACS. Then select Next.
-
Enter the ACS passphrase. Then select Next.
-
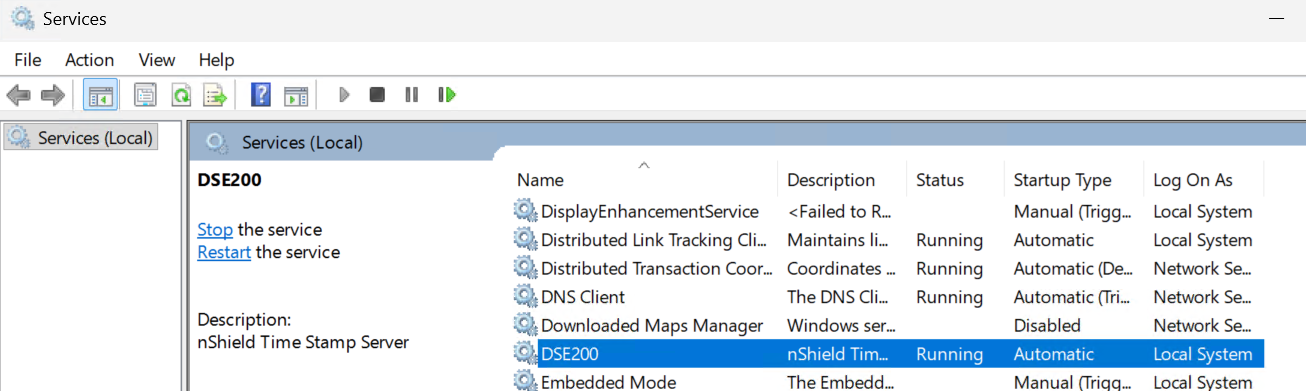
Restart the DSE200 service.
Create a Time Stamping Authority (TSA)
A TSA key is used for signing time-stamps. You can either create a single TSA and use the same signature key for all time-stamps, or create multiple TSAs depending on your requirements. TSA keys are created by your organization’s Security Officer.
-
Login to the WEB GUI with the security officer credentials.
-
Select TSA Management → Configuration.
-
In the TSA Configuration pop-up window select Add.
-
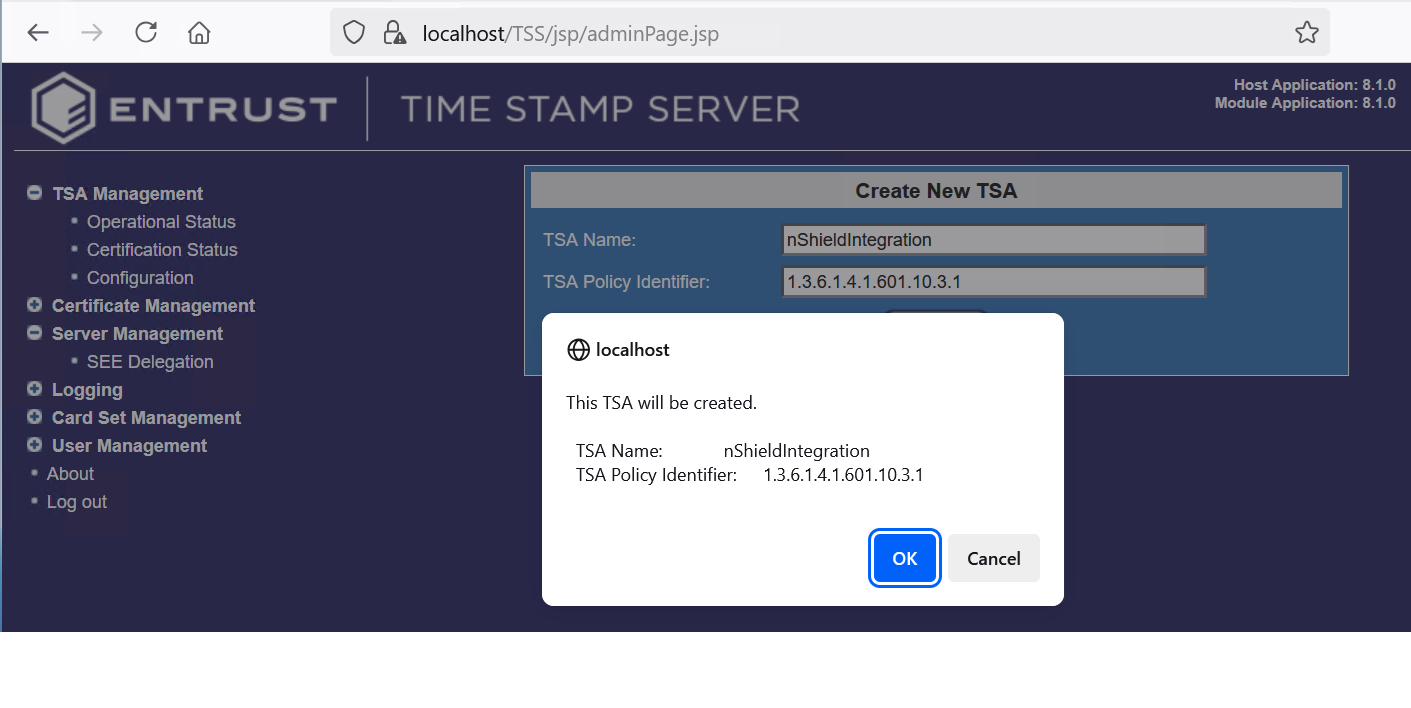
Enter a name and select Add, for example nShieldIntegration.
-
Select OK
-
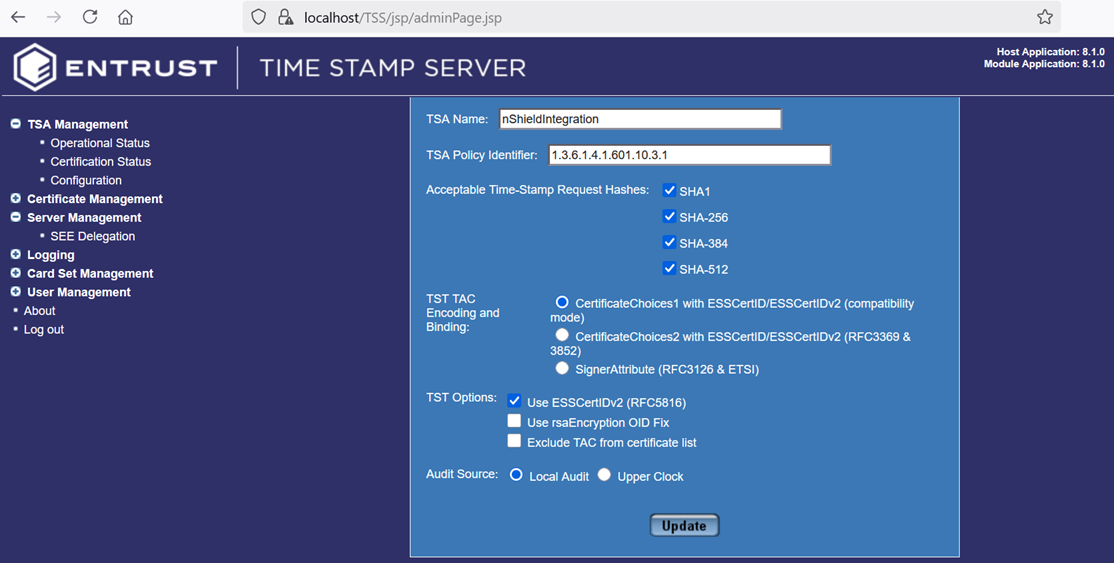
Select the options according to you organization security policy. Then select Update and OK.
For example:
-
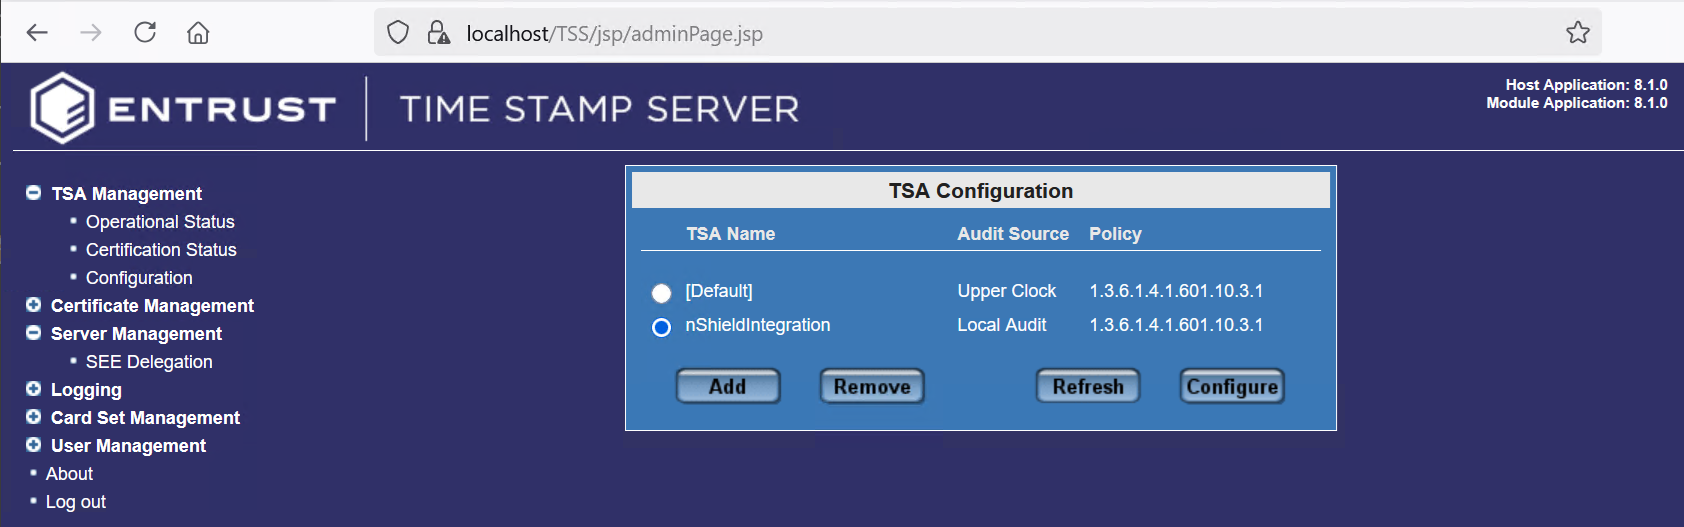
The newly created TSA appears as follows.
-
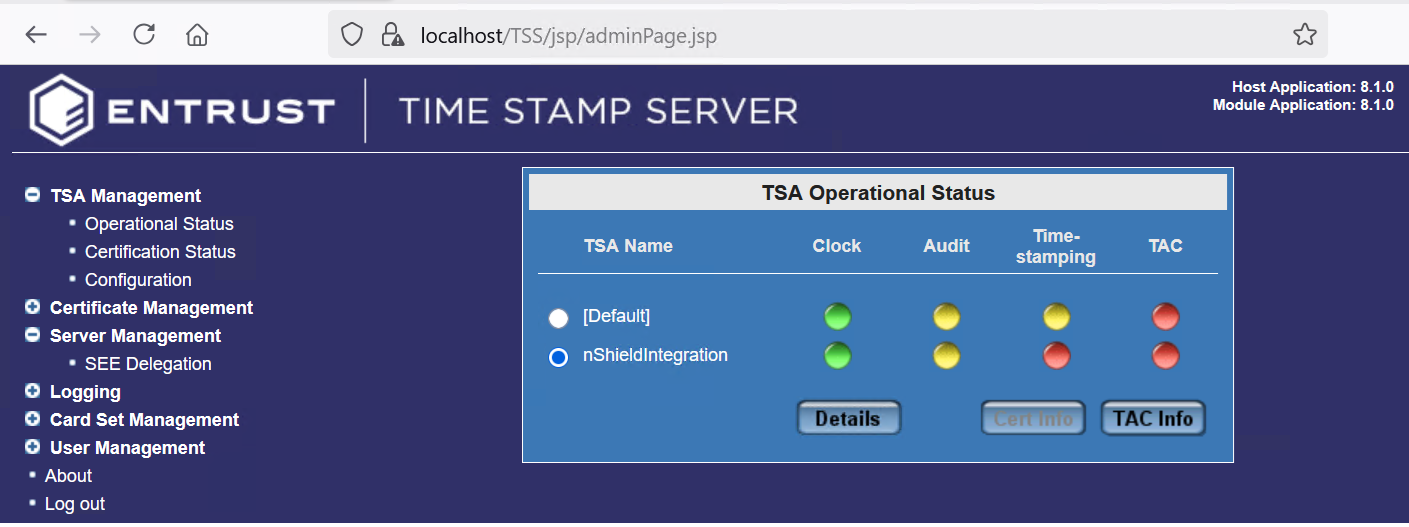
Select TSA Management → Operation Status to view the status of the newly created TSA.
Create the OCS
-
Login to the WEB GUI with the security officer credentials.
-
Navigate to Card Set Management > Create Card Set.
-
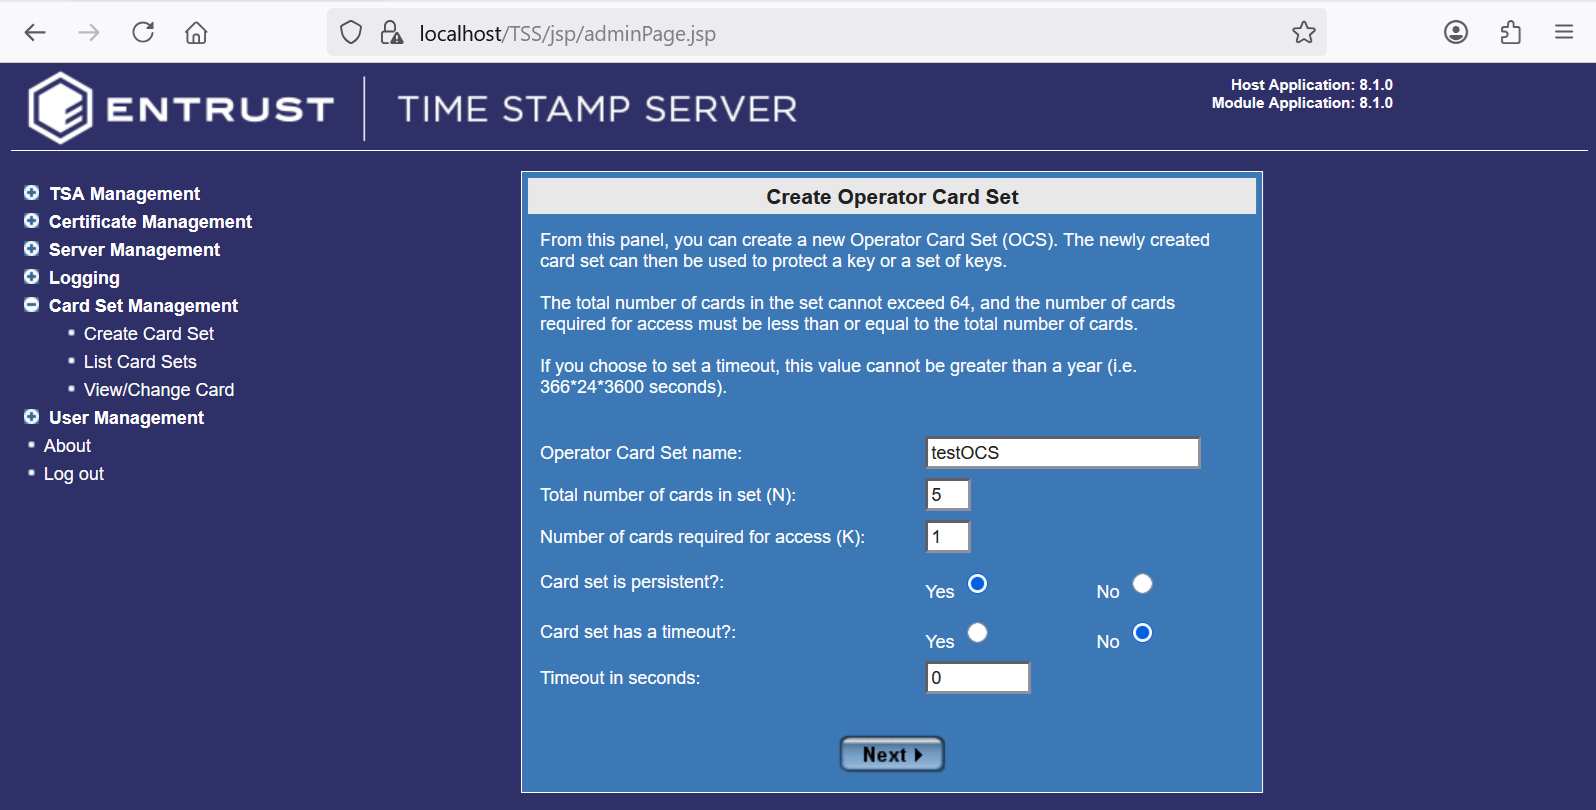
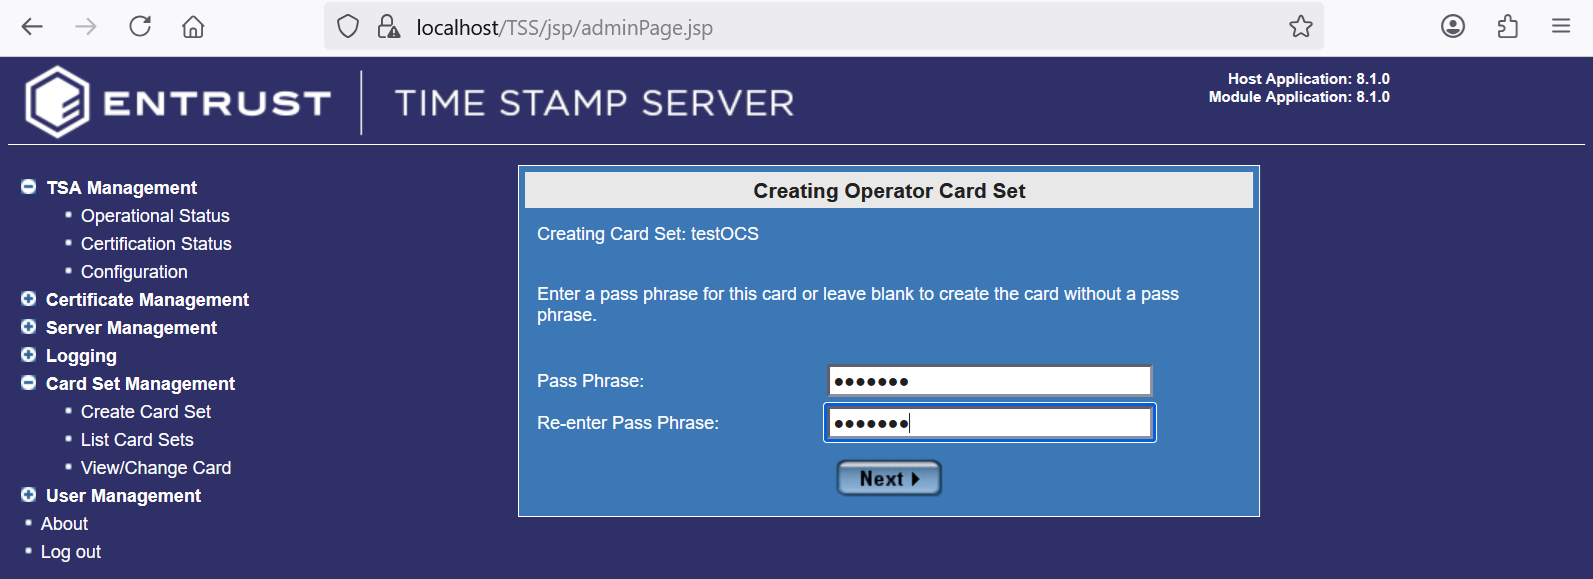
In the Create Operator Card Set pop-up window enter the information according to your organization security policy. Then select Next.
For example:
-
Present the ACS to the card reader when prompted.
-
Present each card in the OCS card set as instructed, and enter a passphrase. Then select Next.
For example:
-
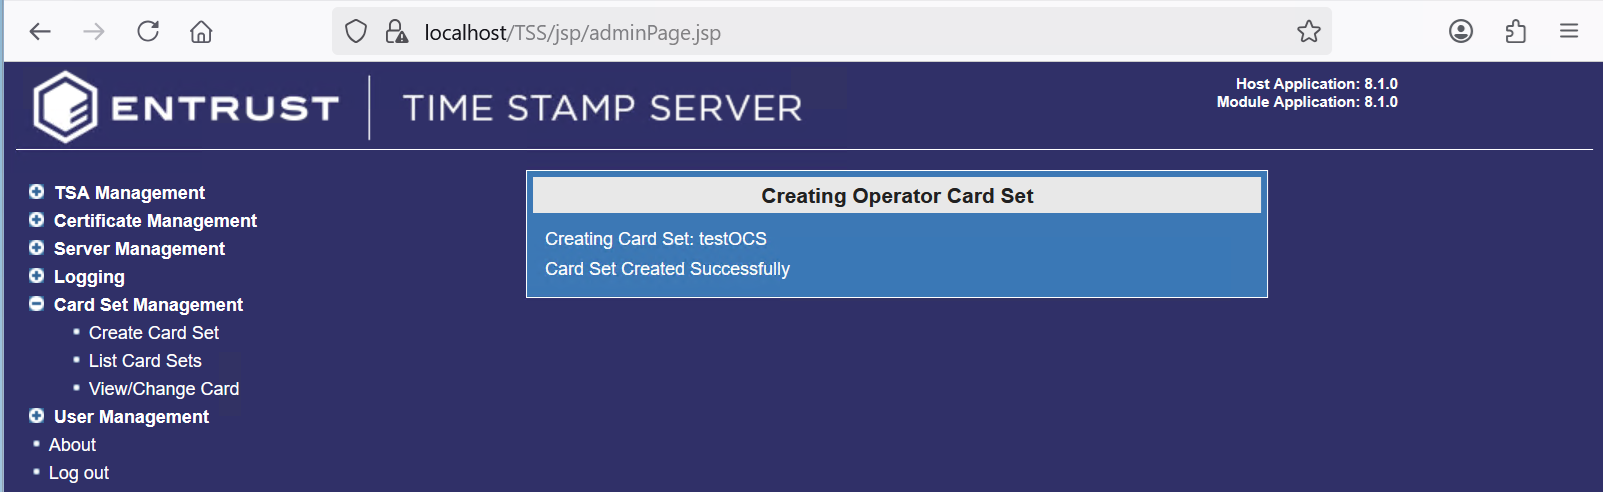
Notice a successful completion.
Create the TSA certificate request
-
Login to the WEB GUI with the security officer credentials.
-
Present the OCS to the card reader, or remotely via the TVD. If using the TVD, do as indicated in Map dynamic slots to slot #0.
-
Navigate to TSA Management > Certification Status.
-
Select the TSA certificate request that you would like to fulfill. The select Initiate.
-
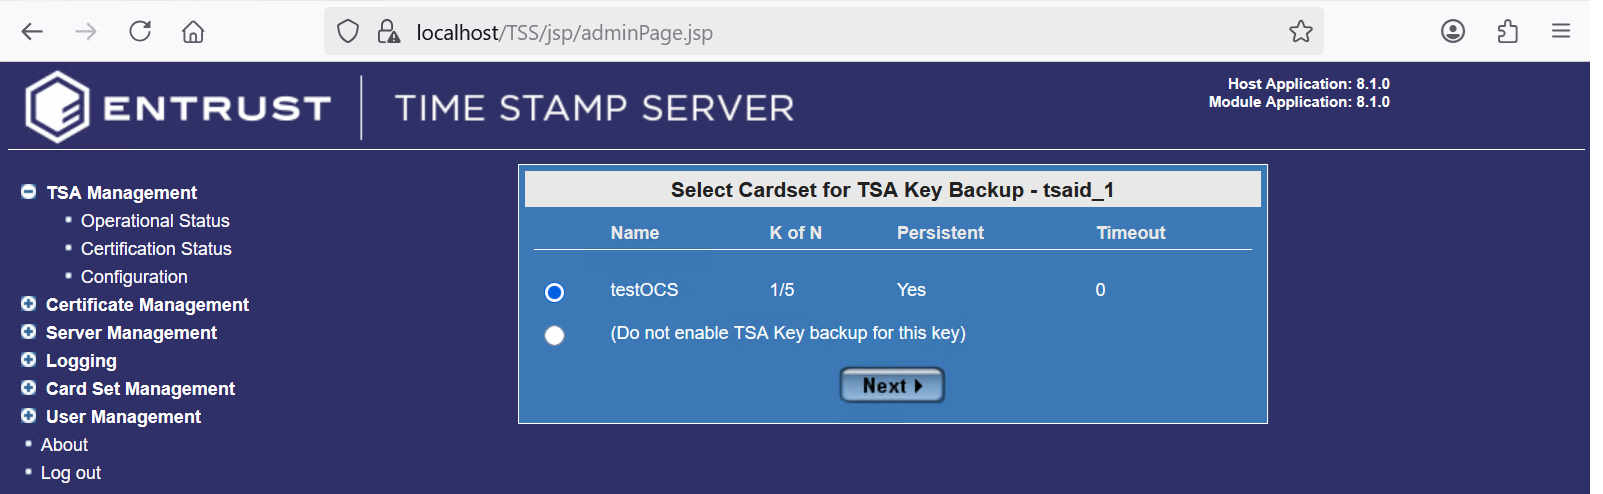
In the Select Cardset for TSA Key Backup dialog box, select the OCS. Then select Next.
For example:
-
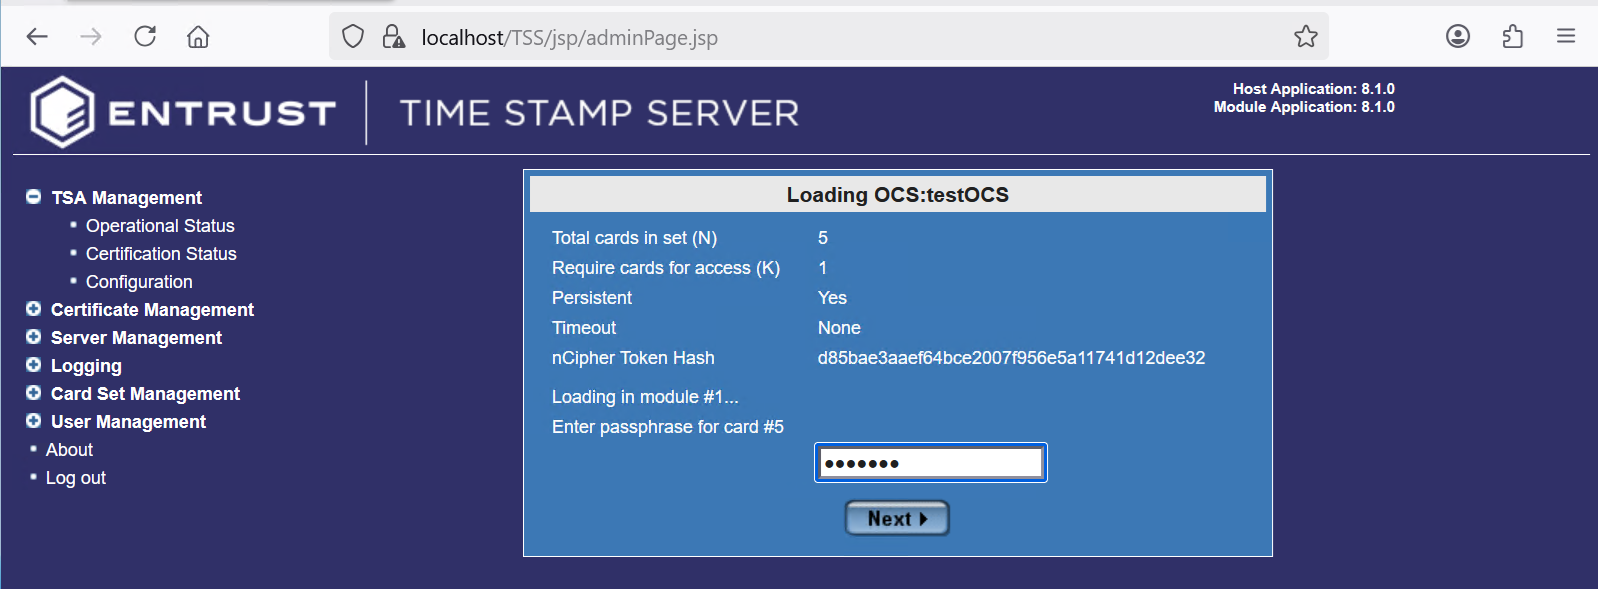
In the Loading OCS:<ocs-name> dialog box, enter the OCS passphrase. Then select Next twice.
For example:
-
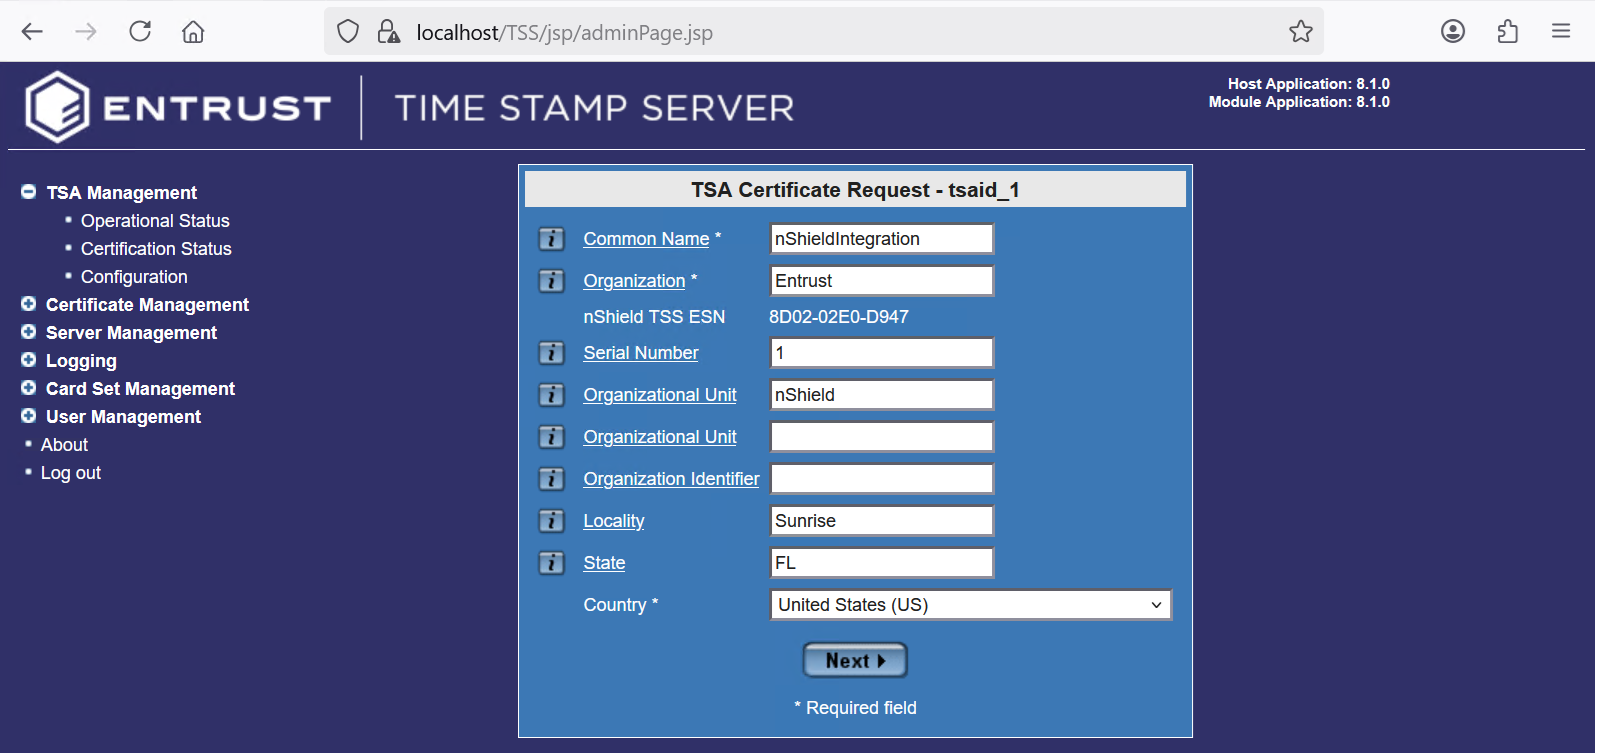
In the TSA Certificate Request - tsaid_1, enter your organization information. Then select Next and OK.
For example:
-
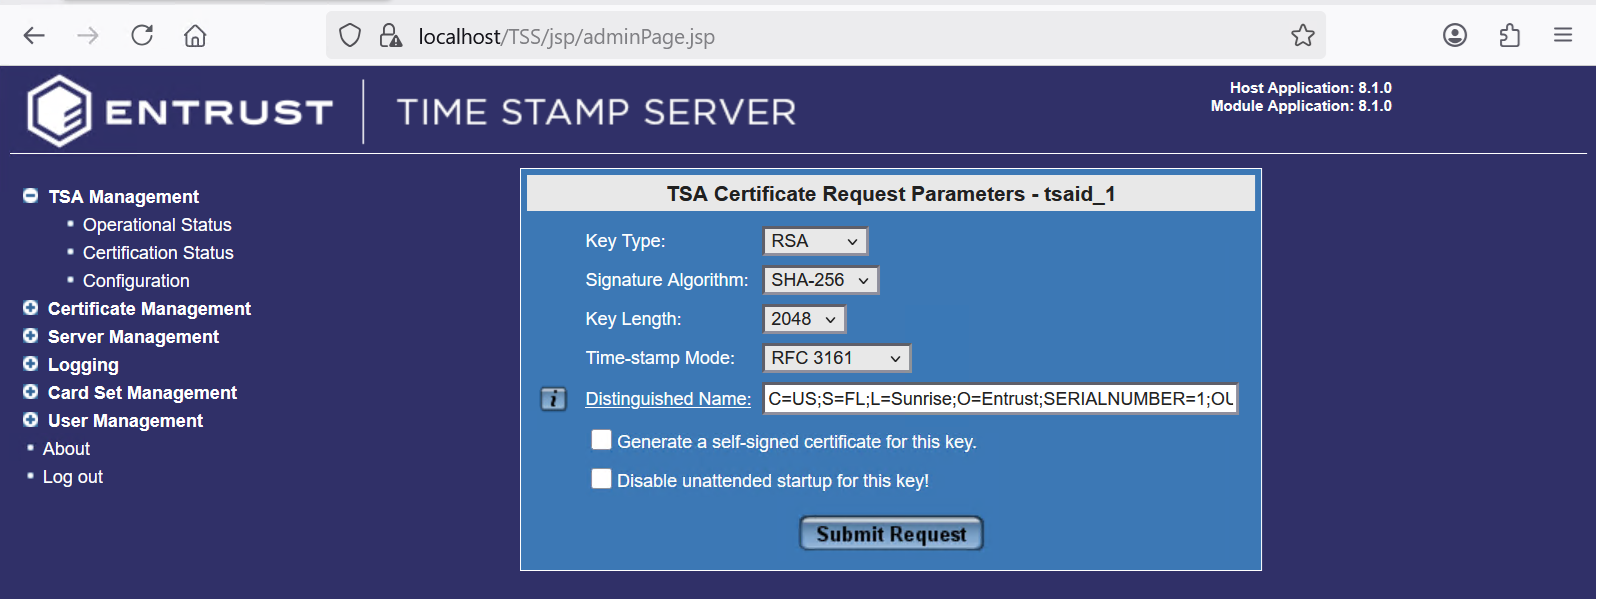
In the TSA Certificate Request Parameters - tsaid_1, select the key parameters. Then select Submit Request.
For example:
-
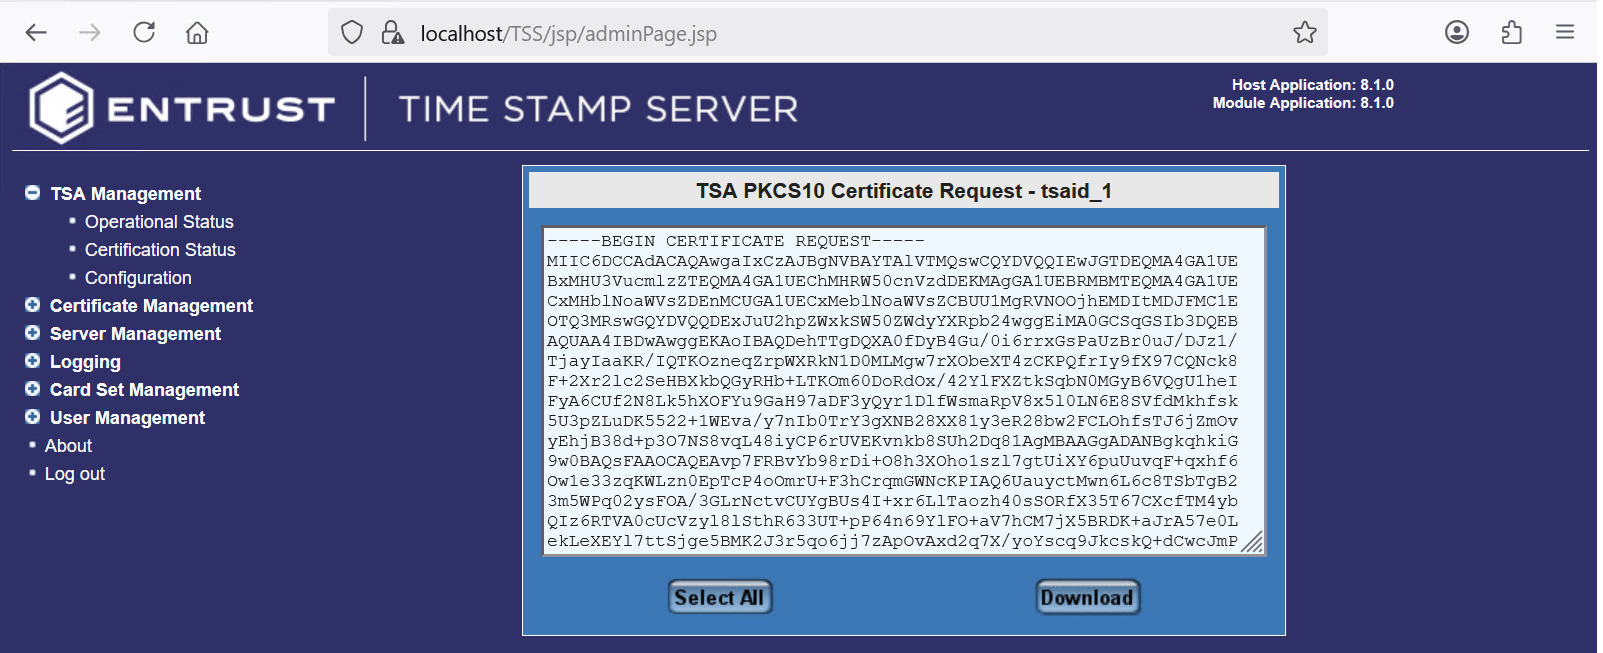
Per your browser, either select Select All and copy-paste to a file, or select Download.
For example:
-
Send the TSA certificate request file to your CA for signature. In this example a local root CA was used. Signing was done using the Web Server template.
For additional info see section Initiating a TSA certificate request of TSOP v8.1.0 Install and User Guide.
Import the certificate chain
Import the certificate chain as described in section Importing the TSA certificate chain of TSOP v8.1.0 Install and User Guide. Pay special attention to the order: root CA first, follow by the certificates signed by the root CA in the order in which they were signed.
Fulfill the TSA certificate request
-
Login to the WEB GUI with the security officer credentials.
-
Present the OCS to the card reader, or remotely via the TVD. If using the TVD, do as indicated in Map dynamic slots to slot #0.
-
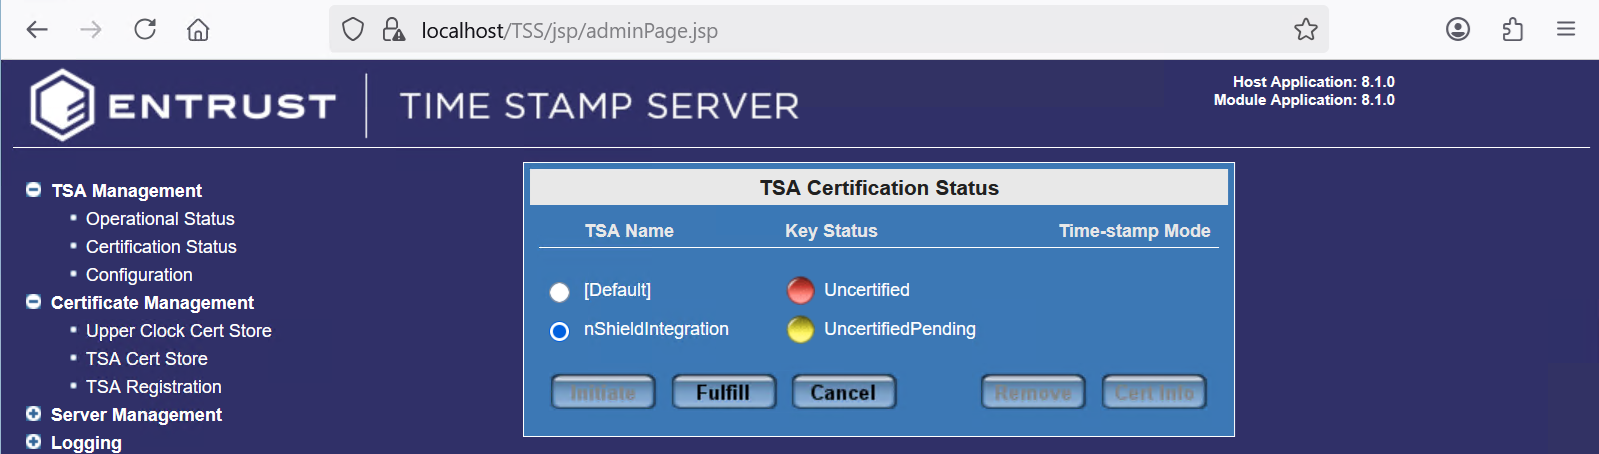
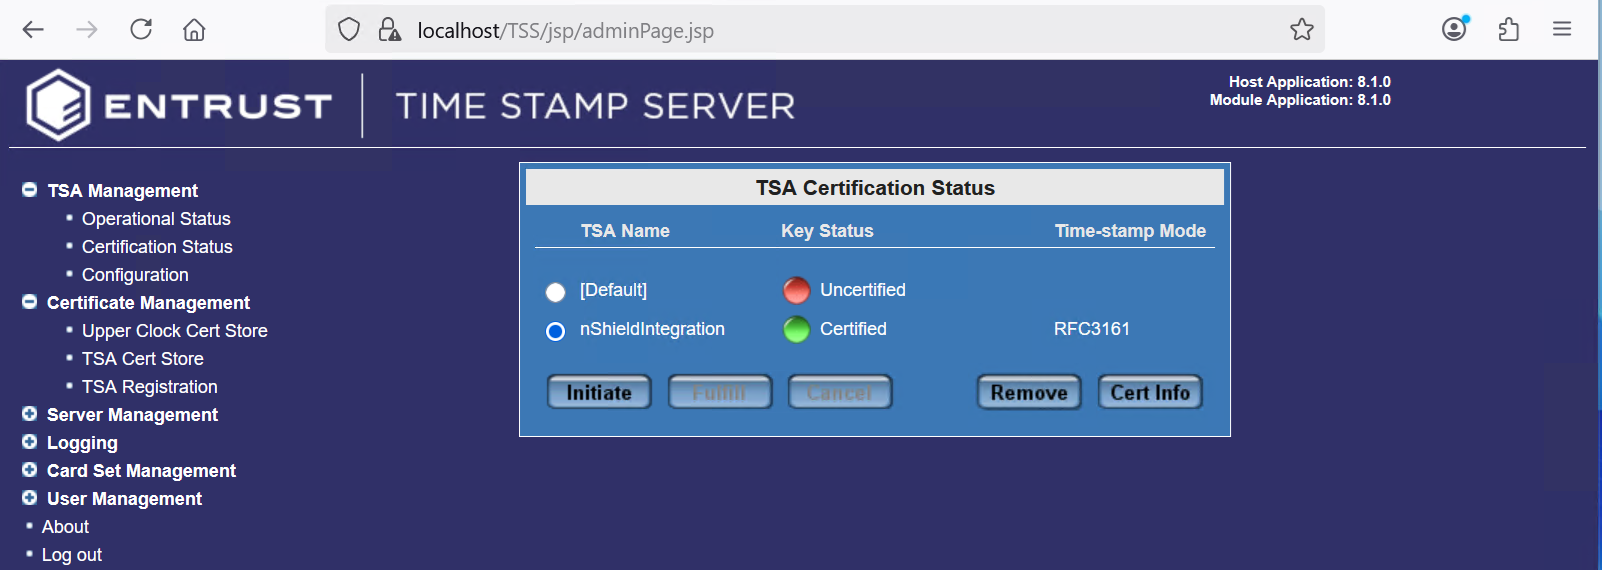
Navigate to TSA Management > Certification Status.
-
Select the TSA certificate request that you would like to fulfill. Then select Fulfill.
For example:
-
Copy-paste the signed certificate from your CA for the certificate request created in Create the TSA certificate request into the text box. Then select Add.
For example:
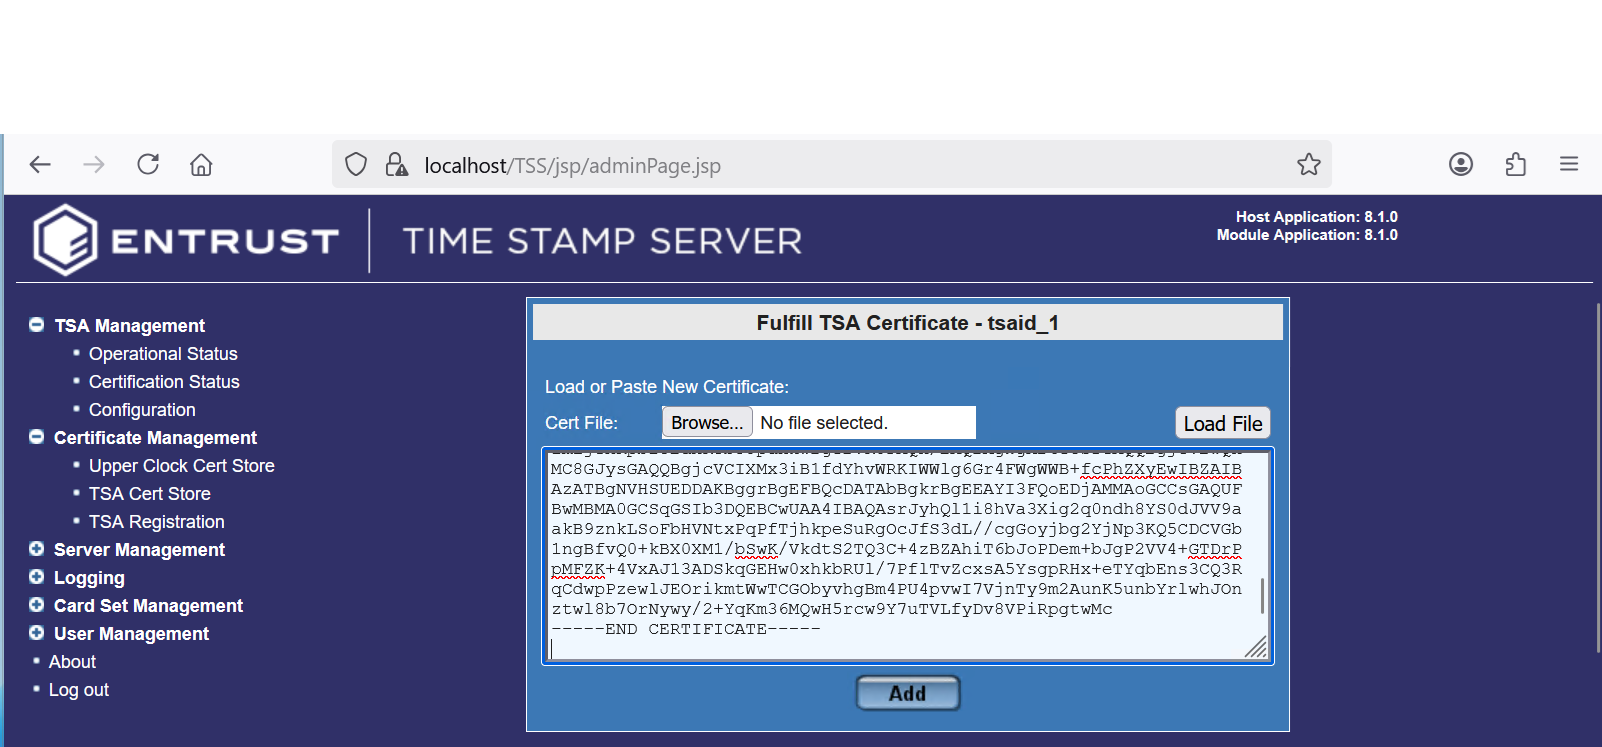
At the time of this integration testing, using the Browse… icon and selecting the certificate file was not working as expected. -
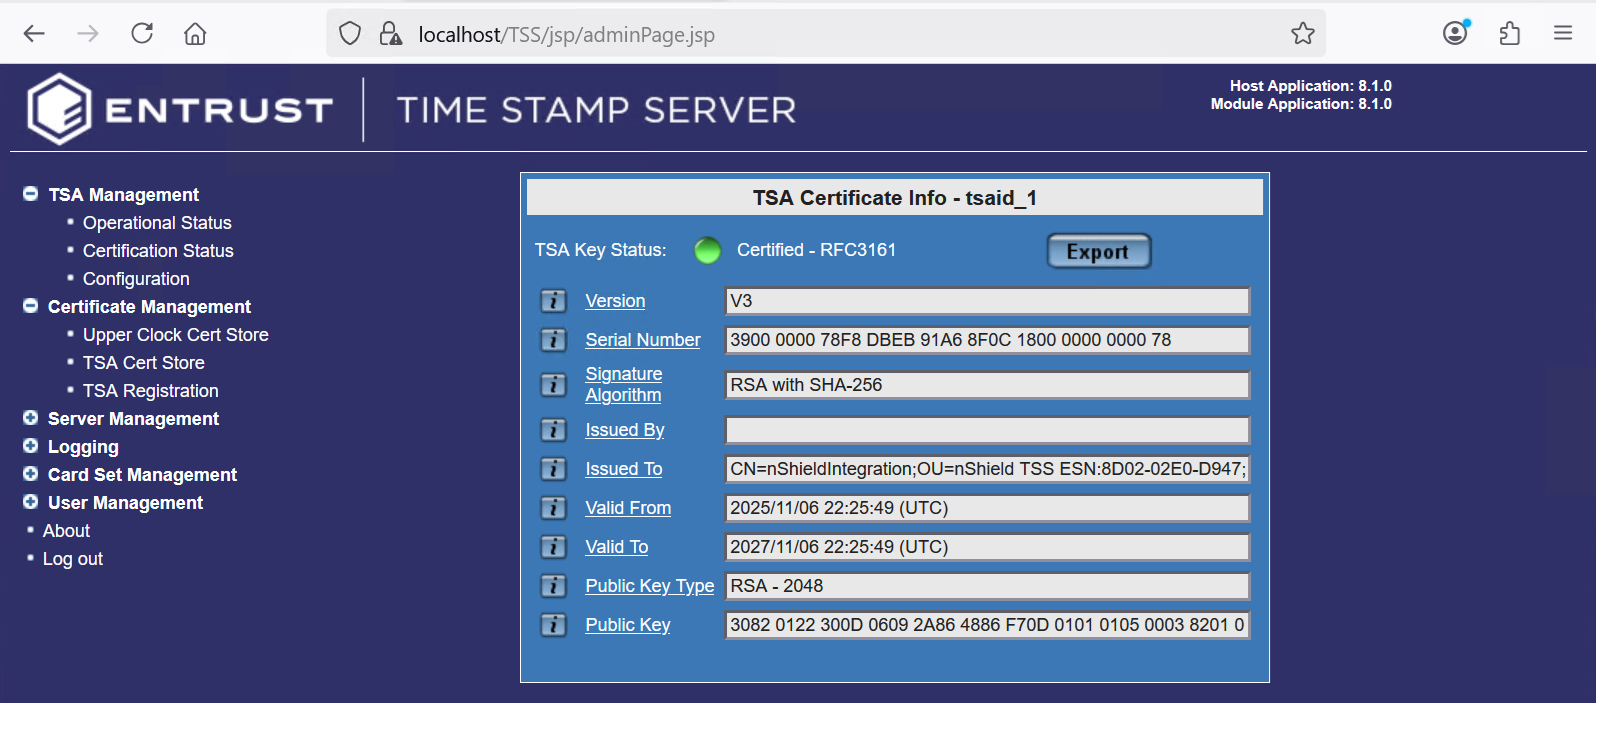
Notice the successful installation. Then select Cert Info.
-
In the TSA certificate info dialog box, select Export.
For example:
-
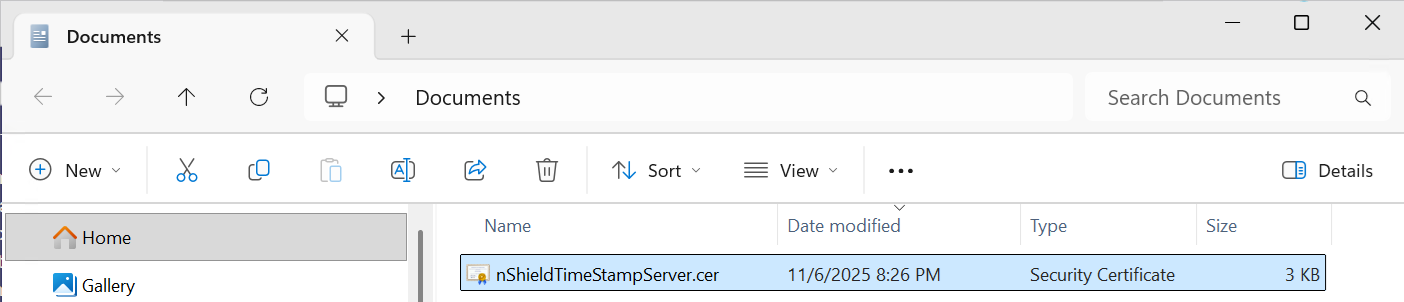
In the Exported Certificate dialog box, select Select All and Copy. Open a text editor and paste the certificate. Save this certificate, as it will be imported into each Microsoft 365 host requesting time stamping from this server.
For example: