Test the integration by enabling data-at-rest encryption
Select KeyControl as the KMIP Server and generate the certificate requests
-
Log in to the Nutanix Prism Element web UI.
-
In the toolbar, on the right-hand side, select the gear icon to display the Settings menu.
-
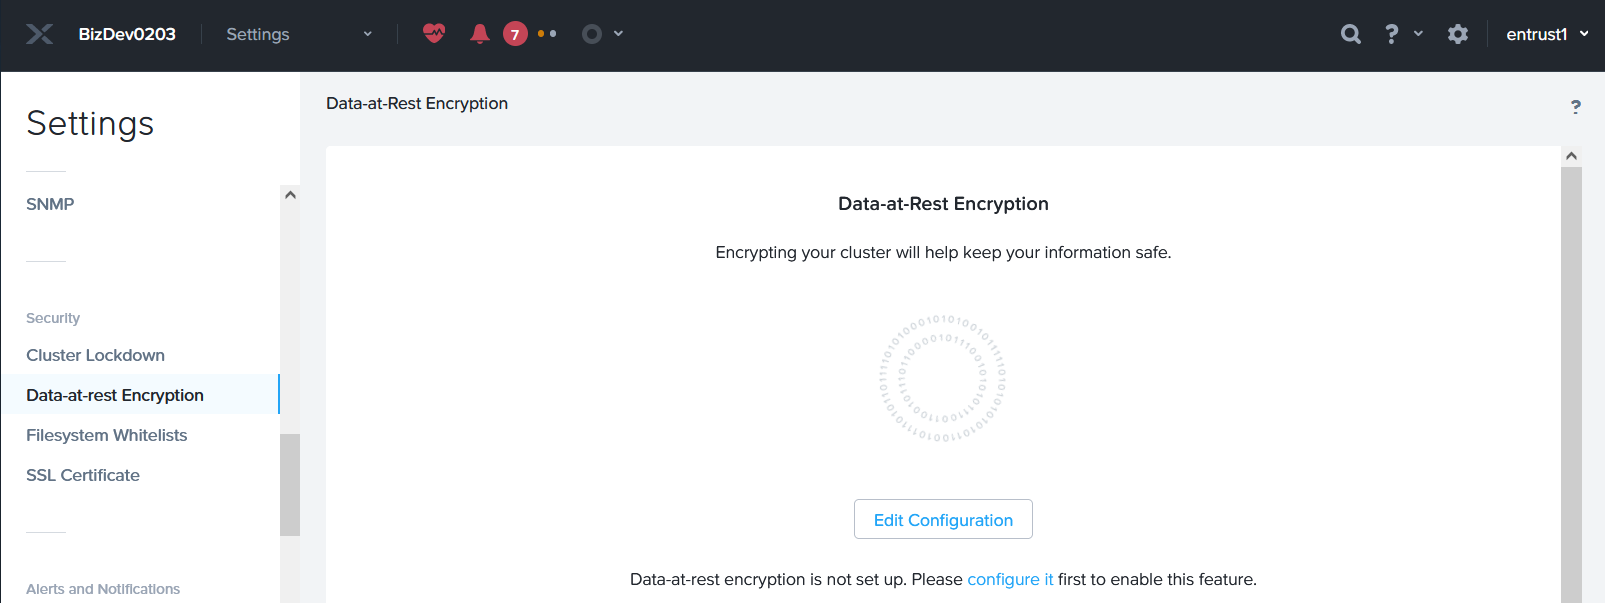
Select Data-at-rest Encryption under Security on the Settings left pane, then select Edit Configuration or Continue Configuration.
-
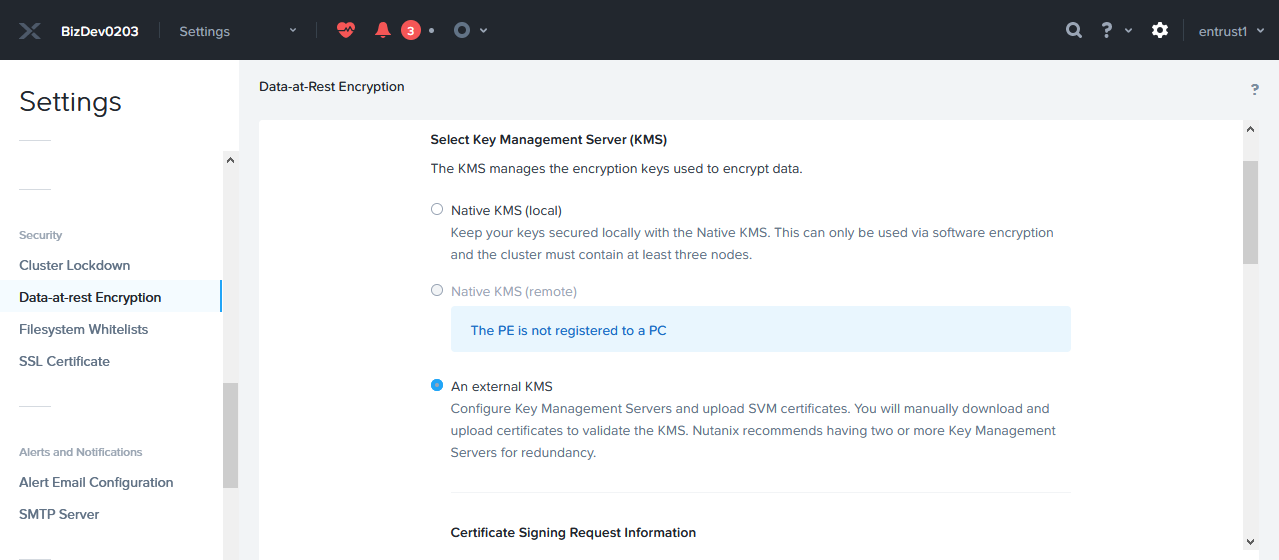
Select An external KMS.
-
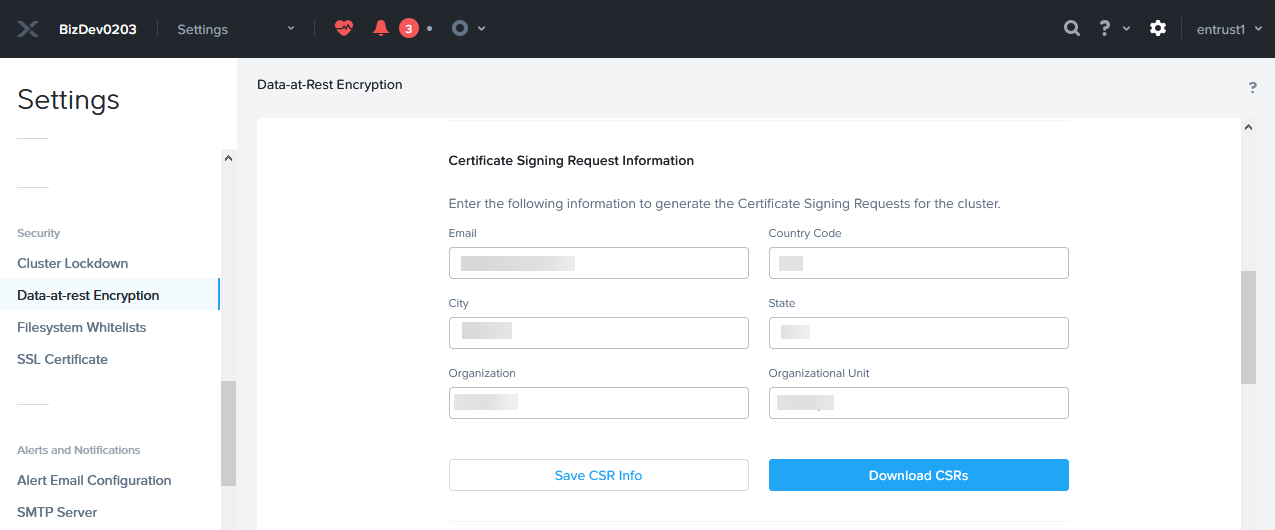
Scroll down to Certificate Signing Request Information. Complete the request form, then select Save CSR Info.
-
Select Download CSRs.
-
When the Certificate Signing Request form appears, select Download CSRs for all nodes.
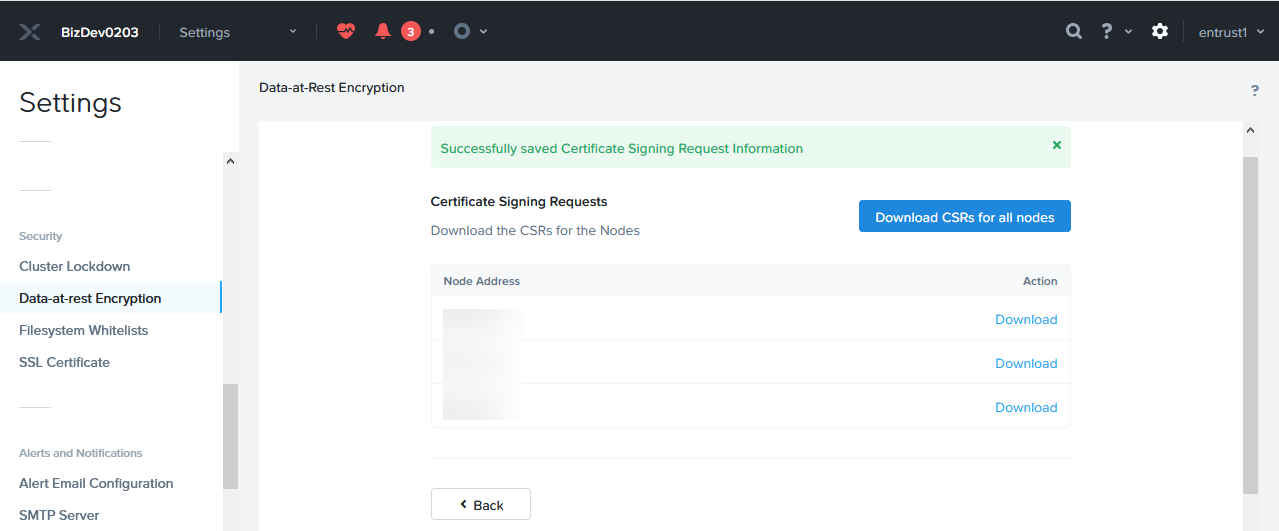
This creates a compressed
csrs.zipfile. -
Save the
csrs.zip`file locally and extract the files.A certificate request file is created for each node in the Nutanix AHV cluster.
Directory: C:\Users\RNO-NXRDY005-User08\Downloads\csrs Mode LastWriteTime Length Name ---- ------------- ------ ---- -a--- 7/8/2026 10:32 AM 1813 10.8.60.29_13caa80d-8f2b-4177-a4dc-7d8b0945837e_csr_x509.txt -a--- 7/8/2026 10:32 AM 1813 10.8.60.30_8db05d92-3dcf-4874-ab93-93a8df853d2d_csr_x509.txt -a--- 7/8/2026 10:32 AM 1813 10.8.60.31_ea8dee92-fdff-4720-ba3e-e4c78d8e501d_csr_x509.txt -
Change the file extension of the above certificates from
.txtto.csr.
Create the KMIP client certificate bundles
-
Log in to the Entrust Key Management Vault created in Install and configure Entrust Cryptographic Security Platform Key Management Vault.
-
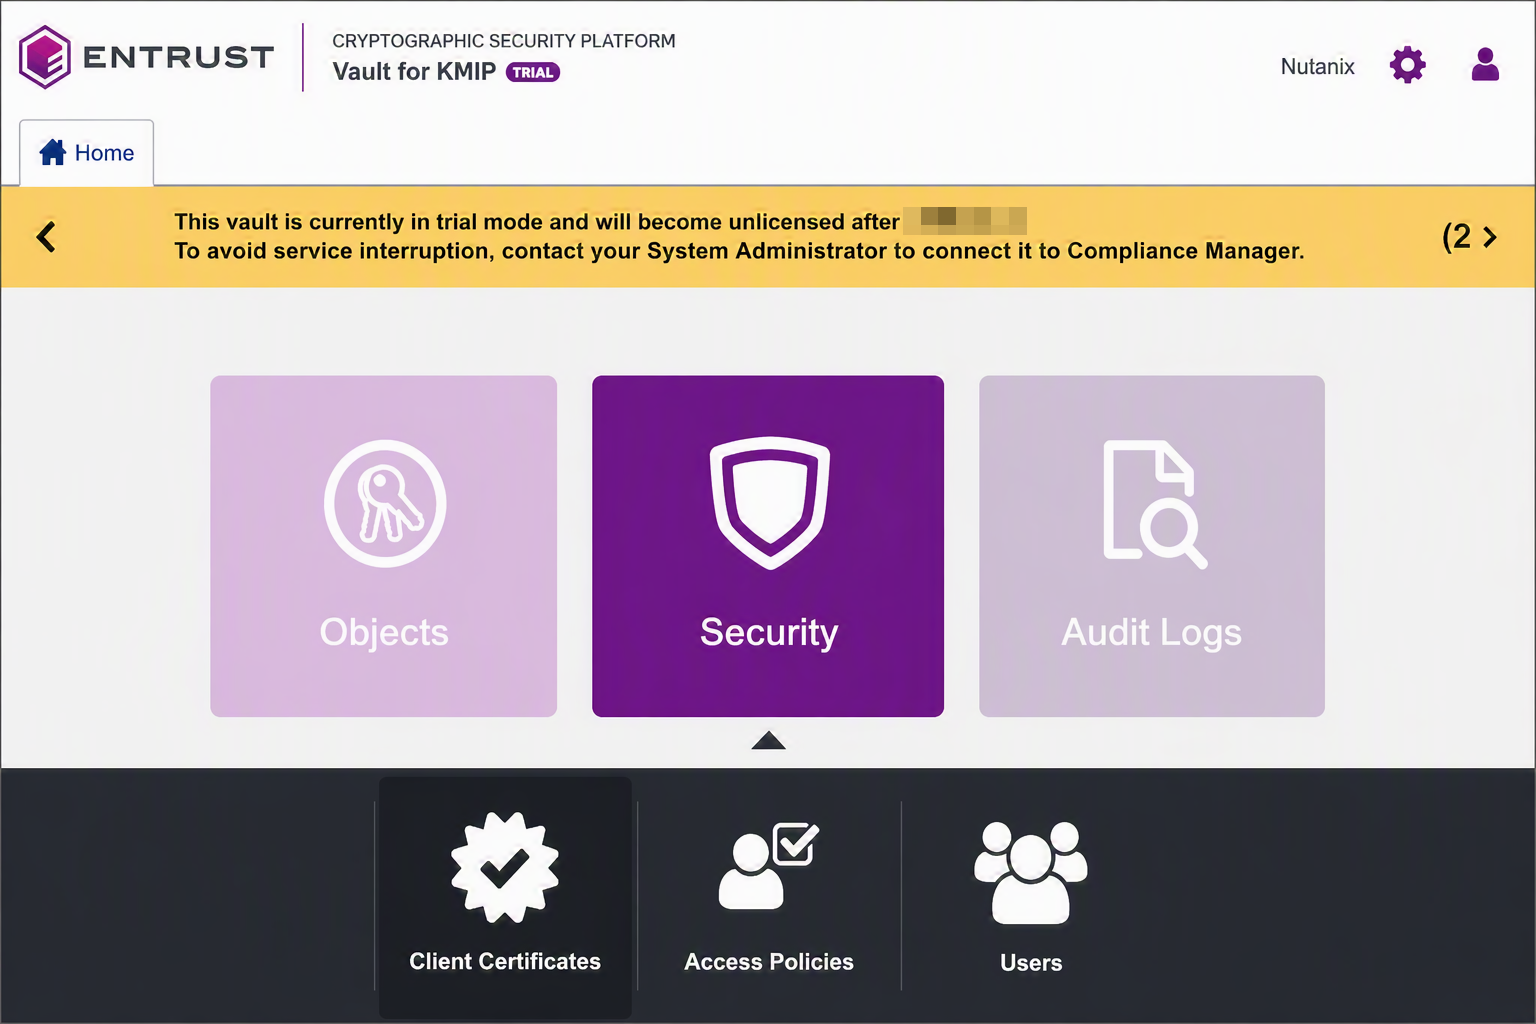
Select the Security icon, and then the Client Certificates icon.
-
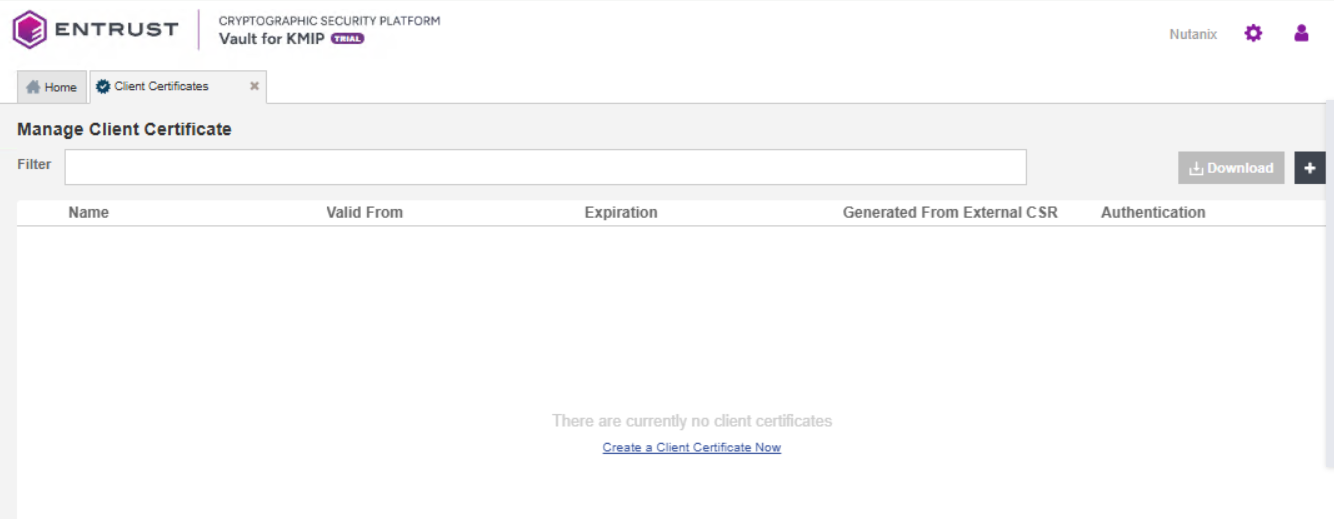
Select Create a Client Certificate Now.
-
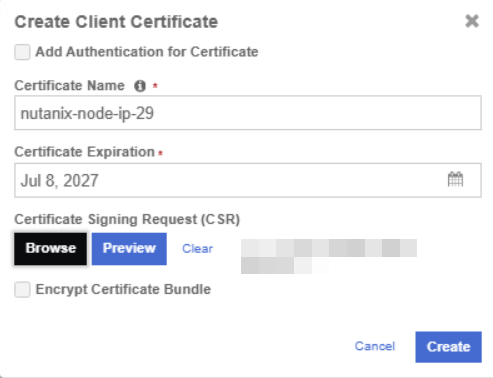
In the Create Client Certificate dialog:
-
Enter the Certificate Name. Choose a name unique to a given node in the Nutanix cluster, for example, the last octet of the node’s IP address.
-
For the Certificate Signing Request (CSR), select Browse and choose the certificate request corresponding to the given node.
Change the file extension of these certificates from .txtto.csrif not done before. -
Select Create.
-
-
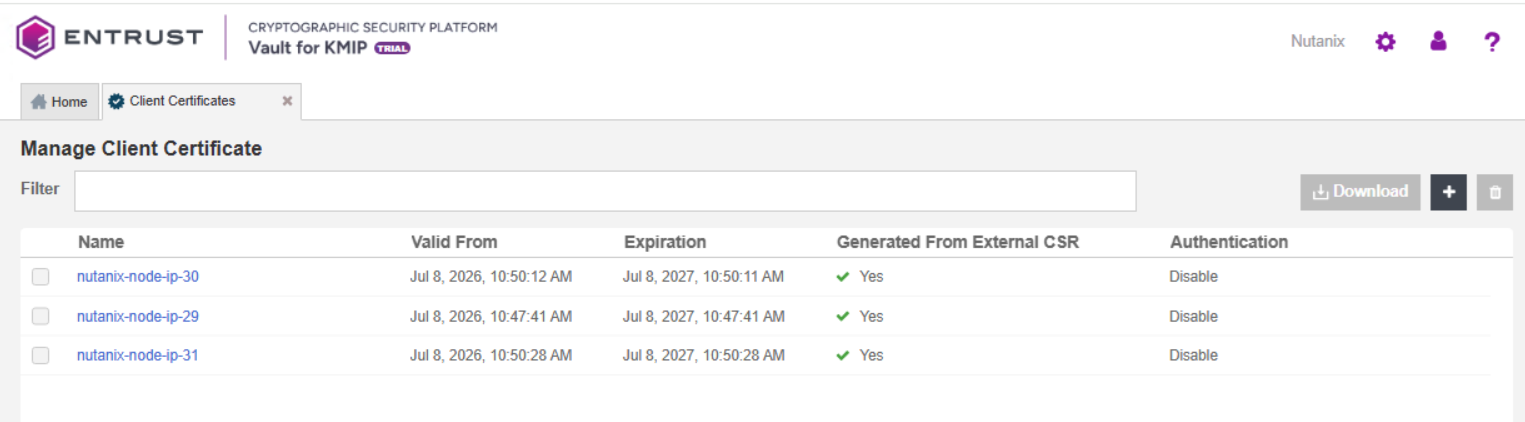
Create certificates for the other nodes.
-
Select the required certificate and then select Download.
The download file name is in the following format:
<certificatename_datetimestamp>.zip. -
Unzip the file.
It contains a user certificate/key file called
certificatename.pemand a server certificate file calledcacert.pem.Directory: C:\Users\RNO-NXRDY005-User08\Downloads\nutanix-node-ip-30_2026-07-08-14-53-05 Mode LastWriteTime Length Name ---- ------------- ------ ---- -a--- 7/8/2026 10:54 AM 7432 cacert.pem -a--- 7/8/2026 10:54 AM 2361 nutanix-node-ip-30.pem -
Repeat the step above for the other certificates.
The cacert.pemfiles are identical across all nodes. Thecertificatename.pemfiles are unique to each node.
Add the Entrust Key Management Vault KMIP cluster to the Nutanix AHV cluster
-
Log in to the Nutanix Prism Element web UI.
-
In the toolbar, on the right-hand side, select the gear icon to display the Settings menu.
-
Select Data-at-rest Encryption under Security on the Settings left pane.
-
Select Continue Configuration, then scroll down and select Add New Key Management Server.
-
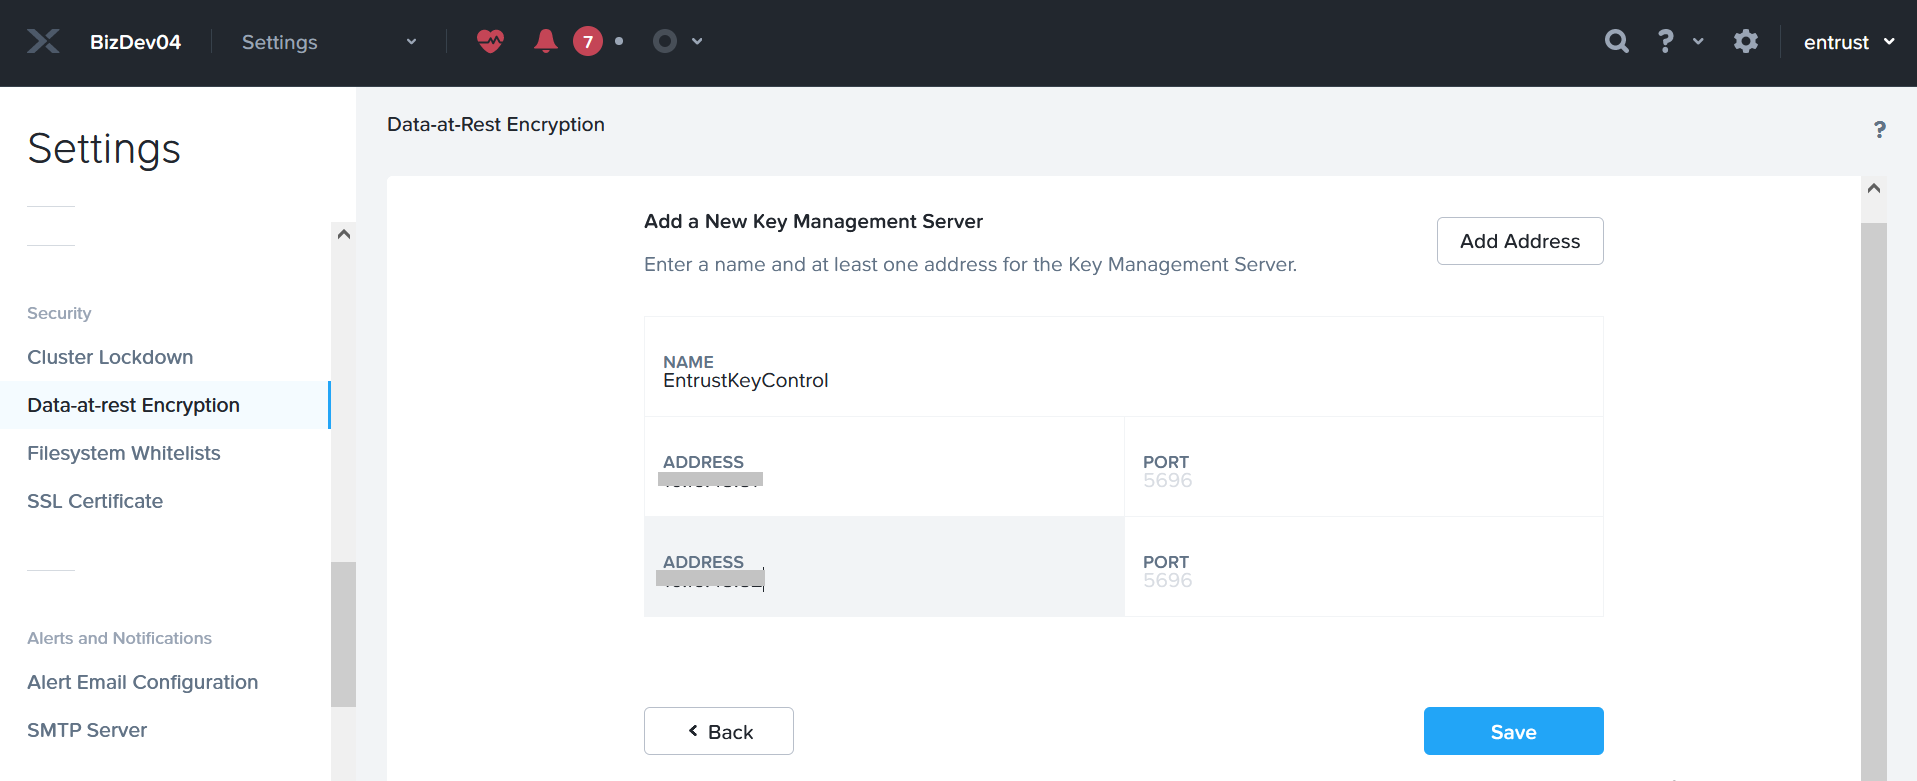
Enter a name for the Entrust Key Management Vault cluster and the IP addresses of all the nodes in the cluster, and then select Save.
The default port is 5696.
-
Select Add New Certificate Authority further down. Name the CA, then select Upload CA Certificate, and choose one of the
cacert.pemfiles created above. Allcacert.pemfiles are identical.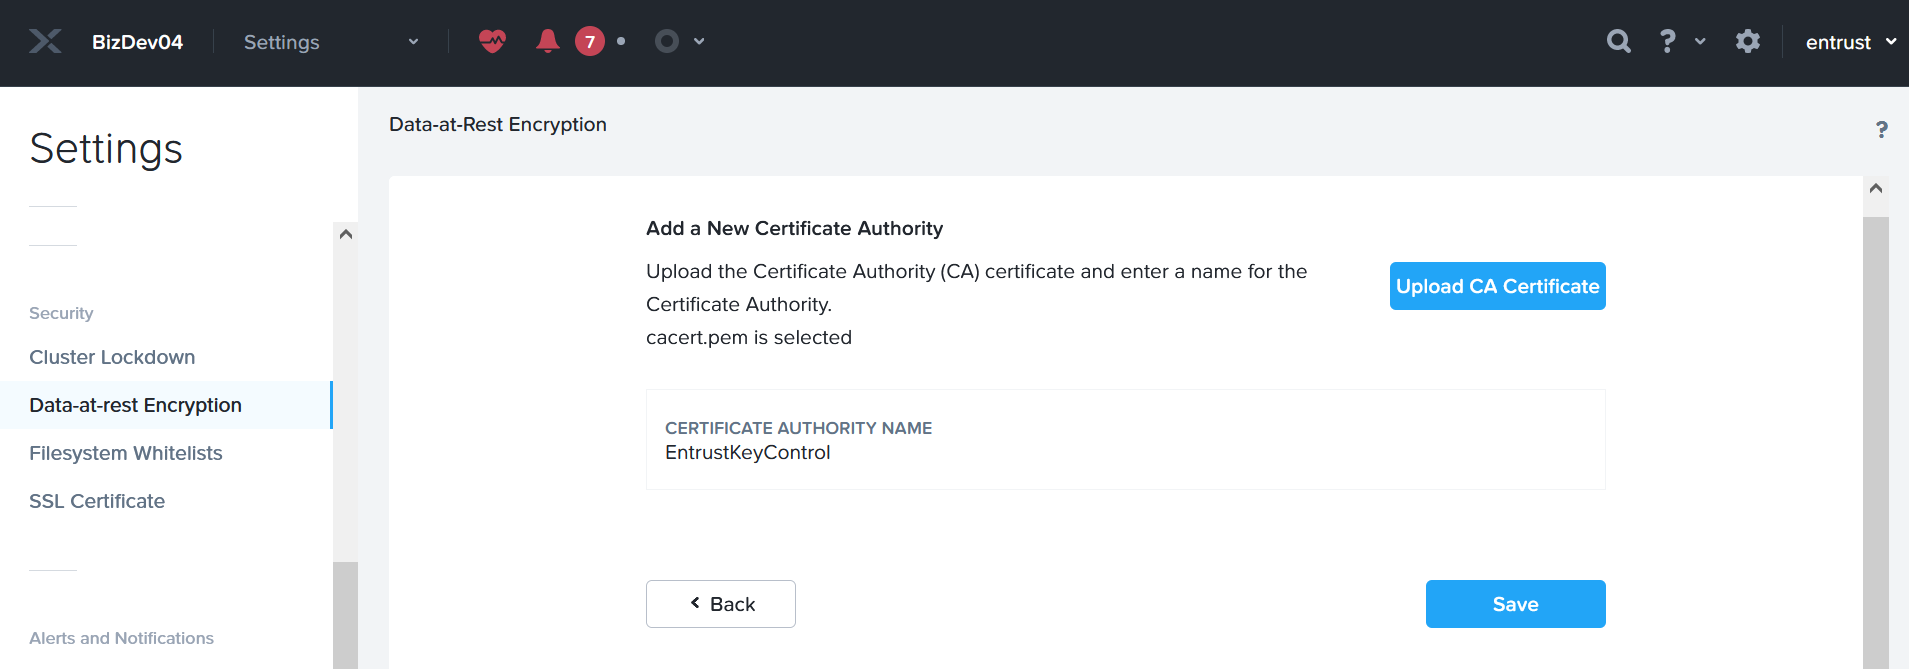
-
Select Save.
Add the Entrust KeyControl KMIP cluster certificates to the Nutanix AHV cluster
-
Log in to the Nutanix Prism Element web UI.
-
Select the Settings icon to the right of the toolbar to bring up the Settings menu.
-
Select Data-at-rest Encryption under Security on the Settings left pane.
-
Select Continue Configuration, then scroll down to the Key Management Server section.
-
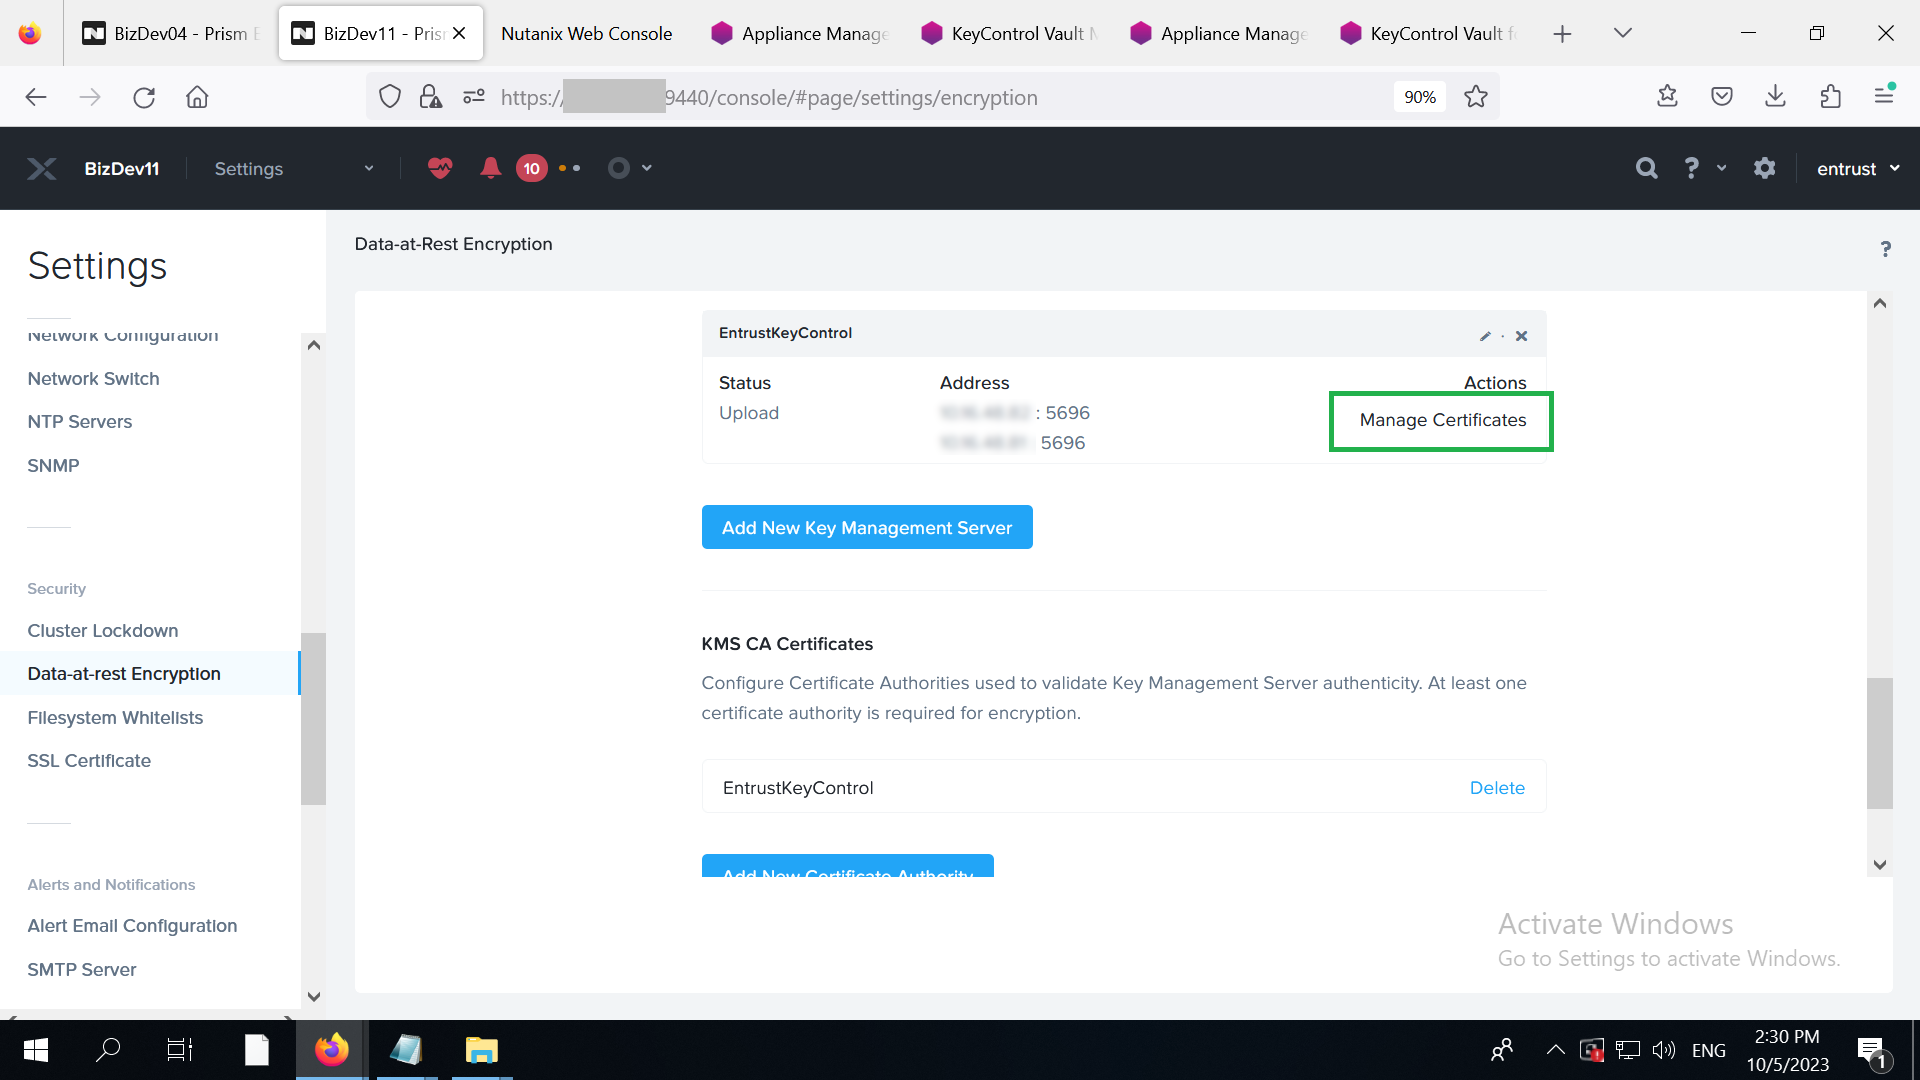
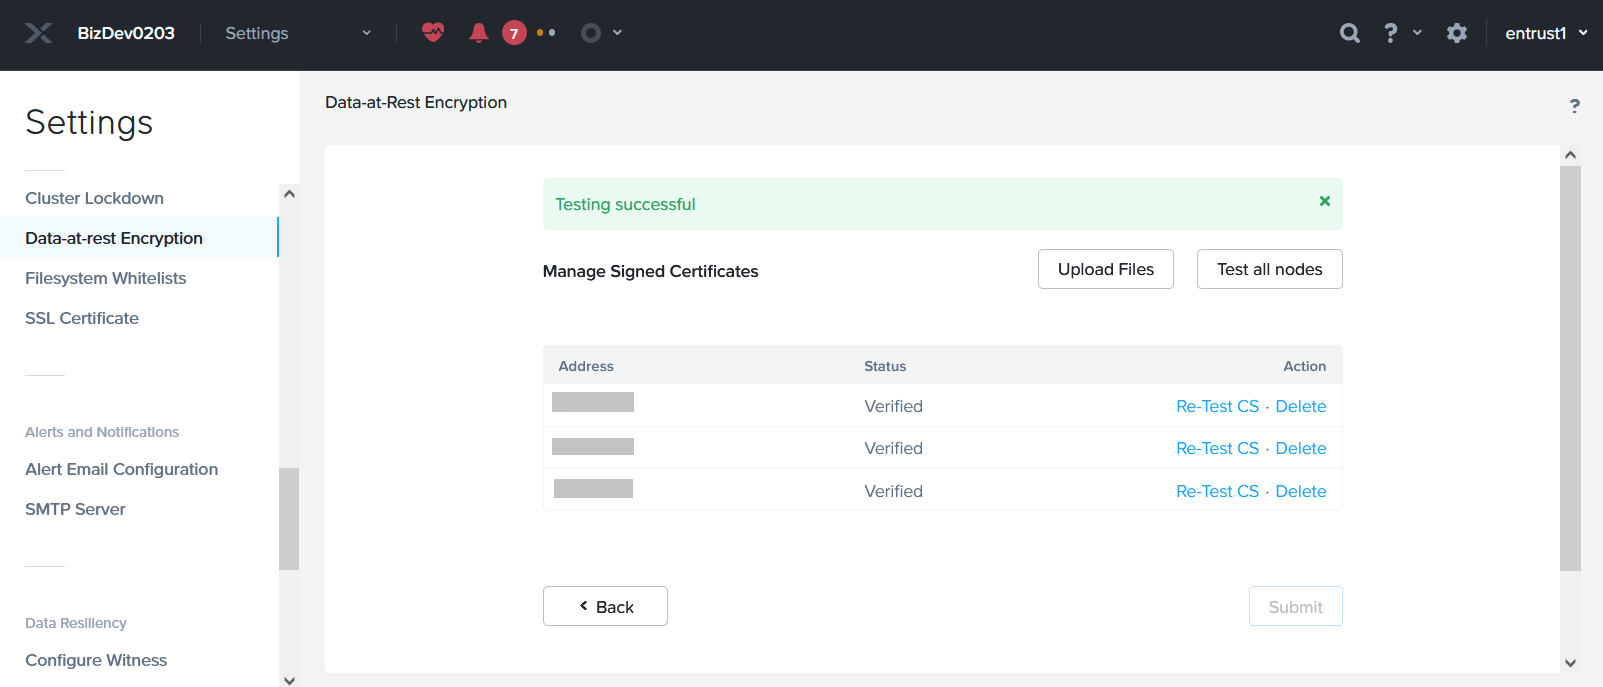
Select the Manage Certificates hyperlink of the EntrustKeyControl cluster. This hyperlink is below Actions.
-
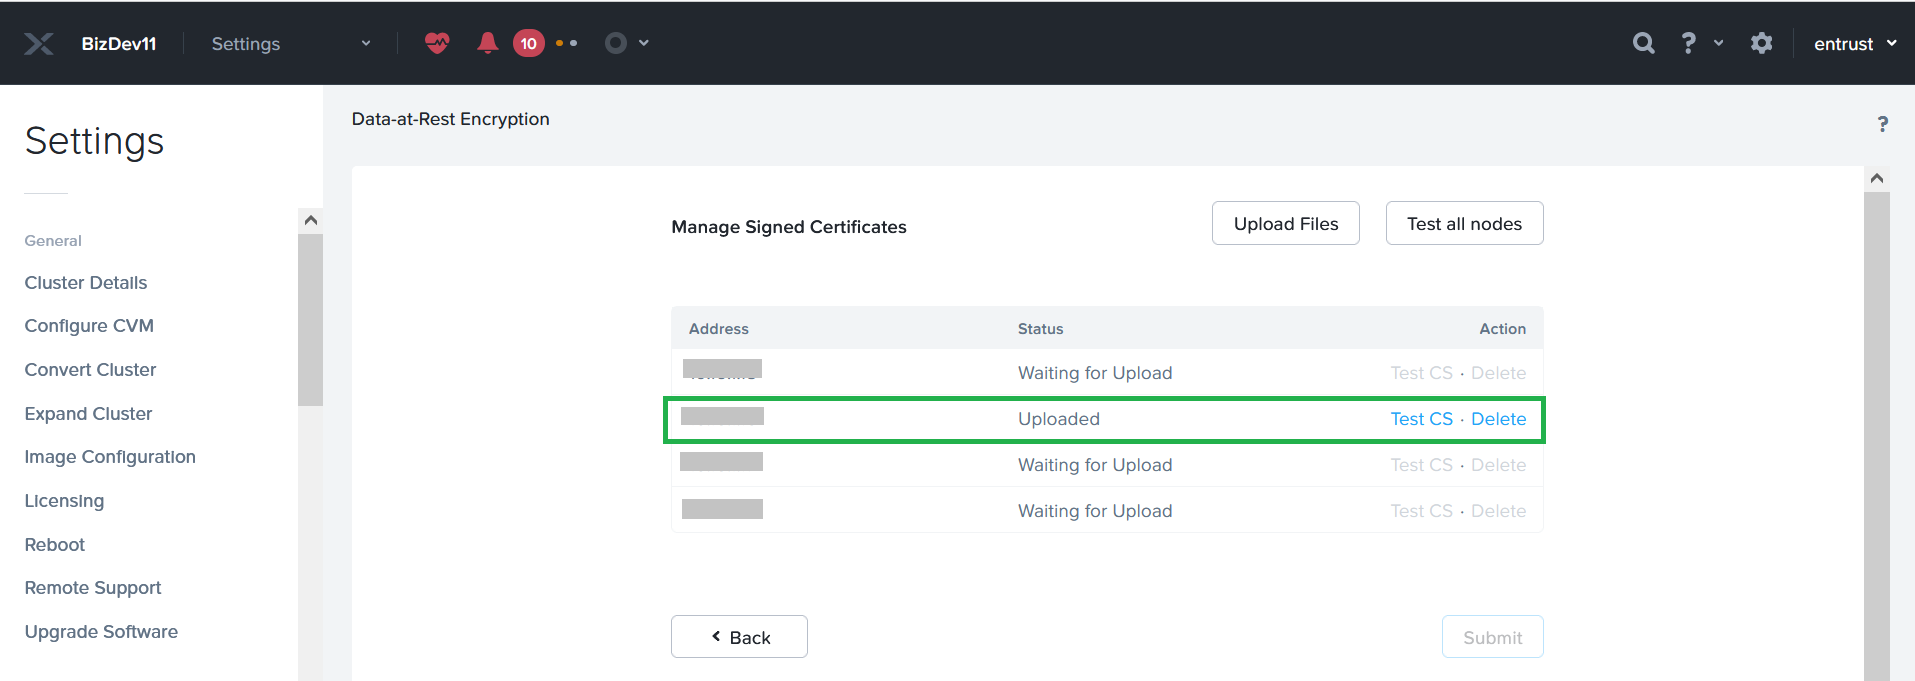
Select Upload Files, choose the relevant
certificatename.pemfile, then select Submit. -
The status for the node corresponding to the selected certificate displays Uploaded. Select Test CS and the status changes to Verified.
-
Repeat the above for the other nodes.
Enable encryption
-
Log in to the Nutanix Prism Element web UI.
-
Select the Settings icon to the right of the toolbar to bring up the Settings menu.
-
Select Data-at-rest Encryption under Security on the Settings left pane.
-
Select Enable Encryption.
-
Enter the word ENCRYPT to confirm encryption in the pop-up window.
-
Select Encrypt.
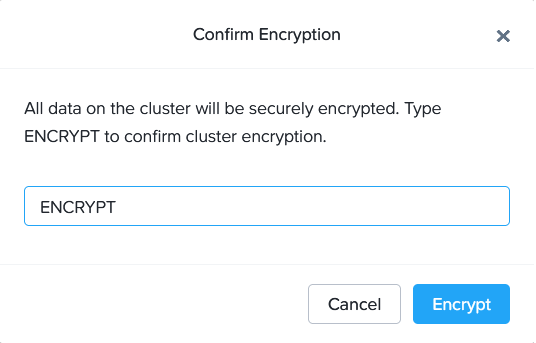
The display confirms that the cluster is now encrypted.