Download and configure Entrust iDaaS Active Directory
Configure Entrust IDaaS to use the same Active Directory services as Entrust CloudControl. Entrust provides an Entrust IDaaS gateway OVA to sync your on-premises Active Directory users to Entrust iDaaS. Changes made to your Active Directory are automatically synced with Entrust IDaaS through this gateway. Alternatively, you can configure your own gateway.
For additional information, refer to Entrust Identity as a Service Administrator Help.
Download the Entrust IDaaS gateway
-
Sign in to your unique Entrust IDaaS registration URL bookmarked in section Register for Entrust IDaaS.

-
Select Home page, then select Gateways.
-
On the Gateways page, select IDENTITY AS A SERVICE GATEWAY to download the software. The Identity as a Service Gateway Download URL dialog appears.
-
Select the VMware vSphere to download a vSphere (.ova) image file.
Deploy Entrust IDaaS gateway VM from the OVA
-
Sign in to VMware vCenter.
-
Select the cluster in which to create the Entrust IDaaS gateway VM.
-
From the Actions menu, select Deploy OVF template….
-
Select Local file and upload the Entrust IDaaS gateway OVA file, and then select Next.
-
Follow the instructions during the deployment as needed.
-
After the VM is ceated, right-click the Entrust IDaaS gateway virtual machine and select Power > Power On.
-
Select LAUNCH WEB CONSOLE and make a note of the dynamic IP of the Entrust IDaaS gateway virtual machine. You will be able to change this IP to static in the next section.
-
Close the web console.
Configure the Entrust IDaaS gateway virtual appliance
-
In a web browser, sign in to the Entrust IDaaS gateway dynamic IP with port 9090, for example, https://xxx.xxx.xxx.xxx:9090.
-
Accept the browser self-signed certificate warning. The Entrust IDaaS gateway Web Interface opens.
-
Sign in with the following credentials:
Credential Value User name
entrust
Password
entrust
-
Enter the new password when prompted.
-
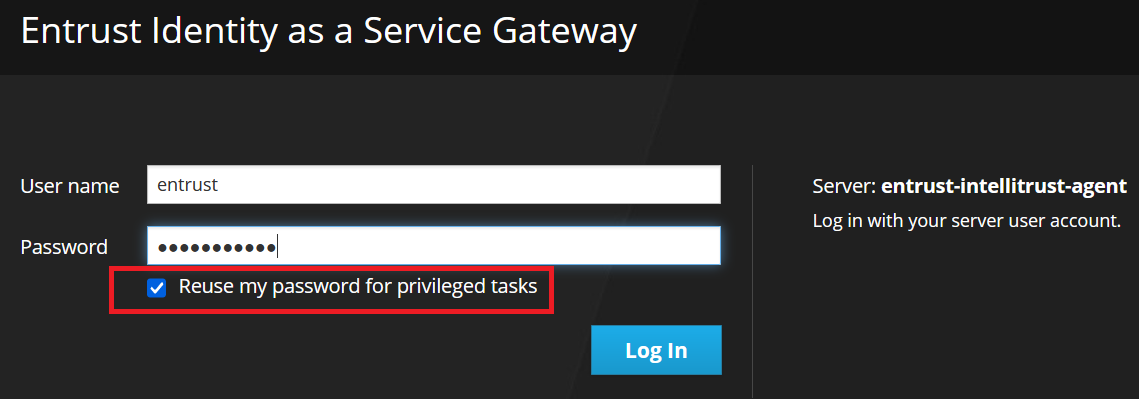
Sign out and then sign back in. This time, select Reuse my password for privileged tasks.
-
Select Get Started. The Network Settings page appears.
-
Select Network to change the hostname, IP address, and gateway address.
-
Optionally, change the hostname by selecting the corresponding hyperlink, and then select Save.
-
Change the IP address and gateway by selecting the corresponding hyperlink.
-
Enter the new static IP and gateway, and then select Save. You will be disconnected after saving is completed.
-
At the VMware vCenter, select Actions > Power > Restart Guest OS.
-
Sign back in to the Entrust IDaaS gateway with your browser using the new static IP with port 9090.
-
Select Get Started. The Network Settings page appears.
-
Select System Time to change the default NTP servers if needed, and then select Save.
-
If required, select Proxy to configure a proxy server, and then select Save. In this integration a proxy server was not necessary since we were able to access the Internet.
| You do not need to select Register at this time. It will be done in the next section. |
Add the gateway to the Entrust IDaaS.
-
Sign in to your unique Entrust IDaaS registration URL.
-
Select Gateways. The Gateways page appears.
-
Select the + icon on the left of the page and select Gateway. The Add Gateway dialog appears.
-
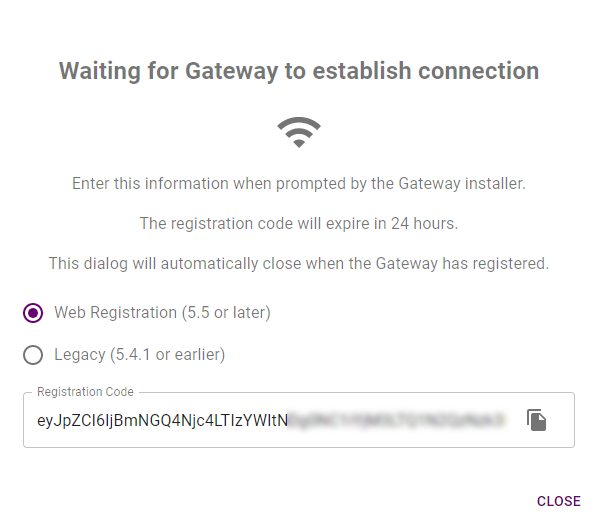
Enter a Gateway Name and then select Add. The Waiting for Gateway to establish connection dialog appears.
-
Copy the Registration Code by selecting the Copy to clipboard icon.
-
Sign in to the Entrust IDaaS gateway with your browser.
-
Select Identity as a Service.
-
Paste the registration code from above in the Registration Code text box, and then select Register.
-
Go back to your unique Entrust IDaaS registration URL. Close the Waiting for Gateway to establish connection dialog box if still open, and then sign in.
-
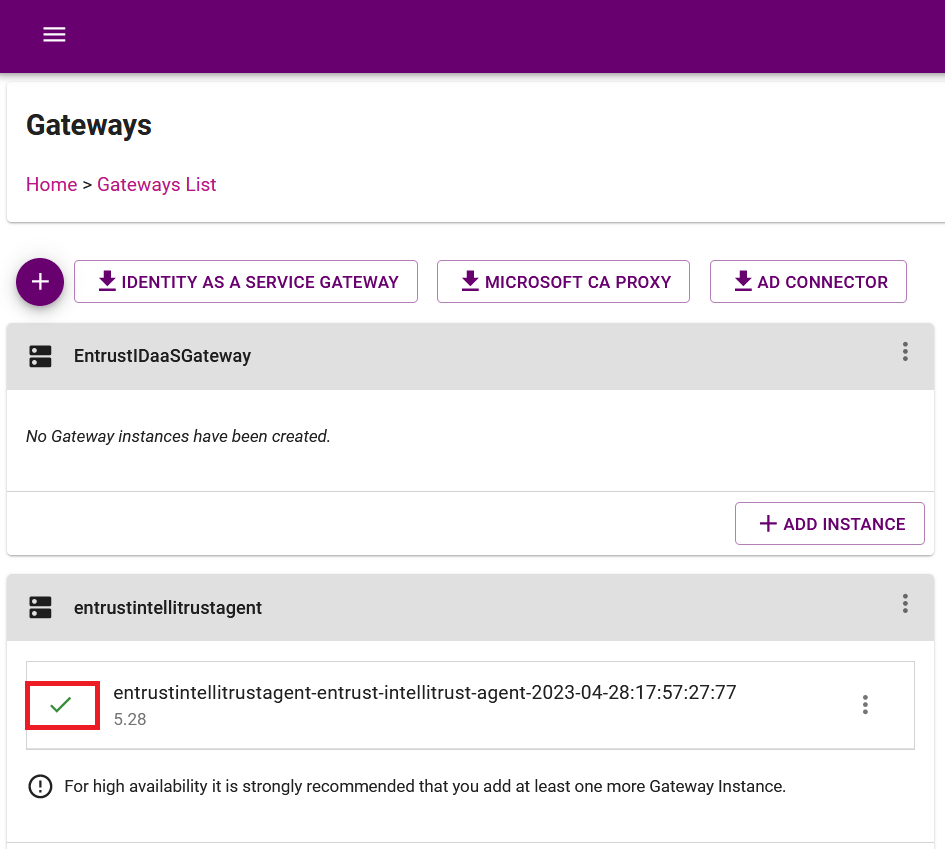
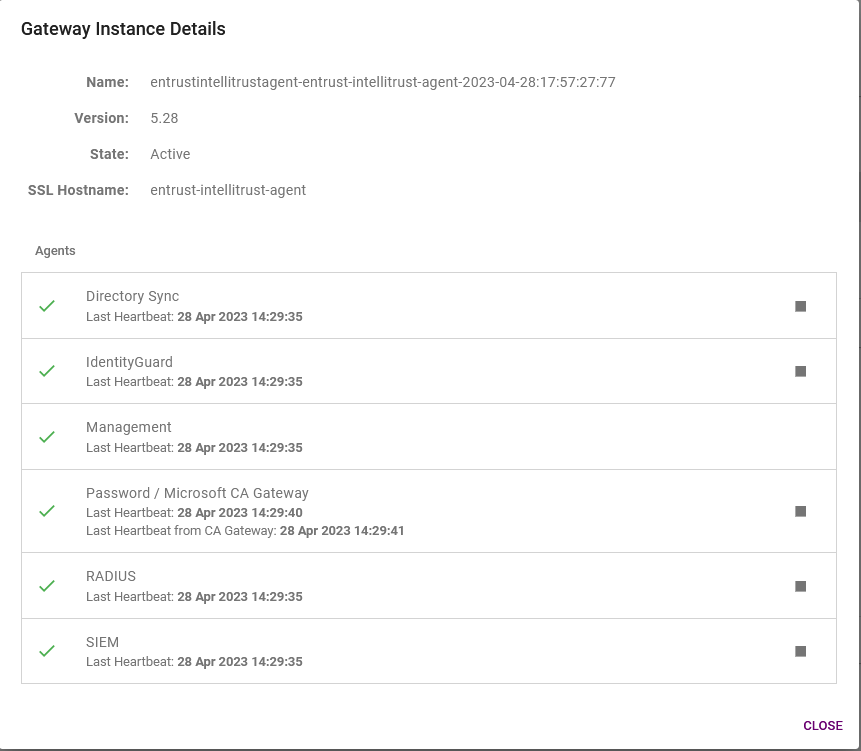
Select Gateways. There is a green check mark next to the gateway created above.
-
Hover over the gateway name to display the details.
Tie Active Directory to Entrust IDaaS
-
Sign in to your unique Entrust IDaaS registration URL.
-
Select Directories.
-
Select the + icon on the left of the page and then select Active Directory (on-premise). The Add Directory page appears.
-
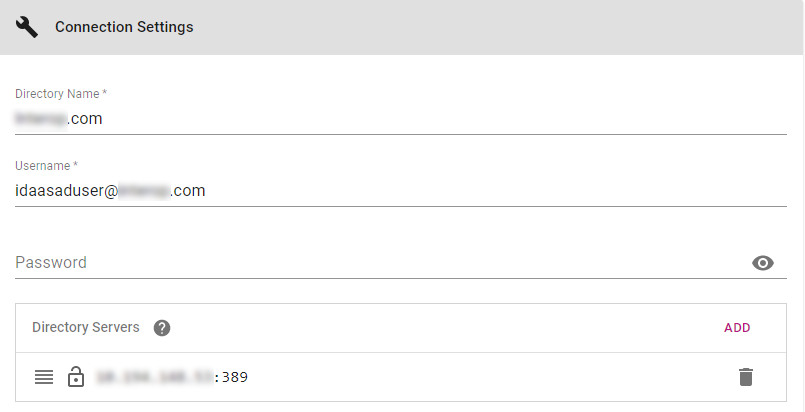
In the Connection Settings, enter the following:
Item Value Directory Name
Domain name
Username
idaasaduser (user created in [configure-active-directory])
Password
Password for idaasaduser
Directory Servers
IP/FQDN of the Active Directory server
-
In the Attribute Mappings section, change the default settings if required.
-
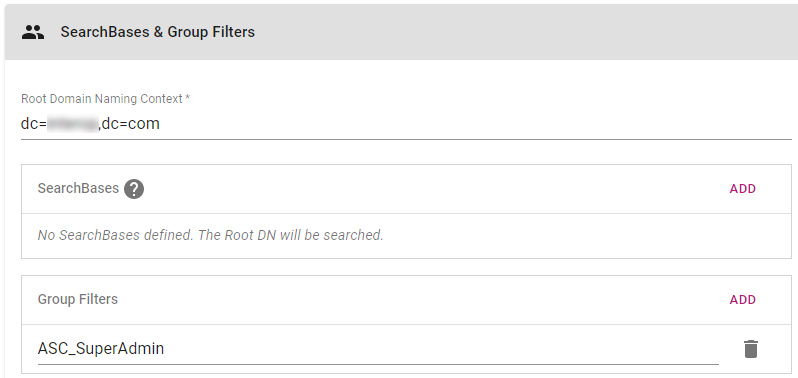
In the SearchBases & Group Filters section, enter the following:
Item Value Root Domain Naming Context
search context, for example, DC=example,DC=com
Group Filters
ASC_SuperAdmin (group created in Configure your Active Directory)
-
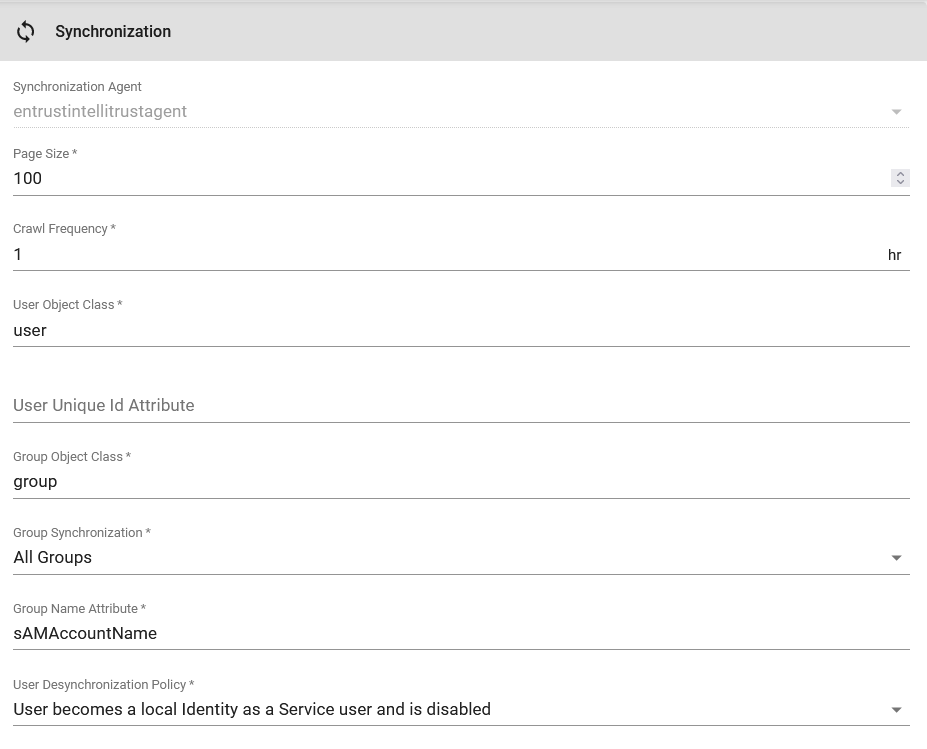
In the Synchronization section, do the following:
-
Select the Synchronization Agent in the pull-down menu, that is the Entrust IDaaS gateway created in section Configure the Entrust IDaaS gateway virtual appliance.
-
Once selected, edit the properties according to your AD settings or leave the defaults.
-
-
Once all the information has been provided, select Add. The Directory List page appears.

-
Select the Sync icon on the directory list row to sync the directory.
-
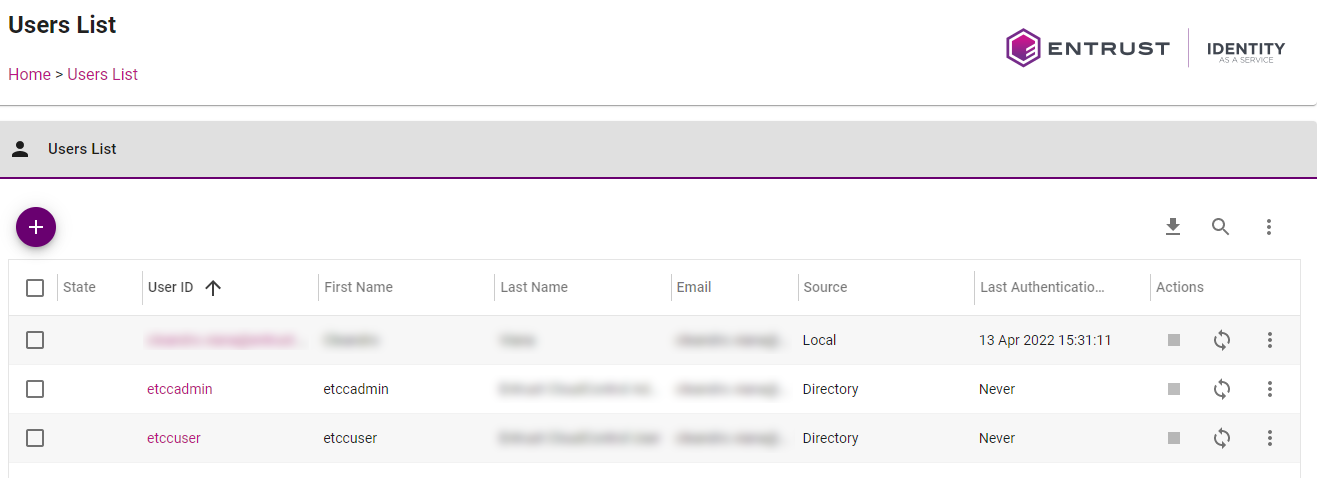
Once synced, verify the Active Directory users etccadmin and etccuser created in section [configure-active-directory] appear in Home > Users.
