Deploy and configure Entrust KeyControl
The following steps summarize the deployment of the Entrust KeyControl:
Deploy Entrust KeyControl cluster
A two-node cluster was deployed for this integration. See the KeyControl online documentation.
KeyControl can be deployed on VMware using the OVA image, or Nutanix AHV and Microsoft Hyper-V using the ISO image. These images are available from Entrust TrustedCare.
Request root certificate for the Entrust KeyControl vault
Any CA can be used, for the purpose of this integration a Microsoft Windows CA configured as a local root was utilized.
-
Log into the Entrust KeyControl Vault server web user interface:
-
Use your browser to access the IP address of the server.
-
Sign in using the secroot credentials.
-
-
In the Vault Management dashboard, select the Settings icon on the top right.
-
Select the Action icon pull-down menu. Then select Generate CSR.
-
Enter your information.
Include the FQDN and / or IP of all the Entrust KeyControl nodes in the Subject Alternative Names. For example:
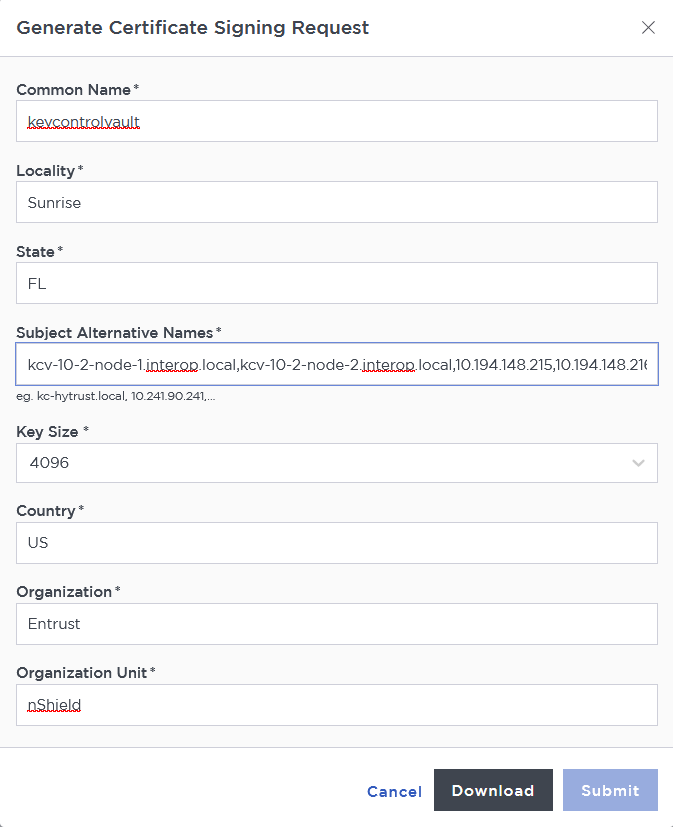
-
Issue a certificate for the CSR created above using the local root CA.
-
Log into your local root CA with Administrator privileges.
-
Copy the CSR created above to a local folder.
-
Launch the certsvr application.
-
Right-click on the <certification authority name> in the left pane and select All Tasks / Submit new request….
-
Select the copied CSR.
-
Select <certification authority name> / Pending Request in the left pane.
-
Right-click on the request in the right pane and select All Tasks / Issue.
-
Select <certification authority name> / Issued Certificates in the left pane.
-
Select the certificate.
-
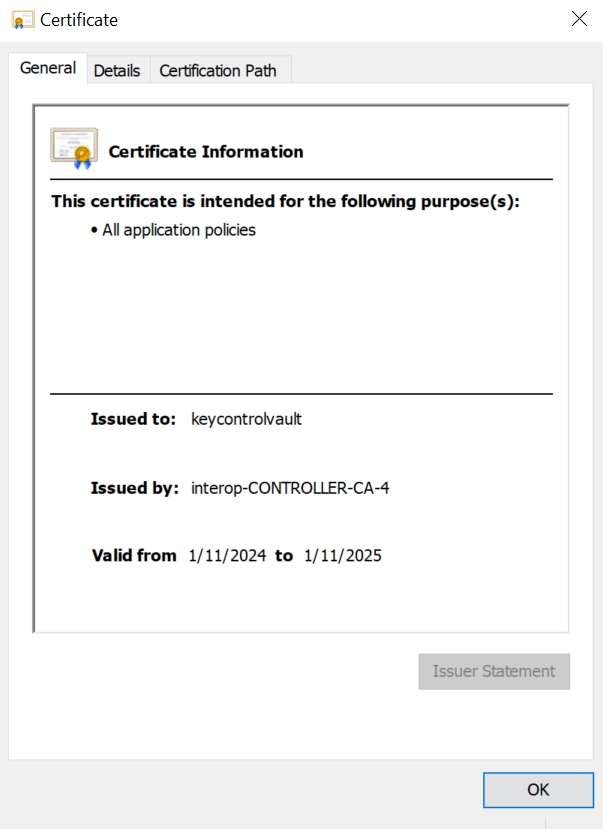
Select the Details tab / Copy to File…. Follow the instructions, selecting Base-64 encoded X.509 in Export File Format.
For example:
-
-
Export the local root CA certificate in pem format.
C:\Users\Administrator>certutil -ca.cert C:\Users\Administrator\Downloads\rootcacert.cer CA cert[0]: 3 -- Valid CA cert[0]: -----BEGIN CERTIFICATE----- MIIDlzCCAn+gAwIBAgIQPaxaYmRa1atOVpZms+TaZjANBgkqhkiG9w0BAQsFADBS MRUwEwYKCZImiZPyLGQBGRYFbG9jYWwxFzAVBgoJkiaJk/IsZAEZFgdpbnRlcm9w MSAwHgYDVQQDExdpbnRlcm9wLUNPTlRST0xMRVItQ0EtNDAeFw0yNDAxMTEyMTEx MzZaFw0zNDAxMTEyMTIxMzZaMFIxFTATBgoJkiaJk/IsZAEZFgVsb2NhbDEXMBUG CgmSJomT8ixkARkWB2ludGVyb3AxIDAeBgNVBAMTF2ludGVyb3AtQ09OVFJPTExF Ui1DQS00MIIBIjANBgkqhkiG9w0BAQEFAAOCAQ8AMIIBCgKCAQEA2rthVuA/D9c3 pRcg1OKXayMBSTEurG0H6icp09re683suJoGDxBBV1Qp0+I6v2PwkkDD46lYlhCn ycr/+UenUS0As30NM9FbWejVdYBH2JHhHZDi2A9HyprWVFb+tLktX1VXbwTXP3QO +WPIEBtXRXTyP0ivkuMVRuyEd+qwTzvldjUGd0j5pRMb2cmI/sFRKN9CjDBNxDDX z/wKB+Kaf9n6oh7RrWXIh5+v/N3gI4EG8z2fL0l0TmPzWdTafg9edvSnOviKVrmT qzGmxlT6DQt8xGRecDiJMH3+9R3XvRLhflcpANdqMAZnNipDCx4re4+DBH7S8mSh Vr1nK2xybQIDAQABo2kwZzATBgkrBgEEAYI3FAIEBh4EAEMAQTAOBgNVHQ8BAf8E BAMCAYYwDwYDVR0TAQH/BAUwAwEB/zAdBgNVHQ4EFgQUYzwTn023Ko23BcNb3u5i zpQLc5QwEAYJKwYBBAGCNxUBBAMCAQAwDQYJKoZIhvcNAQELBQADggEBACmiaN0t tBkyzkxpWy5xA+ePDyCBFLuQ6W1BByI6TCPOLp6CFsmYg9NB4c61+Y5lpIQhDJFf AODT1LZRTq6b5h8vl1GdNzim2wPrtjviNvmQ0Q5R/2tJzR9D3SB6Hv+bU5lRP7j/ giWpEx5ImmmfG7BJ4DxWxpA2sooC02iP2TOw5GJcI+varjKNCsyYSiyYhigOpnh/ 3ZlpMv2IGB/YykLfCPL2SOtYq0LcAnniiXmxx9iylgZwi3xQPx35JLn8b2Mrg0qI iMaAoCzJXU09aZcMv+ZCQ27PaowRmxx+WSdYt8ZORP+cHC+xemLyamnyxzXp07qE MsNUdQy+Lo5h5XI= -----END CERTIFICATE----- CertUtil: -ca.cert command completed successfully. C:\Users\Administrator>certutil -encode C:\Users\Administrator\Downloads\rootcacert.cer C:\Users\Administrator\Downloads\rootcacert.pem.cer Input Length = 923 Output Length = 1328 CertUtil: -encode command completed successfully. -
Copy the
keycontrolvaultcertificate and therootcacert.pem.certo a location in the Entrust KeyControl Vault server.
Install root certificate in the Entrust KeyControl vault
The KMIP server settings are set at the Entrust KeyControl appliance level and apply to all the KMIP vaults. See KMIP Client and Server Configuration.
-
Log into the Entrust KeyControl Vault server web user interface.
-
In the Vault Management dashboard, select the Settings icon on the top right.
-
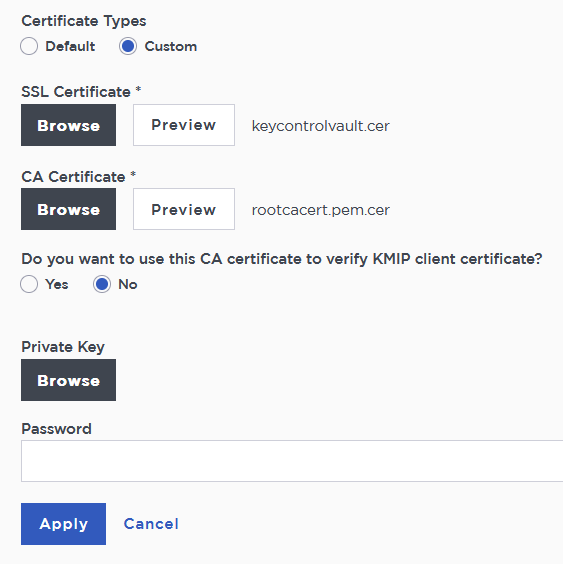
Select Custom radio button in Certificate Types.
-
Browse and select the certificate as shown.
-
The other defaults settings are appropriate for most applications. Make any changes necessary.
-
Select Apply.
Create a KMIP Vault in the Entrust KeyControl
The KeyControl Vault appliance supports different type of vaults that can be used by all type of applications. This section describes how to create a KMIP Vault in the KeyControl Vault Server.
Refer to the Creating a Vault section of the admin guide for more details about it.
-
Log into the KeyControl Vault Server web user interface:
-
Use your browser to access the IP address of the server.
-
Sign in using the secroot credentials.
-
-
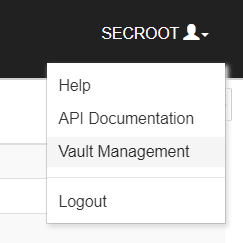
Select the user’s dropdown menu and select Vault Management.
-
In the KeyControl Vault Management interface, select Create Vault.
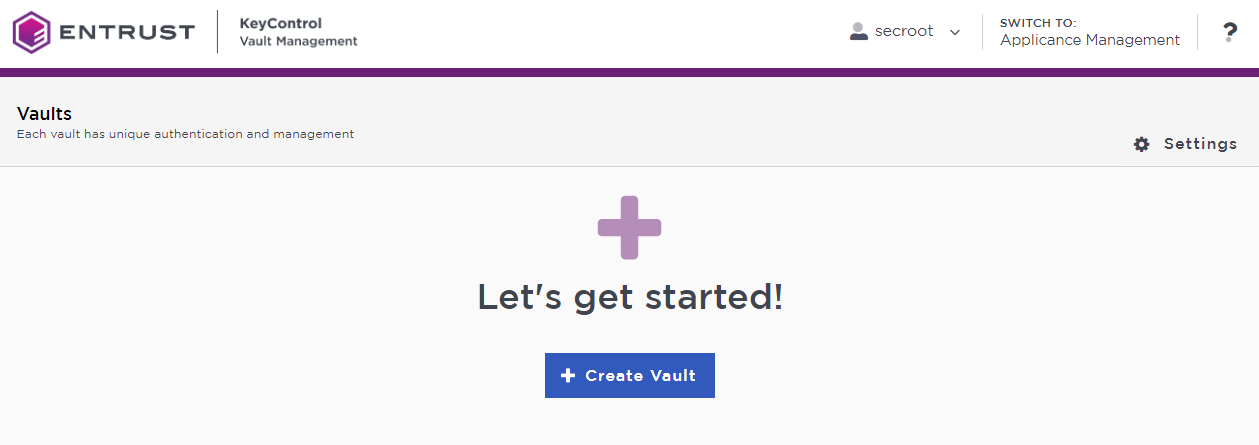
KeyControl Vault supports the following types of vaults:
-
Cloud Key Management - Vault for cloud keys such as BYOK and HYOK.
-
KMIP - Vault for KMIP Objects.
-
PASM - Vault for objects such as passwords, files, SSH keys, and so on.
-
Database - Vault for database keys.
-
Tokenization - Vault for tokenization policies.
-
VM Encryption - Vault for encrypting VMs.
-
-
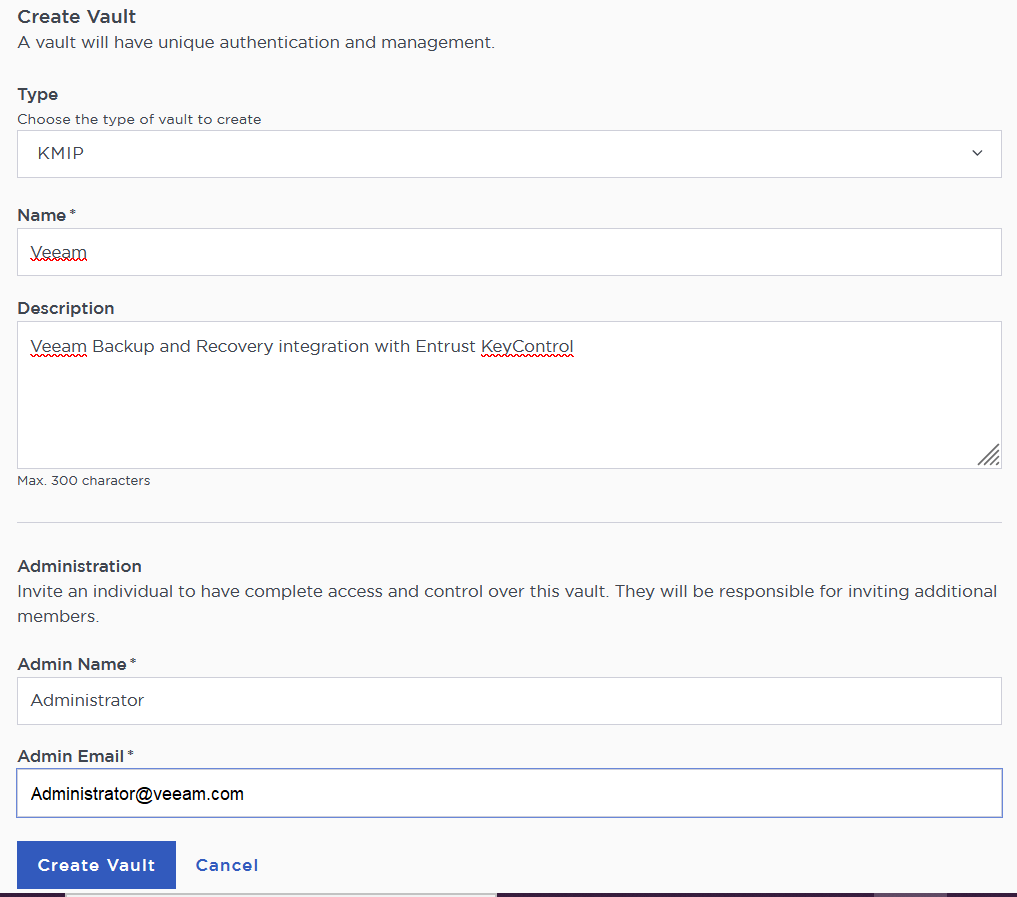
In the Create Vault page, create a KMIP Vault:
Field Value Type
KMIP
Name
Vault name
Description
Vault description
Admin Name
Vault administrator username
Admin Email
Vault administrator email
For example:
-
Select Create Vault. Then select Close.
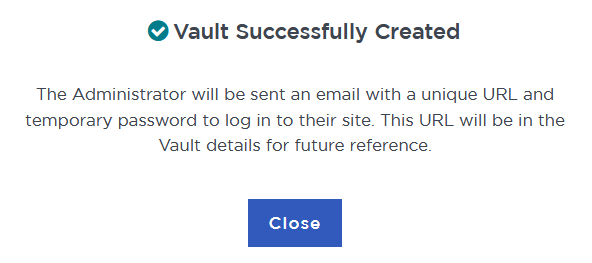
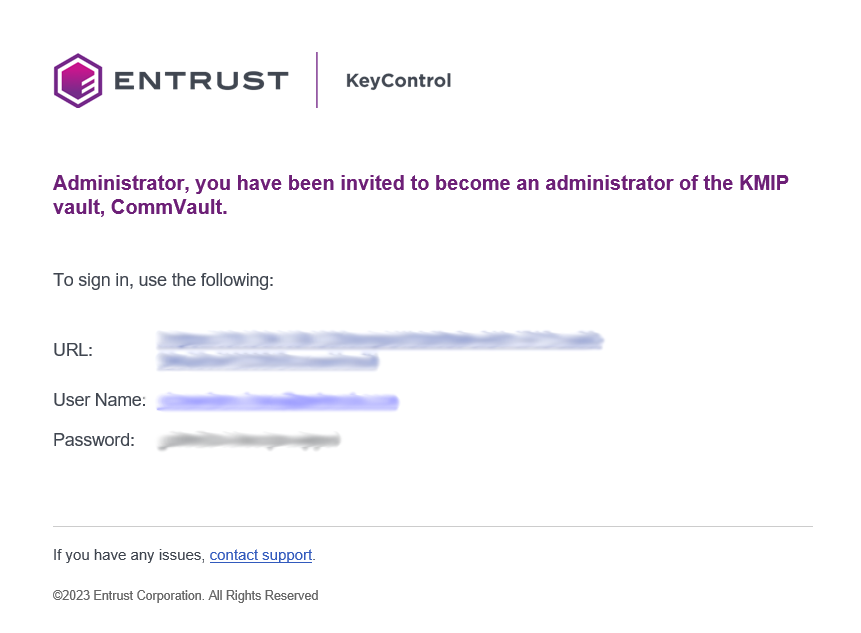
The newly created vault URL and login credentials will be emailed to the administrator’s email address entered above. In closed gap environments where email is not available, the URL and login credentials are displayed at this time. Example email:
-
Bookmark the URL and save the credentials. Then select Close if the URL and login credentials are displayed.
-
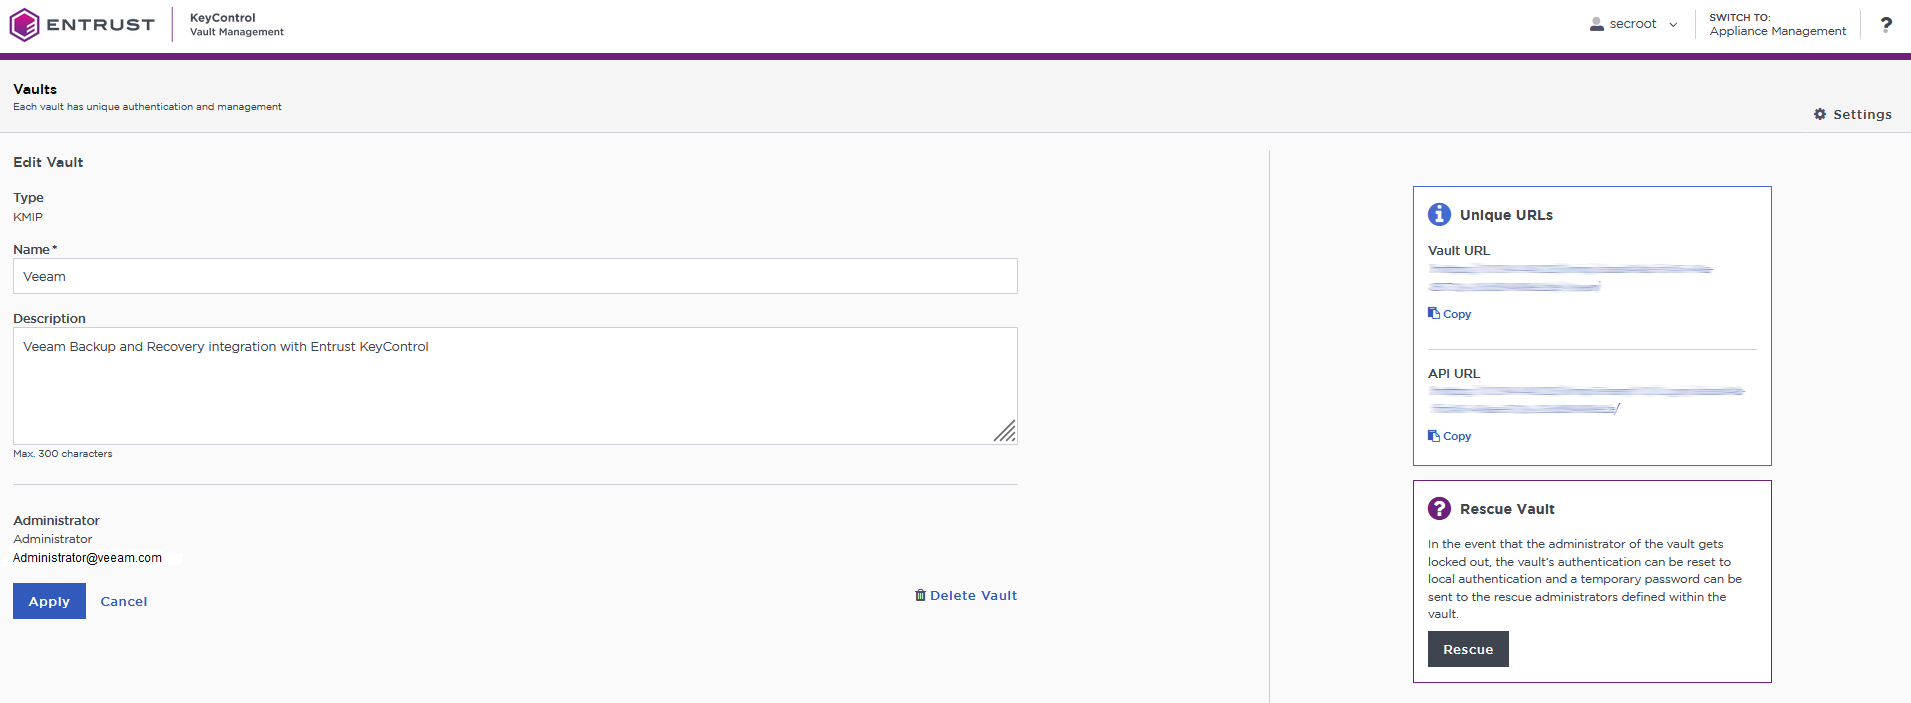
The newly created Vault is added to the Vault Management dashboard.
For example:

-
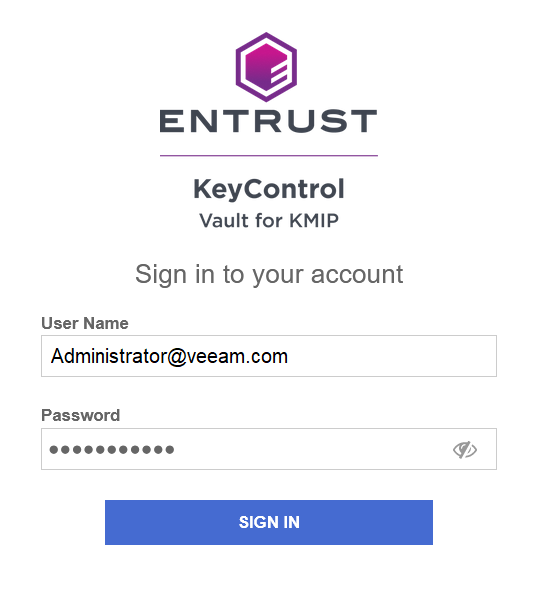
Login to the URL provided above with the temporary password. Change the initial password when prompted. Sign in again to verify.
For example:
-
Notice the new vault.
For example:

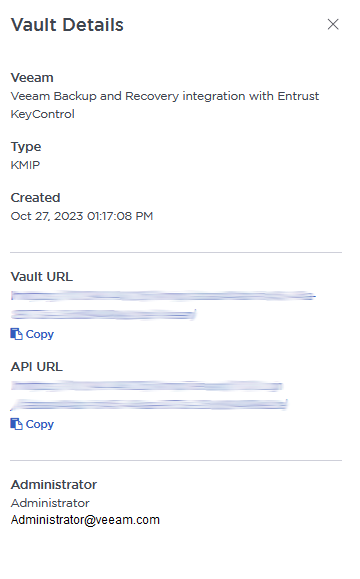
View the KMIP Vault details
-
Hover over the Vault and select View Details.
For example:
-
Select Close when done.
Add KMIP Vault Administrators
It is important to have other administrators set up on the Vault for recovery purposes. Add one or more admins to the Vault.
-
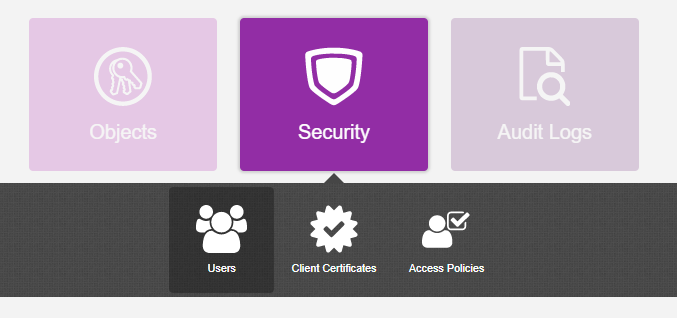
Select Security > Users.
-
In the Manage Users dashboard:
-
Select the + icon to add one or more users.
-
Add the user by providing the information requested in the Add User dialog.
For example:

-
Select Add.
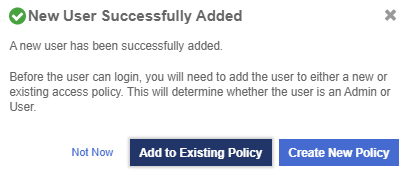
After the user is added, a window appears which requests selection of the policy to be used by this user.
-
-
Select Add to Existing Policy.
-
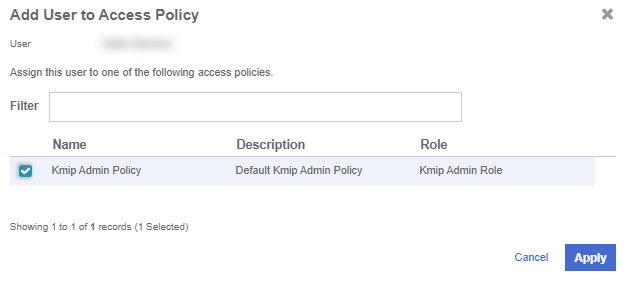
On the Add User to Access Policy dialog, select the KMIP Admin Policy and select Apply. The new user is added as an administrator to the Vault.
For example:
Create the Entrust KeyControl client certificate bundle
Certificates are required to facilitate the KMIP communications from the Entrust KeyControl KMIP Vault and Veeam Backup & Replication application and conversely. The built-in capabilities in Entrust KeyControl are used to create and publish the certificate.
-
Login to the KMIP Vault with the URL and credentials from Create a KMIP Vault in the Entrust KeyControl.
-
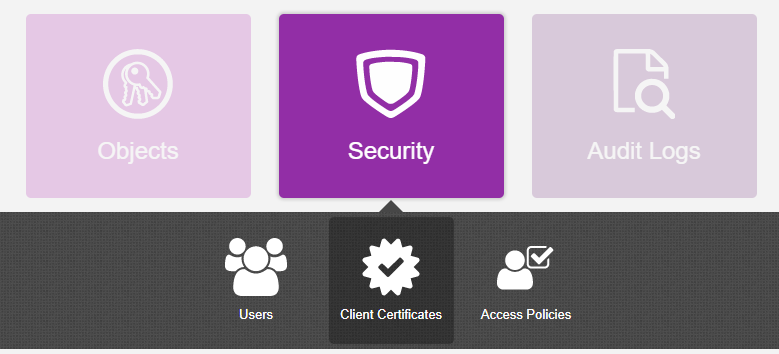
Select Security, then Client Certificates.
-
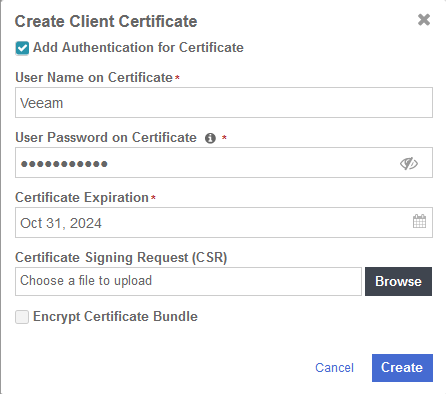
In the Manage Client Certificate page, select the + icon on the right to create a new certificate. The Create Client Certificate dialog box appears.
-
In the Create Client Certificate dialog box:
-
Select Add Authentication for Certificate.
-
Enter the username.
-
Enter the password.
-
Enter the expiration date.
-
Leave Certificate Signing Request (CSR) field as default.
-
Select Create.
For example:
The new certificates are added to the Manage Client Certificate pane.

-
-
Select the certificate and select the Download icon to download the certificate.
-
Unzip the downloaded file. It contains the following:
-
A
certname.pemfile that includes both the client certificate and private key. In this example, this file is calledVeeam.pem.The client certificate section of the
certname.pemfile includes the lines “-----BEGIN CERTIFICATE-----" and “-----END CERTIFICATE-----" and all text between them.The private key section of the
certname.pemfile includes the lines “-----BEGIN PRIVATE KEY-----" and “-----END PRIVATE KEY-----" and all text in between them. -
A
cacert.pemfile which is the root certificate for the KMS cluster. It is always namedcacert.pem.

-
-
Create two new files named
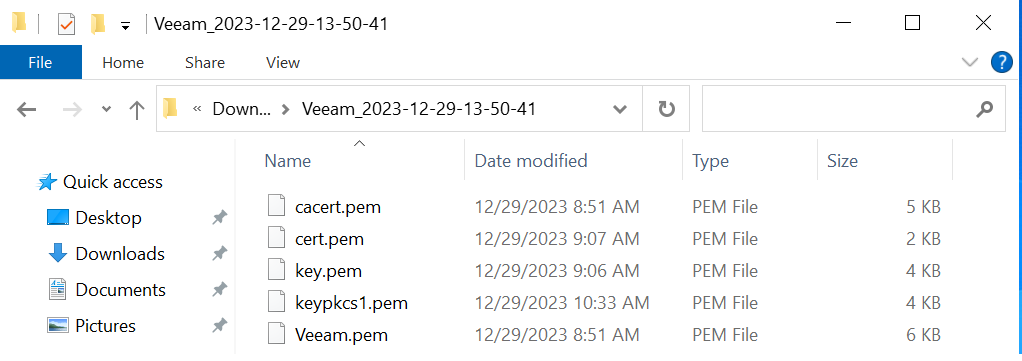
cert.pemandkey.pem. Filecert.pemcontent is the client certificate section ofVeeam.pem. Filekey.pemcontent is the private key section ofVeeam.pem. -
Convert
key.peminto a PKCS #11 format by using the following command. choco install openssl. Save these Files for later use in Veeam Backup & Replication KMS Configure Section.> openssl pkey -in key.pem -out keypkcs1.pem -traditional