Integrate a new IIS deployment with the nShield HSM
This section describes how to integrate a new IIS server installation with an nShield HSM.
Create a certificate request
IIS Manager does not support the creation of certificate requests protected by CNG keys. These must be created using the Microsoft command-line utilities in Windows PowerShell.
-
Verify the nCipher Primitive Provider and nCipher Security World Key Storage Provider are available. Otherwise, see section Install and register the CNG provider.
>cnglist.exe --list-providers Microsoft Key Protection Provider Microsoft Passport Key Storage Provider Microsoft Platform Crypto Provider Microsoft Primitive Provider Microsoft Smart Card Key Storage Provider Microsoft Software Key Storage Provider Microsoft SSL Protocol Provider Windows Client Key Protection Provider nCipher Primitive Provider nCipher Security World Key Storage Provider -
Create a
request.inffile for an SSL certificate linked to a 2048 RSA key protected by the HSM. Note the ProviderName set to nCipher Security World Key Storage Provider.For example:
[Version]
Signature= "$Windows NT$"

[NewRequest]
Subject = "CN=interop.local,C=US,ST=Florida,L=Sunrise,O=InteropLocal,OU=WebServer"
HashAlgorithm = SHA256
KeyAlgorithm = RSA
KeyLength = 2048
ProviderName = "nCipher Security World Key Storage Provider"
KeyUsage = 0xf0
MachineKeySet = True

[EnhancedKeyUsageExtension]
OID = 1.3.6.1.5.5.7.3.1

[Extensions]
2.5.29.17 = "{text}dns=interop.local&dns=msiiswin2025.interop.local&ipaddress=XX.XXX.XXX.XXX"
Note the Extensions section, which specifies the server FQDN and IP address. Replace these values with those for your environment. -
Run the following command to create the certificate request.
> certreq.exe -new request.inf IISCertRequest.csr -
Depending on the protection method selected when you set up the CNG provider, the nCipher Key Storage Provider - Create Key pop-up window may appear. If so:
-
Select Next.
-
Select Operator Card Set protection. Then select Next.
-
Choose the OCS. Then select Next.
-
Choose the HSM. Then select Finish.
-
Present the OCS to the HSM.
-
In the Card reading complete. window, select Finish.
-
-
Verify that the command completed successfully.
> certreq.exe -new request.inf IISCertRequest.csr CertReq: Request Created -
Verify that the
IISCertRequest.csrfile was created.
Sign the certificate request
Submit the CSR file for signature to your organization’s CA.
For this integration, a local two-tier PKI infrastructure was used for signing.
The signed certificate file is IISCertRequest.cer.
Install the certificate
Open a command window and run the following to make the signed certificate available for use in IIS.
> certreq -accept IISCertRequest.cer

Installed Certificate:
  Serial Number: 390000003957b936b67d64cb46000400000039
  Subject: CN=interop.local, OU=WebServer, O=InteropLocal, L=Sunrise, S=Florida, C=US (DNS Name=interop.local, DNS Name=msiiswin2025.interop.local, IP Address=XX.XXX.XXX.XXX)
  NotBefore: 6/29/2026 3:07 PM
  NotAfter: 6/28/2028 3:07 PM
  Thumbprint: 9b3b463003bfba1155d74635198a345b21ee77bd
Bind the certificate to the IIS server
-
Go to Start > Internet Information Service Manager.
-
Select the hostname, then double-click Server Certificates and verify the certificate you accepted in the previous step is listed.
-
Under Sites on the left-hand side of the IIS Manager screen, select Default website.
-
Select Bindings link on the right-hand side of the IIS Manager.
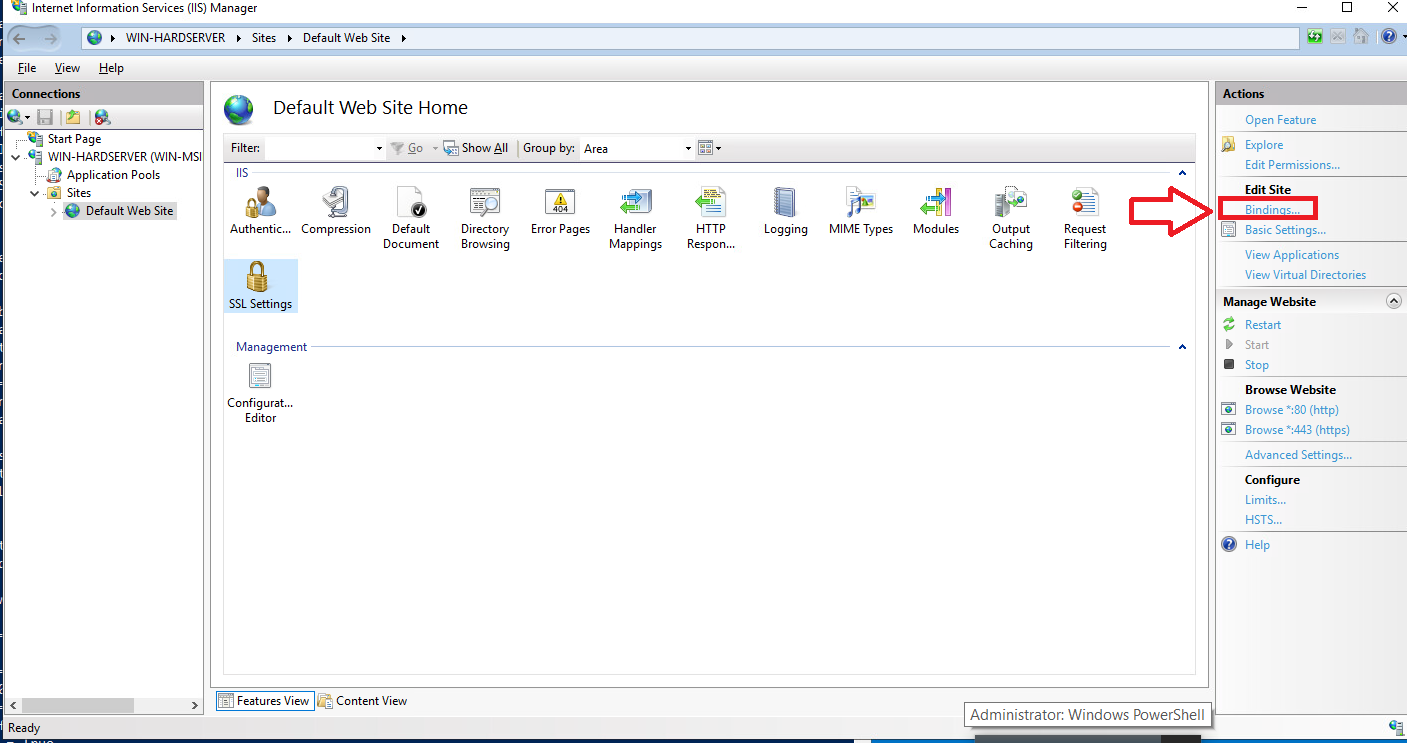
-
In the Site Bindings window, if the https protocol is not listed, add it now. To do this, select Add, set the protocol as https and select the required certificate from the list.
If the https protocol already exists, select Edit instead. Ensure the SSL certificate selected matches the certificate accepted in the previous step.
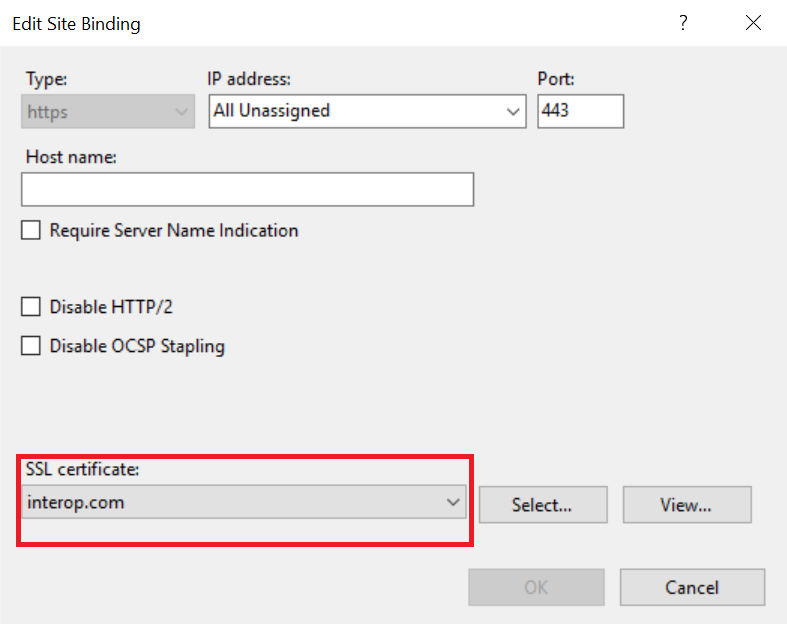
-
Select OK to complete the certificate binding for SSL connection.
-
Select Close on the Site Bindings screen.
-
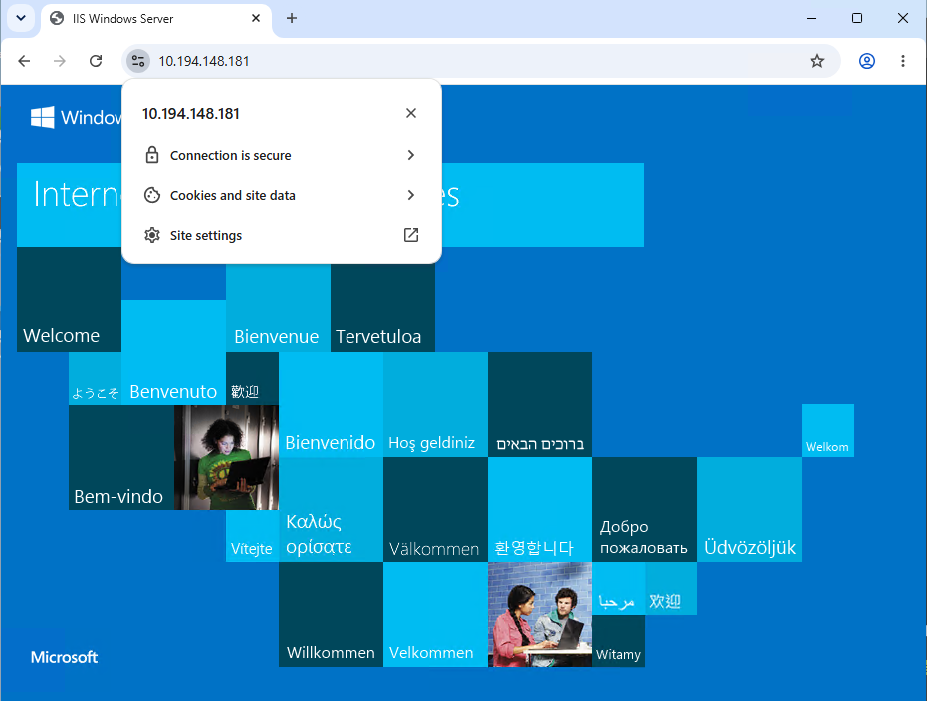
Restart the IIS server.
> iisreset