Integrate an existing IIS deployment with the nShield HSM
This section describes how to integrate an existing IIS server installation with an nShield HSM. It is assumed the existing IIS server has a software-protected certificate and private key, and that you have created an HSM-protected certificate as shown in the previous chapter. This certificate will be used to replace the software-protected certificate.
Export the software-protected certificate
Export the original certificate from the personal folder in the local computer’s certificate store. Then delete the certificate from the store.
Get the serial number of the software-protected certificate
-
List the certificates in the Personal Certificate Store.
> certutil -store My

My "Personal"
================ Certificate 0 ================
Serial Number: 390000003f85b8b543d680f3df00040000003f
Issuer: CN=interop-INTEROP-SUB-CA, DC=interop, DC=local
 NotBefore: 6/30/2026 4:19 PM
 NotAfter: 6/29/2028 4:19 PM
Subject: CN=interop.local, OU=WebServer, O=InteropLocal, L=Sunrise, S=Florida, C=US
Certificate Template Name (Certificate Type): WebServer
Non-root Certificate
Template: WebServer, Web Server
Cert Hash(sha1): 27c8d5c4282a8133d5c28144b5dad4c57eb301bb
  Key Container = tq-7d4a0fc0-a9db-40ac-a7da-e310d9d7bf64
  Unique container name: 4bfc560bca8ba138ceb05083148ca440_f09b9169-7c8f-457c-b402-71bff37f103f
  Provider = Microsoft Software Key Storage Provider
Private key is NOT exportable
Encryption test passed
CertUtil: -store command completed successfully.
Save the Serial Number, as it will be used in the following steps.
Export the software-protected certificate
At the command line, use the serial number found in the previous section.
$cert = Get-ChildItem -Path Cert:\LocalMachine\My | Where-Object { $_.SerialNumber -eq "390000003f85b8b543d680f3df00040000003f" }
Export-Certificate -Cert $cert -FilePath .\SoftwareProtected.cer
This creates a file named SoftwareProtected.cer containing the exported certificate.
To export the certificate:
-
Type MMC in the Windows search text box and select OK.
-
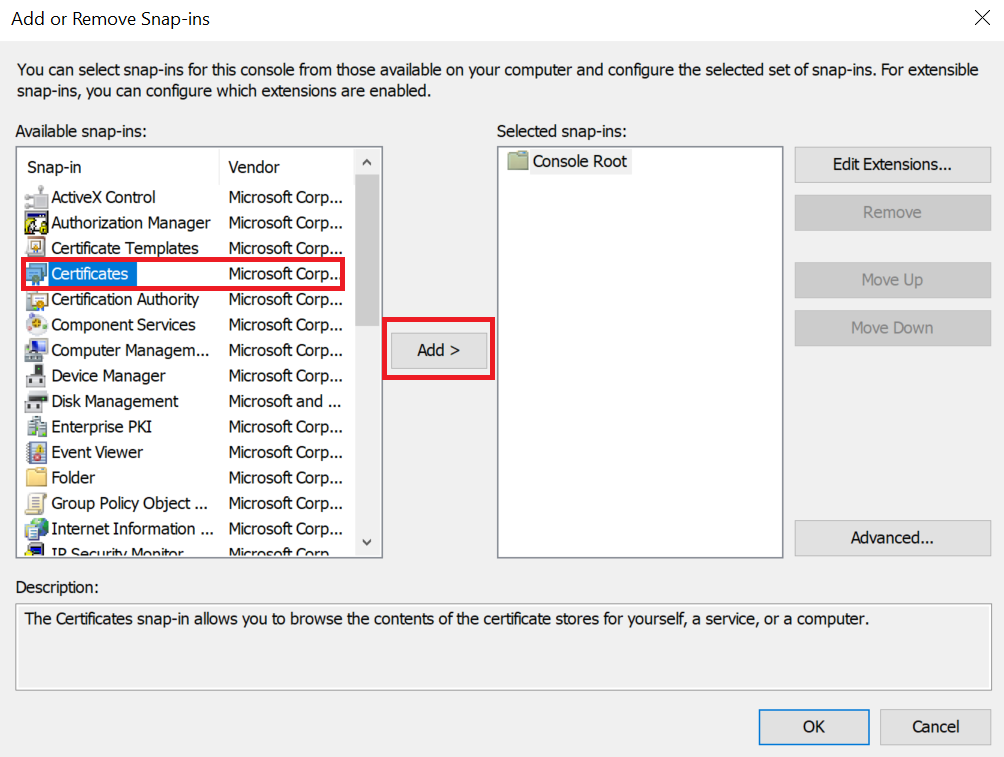
On the Console window, select File > Add/Remove Snap-in.
-
Select Certificates from Available Standalone Snap-ins. Then select Add.
-
On the Certificates snap-in window, select Computer account. Then select Next.
-
On the Select Computer window, select Local computer. Then select Finish and OK.
-
Navigate to Certificates (Local Computer) > Personal > Certificates.
-
Right-select the certificate file and select All Tasks > Export.

-
On the Welcome to the Certificate Export Wizard window, select Next.
-
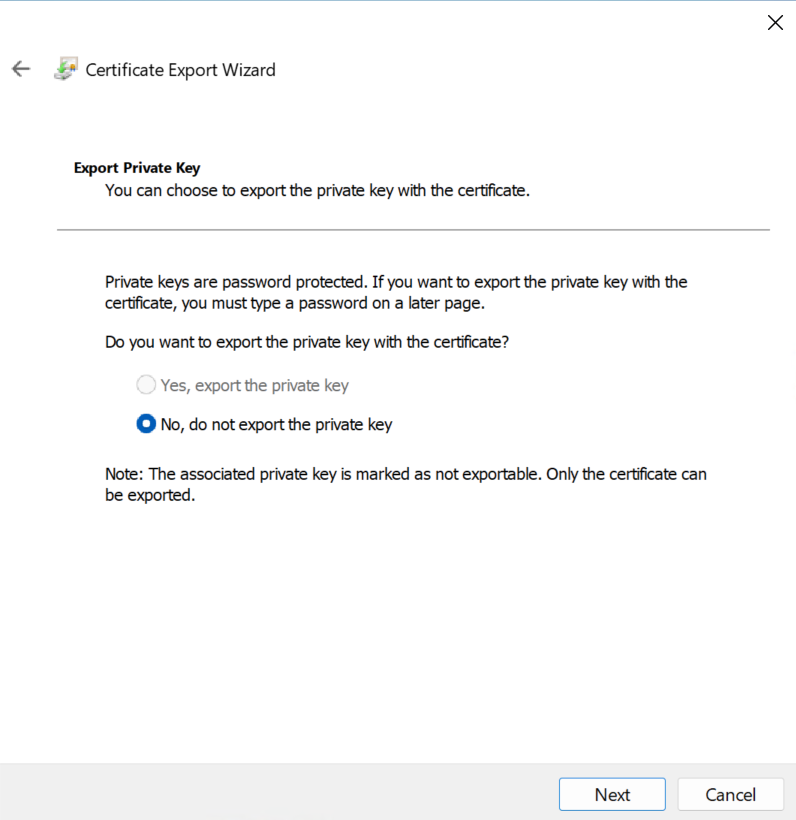
On the Export Private Key window, select No, do not export the private key. Then select Next.
-
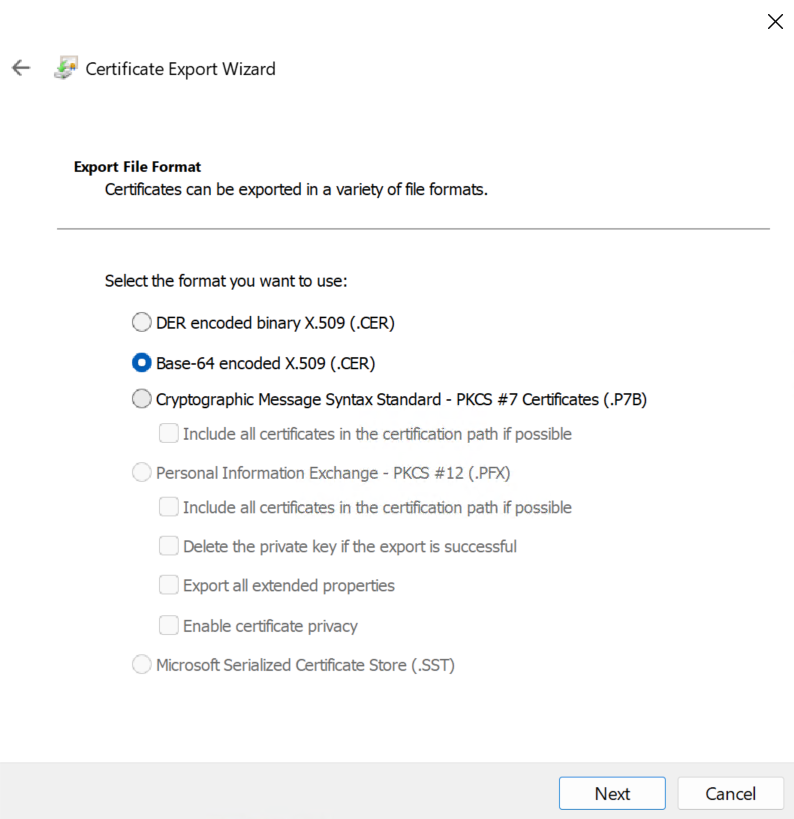
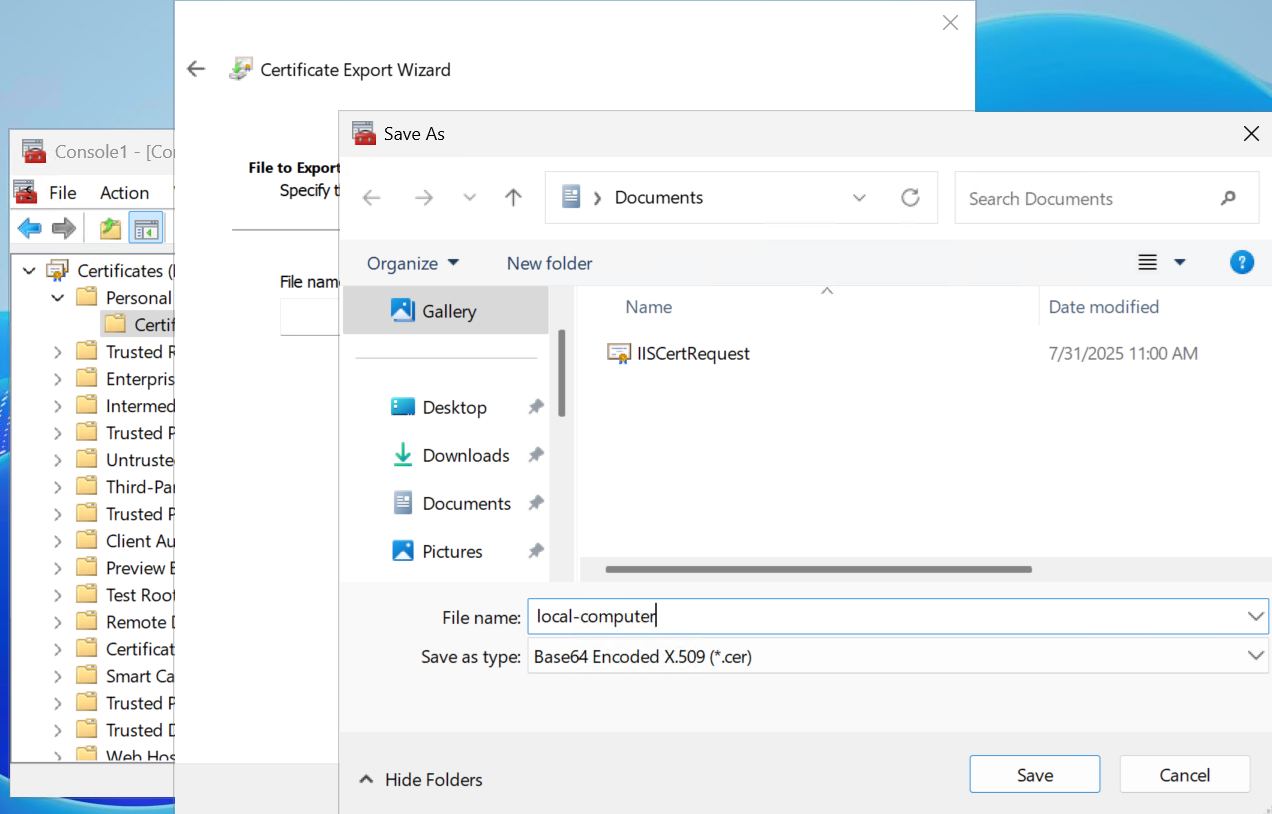
On the Export File Format window, select Base-64 encoded X.509 (.Cer) and select Next.
-
On the File to Export window, select an absolute path and filename to save the exported certificate. Then select Next twice.
-
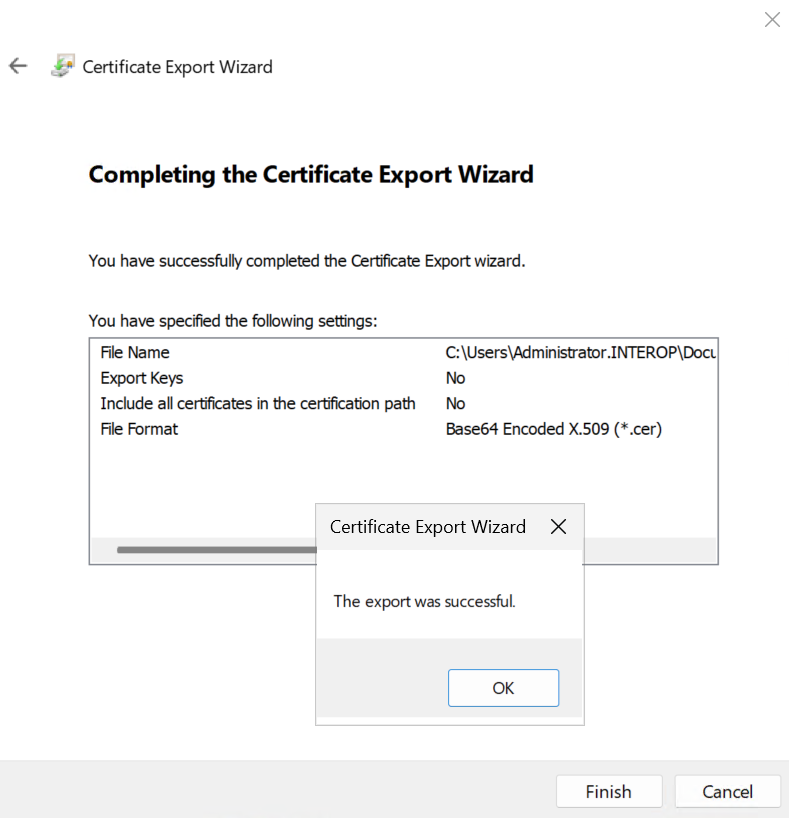
On the Completing the Certificate Export Wizard window, select Finish and OK.
Delete the certificate from the Personal certificate store
After exporting the certificate, delete the certificate from the Personal certificate store.
Use the certutil command as shown below:
PS> certutil -delstore My 390000003f85b8b543d680f3df00040000003f
My "Personal"
Deleting Certificate 0: CN=interop.local, OU=WebServer, O=InteropLocal, L=Sunrise, S=Florida, C=US:27c8d5c4282a8133d5c28144b5dad4c57eb301bb
CertUtil: -delstore command completed successfully.
Import new certificate into the certificate store
If the new certificate has not been created yet, create it using the procedures below.
-
Create a
request.inffile for an SSL certificate linked to a 2048 RSA key protected by the HSM.[Version] Signature= "$Windows NT$" [NewRequest] Subject = "CN=interop.local,C=US,ST=Florida,L=Sunrise,O=InteropLocal,OU=WebServer" HashAlgorithm = SHA256 KeyAlgorithm = RSA KeyLength = 2048 ProviderName = "nCipher Security World Key Storage Provider" KeyUsage = 0xf0 MachineKeySet = True [EnhancedKeyUsageExtension] OID = 1.3.6.1.5.5.7.3.1 [Extensions] 2.5.29.17 = "{text}dns=interop.local&dns=msiiswin2025.interop.local&ipaddress=xx.xxx.xxxx.xxx" -
Run the following command to create the certificate request.
> certreq.exe -new request.inf IISCertRequest.csr -
Sign the certificate request.
Submit the CSR file for signature to your organization’s CA. For this integration, a local two-tier PKI infrastructure was used for signing. The signed certificate file is
IISCertRequest.cer. -
Import the new certificate.
> certreq -accept IISCertRequest.cer
Bind the certificate to the IIS server
-
Open the IIS Manager: Start > Internet Information Services (IIS) Manager.
-
Under Sites on the left-hand side of the IIS Manager window, select the applicable web site.
-
On the right-hand side of the IIS Manager window, select Bindings.
-
On the Site Bindings screen, select Edit.
-
Select the protocol https.
-
Select the certificate from the drop-down list.
-
To complete the certificate binding for the SSL connection, select OK and Close.
Reset IIS
HTTP.sys is a kernel-mode driver and iisreset does not reset it; HTTP.sys retains its SSL session cache.
To clear the cache, perform a full server reboot or use the following commands:
net stop http /y
net start w3svc
iisreset
net stop http stops all services dependent on HTTP.sys on the machine, not just IIS.
|
The expected output is:
> net stop http /y
The following services are dependent on the HTTP Service service.
Stopping the HTTP Service service will also stop these services.

   World Wide Web Publishing Service
   Windows Remote Management (WS-Management)
   Print Spooler

The World Wide Web Publishing Service service is stopping.
The World Wide Web Publishing Service service was stopped successfully.

The Windows Remote Management (WS-Management) service is stopping.
The Windows Remote Management (WS-Management) service was stopped successfully.

The Print Spooler service is stopping.
The Print Spooler service was stopped successfully.


The HTTP Service service was stopped successfully.

> net start w3svc
The World Wide Web Publishing Service service is starting.
The World Wide Web Publishing Service service was started successfully.

> iisreset

Attempting stop...
Internet services successfully stopped
Attempting start...
Internet services successfully restarted