Deploy and configure Entrust KeyControl
The following steps summarize the deployment of the Entrust KeyControl:
Deploy a Entrust KeyControl cluster
This deployment consists of two nodes.
-
Download the Entrust KeyControl software from Entrust TrustedCare. This software is available both as an OVA or ISO image. The OVA installation method in VMware is used in this guide for simplicity.
-
Install Entrust KeyControl as described in Entrust KeyControl OVA Installation.
-
Configure the first Entrust KeyControl node as described in Configuring the First Entrust KeyControl Node (OVA Install).
-
Add second Entrust KeyControl node to cluster as described in Adding a New Entrust KeyControl Node to an Existing Cluster (OVA Install).
Both nodes need access to an NTP server, otherwise the above operation will fail. Log in the console to change the default NTP server if required. 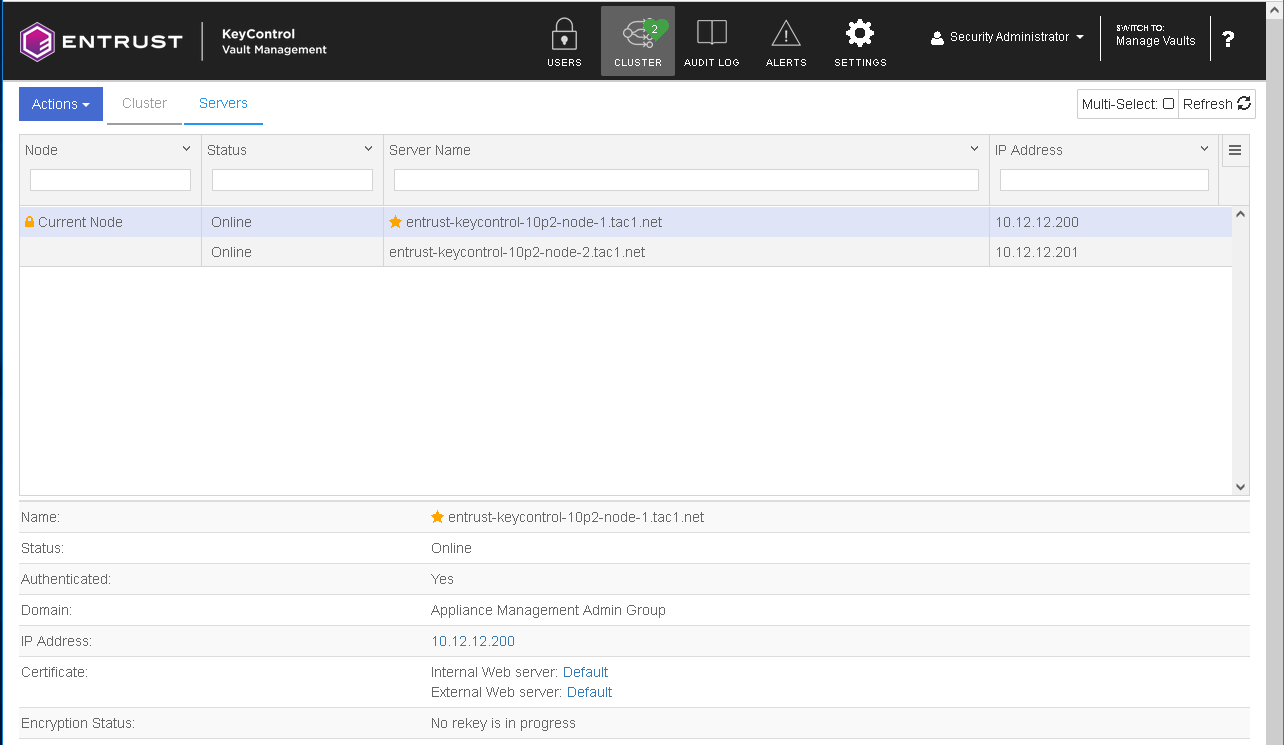
-
Install the Entrust KeyControl license as described in Managing the Entrust KeyControl License.
Additional Entrust KeyControl cluster configuration
After the Entrust KeyControl cluster is deployed, additional system configuration can be done as described in Entrust KeyControl System Configuration.
Authentication
For simplicity, local account authentication is used in this integration. For AD-managed Security groups, configure the LDAP/AD Authentication Server as described in Specifying an LDAP/AD Authentication Server.
Create DNS record for Entrust KeyControl cluster
-
Create a single DNS record named EntrustKeyControl in the domain.
-
Assign this record as many IPs as nodes in the cluster created above, two in this integration.
Create a KMIP Vault in the Entrust KeyControl
The Entrust KeyControl Vault appliance supports different type of vaults that can be used by all type of applications. This section describes how to create a KMIP Vault in the Entrust KeyControl Vault Server.
Refer to the Creating a Vault section of the admin guide for more details about it.
-
Sign in to the Entrust KeyControl Vault Server web user interface:
-
Use your browser to access the IP address of the server.
-
Sign in using the secroot credentials.
-
-
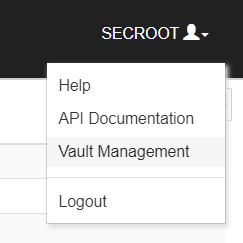
Select the user’s dropdown menu and select Vault Management.
-
In the Entrust KeyControl Vault Management interface, select Create Vault.
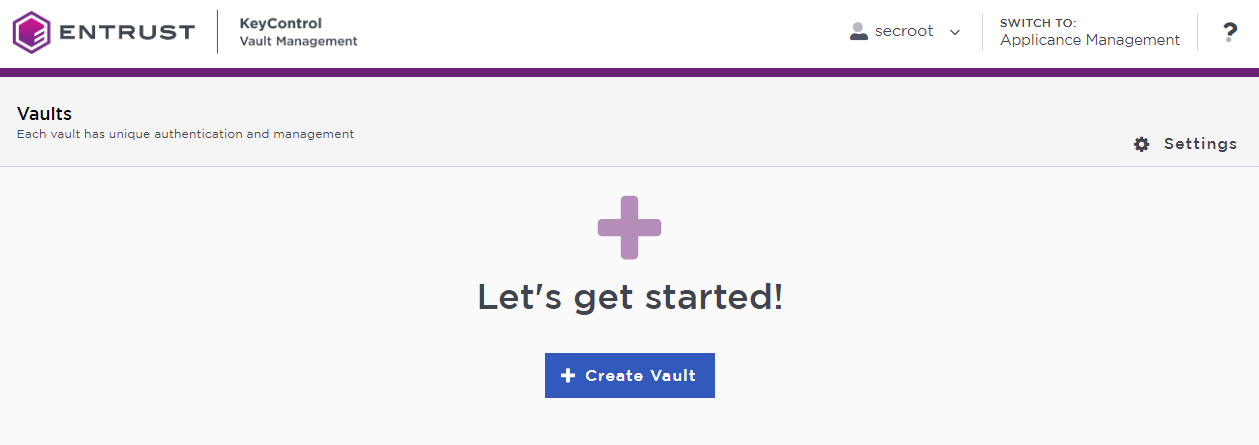
Entrust KeyControl Vault supports the following types of vaults:
-
Cloud Key Management - Vault for cloud keys such as BYOK and HYOK.
-
KMIP - Vault for KMIP Objects.
-
PASM - Vault for objects such as passwords, files, SSH keys, and so on.
-
Database - Vault for database keys.
-
Tokenization - Vault for tokenization policies.
-
VM Encryption - Vault for encrypting VMs.
-
-
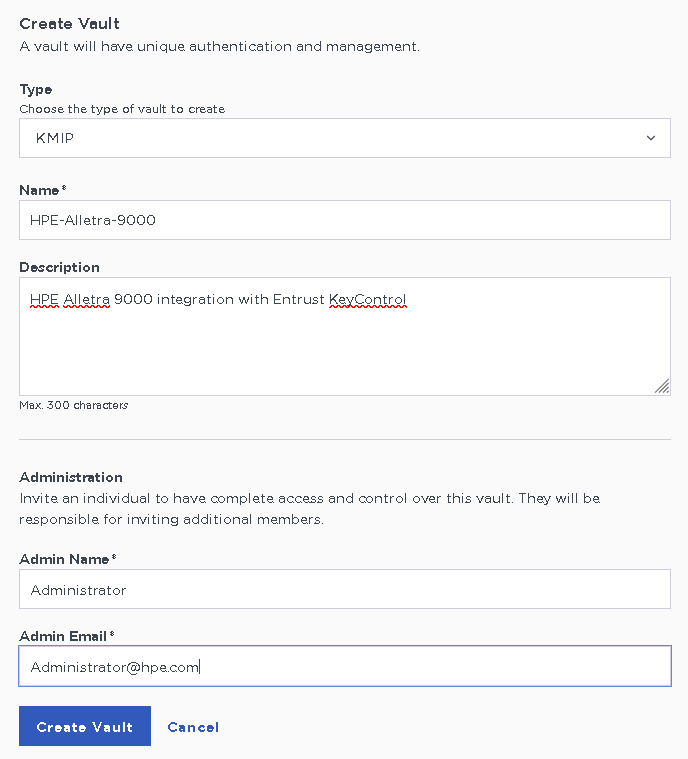
In the Create Vault page, create a KMIP Vault:
Field Value Type
KMIP
Name
Vault name
Description
Vault description
Admin Name
Vault administrator username
Admin Email
Vault administrator email
For example:
-
Select Create Vault. Then select Close.
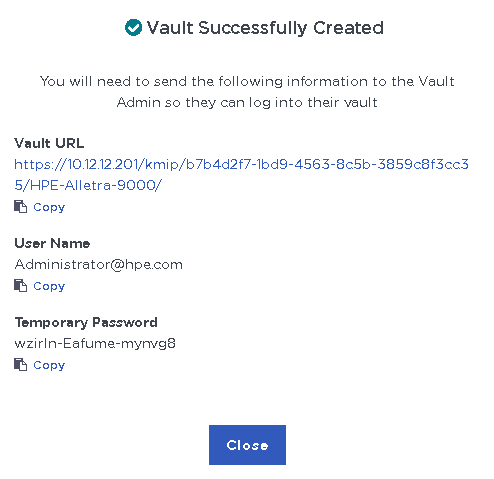
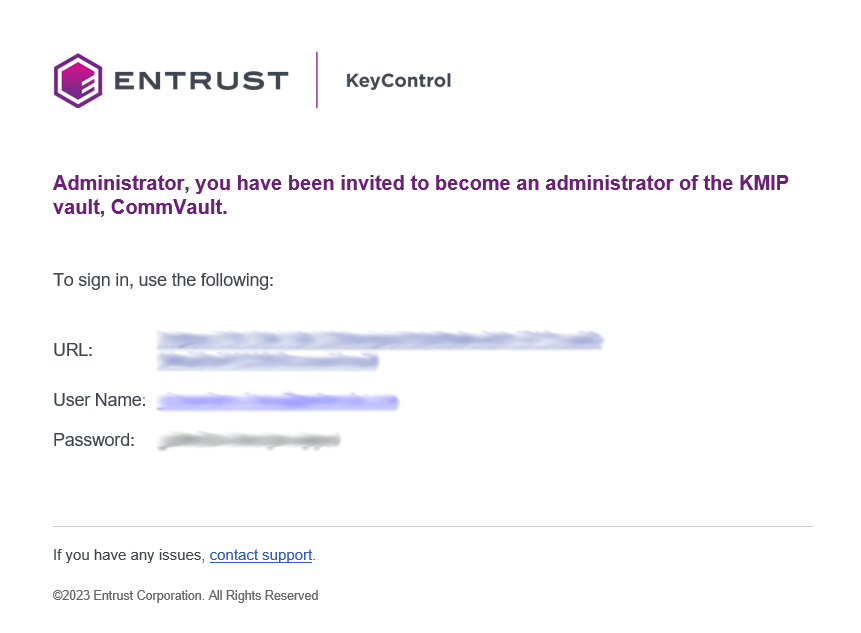
The newly created vault URL and login credentials will be emailed to the administrator’s email address entered above. In closed gap environments where email is not available, the URL and login credentials are displayed at this time. Example email:
-
Bookmark the URL and save the credentials. Then select Close if the URL and login credentials are displayed.
-
The newly created Vault is added to the Vault Management dashboard.
For example:
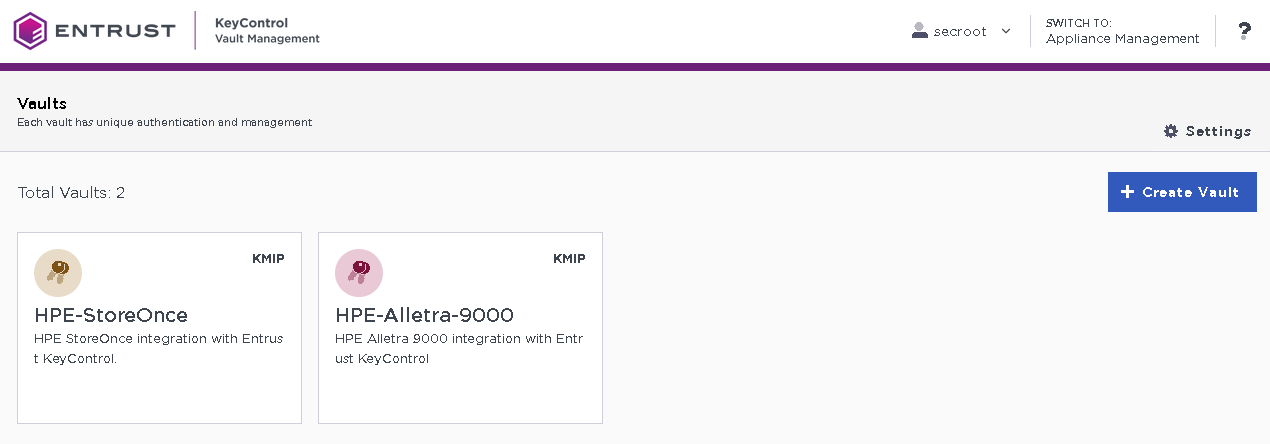
-
Sign in through the URL provided above with the temporary password. Change the initial password when prompted. Sign in again to verify.
For example:
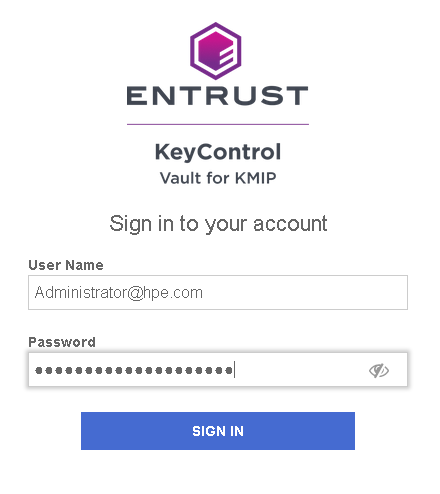
-
Notice the new vault.
For example:

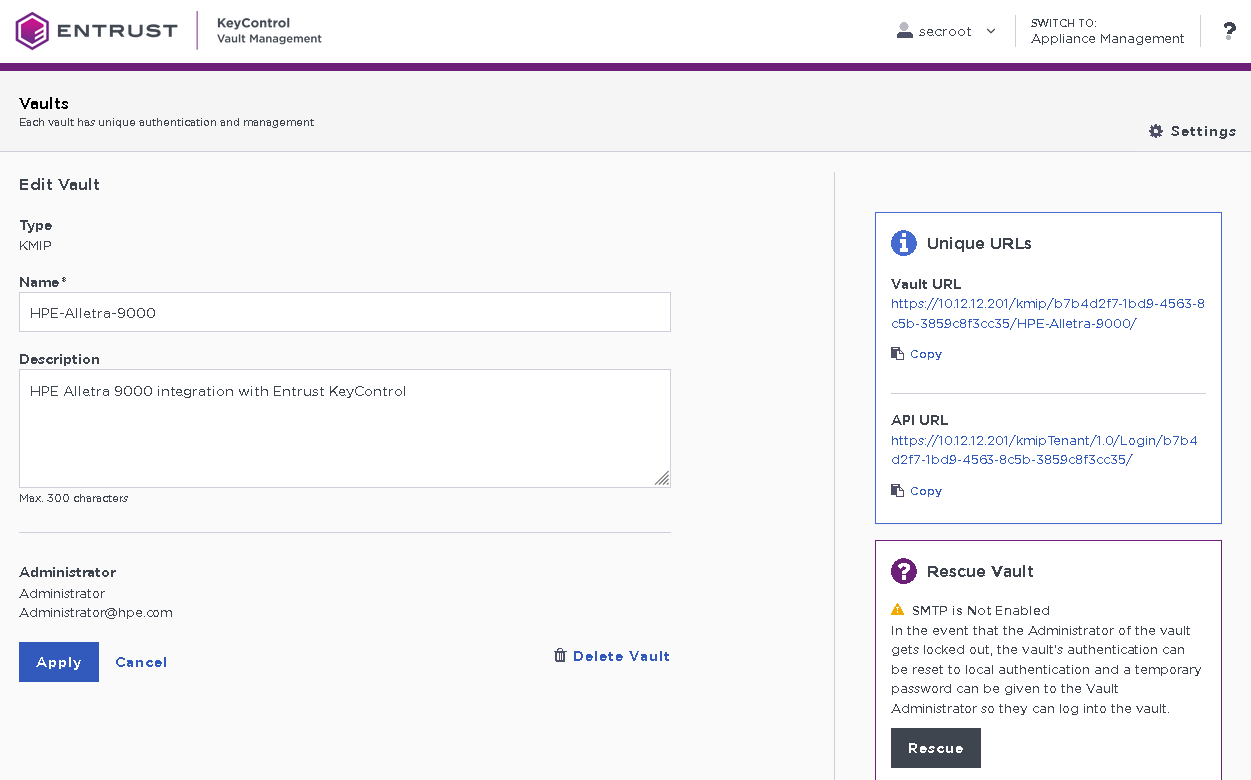
View the KMIP Vault details
-
Hover over the Vault and select View Details.
For example:
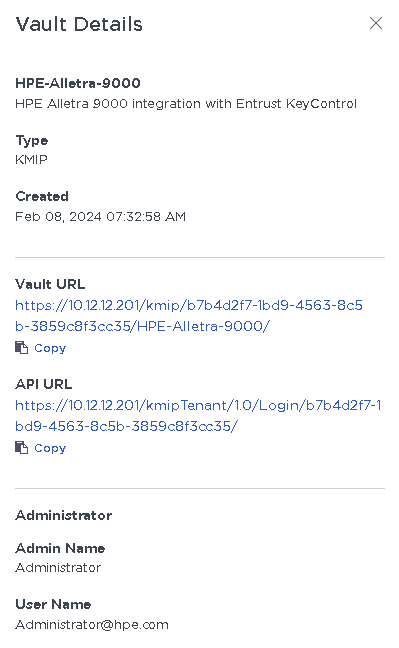
-
Select Close when done.
Add KMIP Vault Administrators
It is important to have other administrators set up on the Vault for recovery purposes. Add one or more admins to the Vault.
-
Select Security > Users.
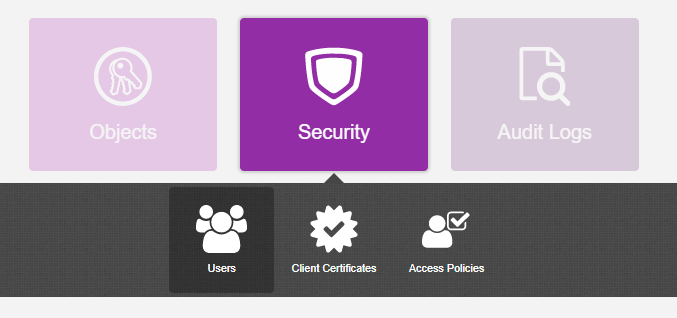
-
In the Manage Users dashboard:
-
Select the + icon to add one or more users.
-
Add the user by providing the information requested in the Add User dialog.
For example:

-
Select Add.
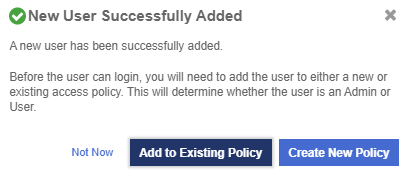
After the user is added, a window appears which requests selection of the policy to be used by this user.
-
-
Select Add to Existing Policy.
-
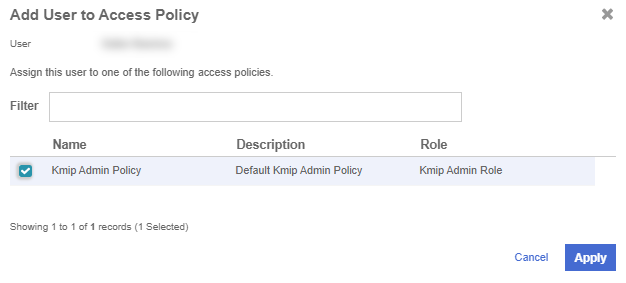
On the Add User to Access Policy dialog, select the KMIP Admin Policy and select Apply. The new user is added as an administrator to the Vault.
For example:
