Configure the Entrust Timestamping Authority
The following steps are described in detail in the Entrust Timestamping Authority 2.1 Deployment Guide, section Configuring Entrust Timestamping Authority.
-
Present the OCS to the HSM if using OCS protection. The OCS must be presented in slot 0 which means: insert the OCS in the HSM front panel reader, or map the TVD to slot 0 as described in Map dynamic slots to slot #0
-
On a web browser navigate to https://<machine>/management-console, where <machine> is the EDM hostname or IP address. Log in as a user with Timestamping Authority management permissions, for example admin.
-
On the Timestamping Authority icon, select Manage Solution.
-
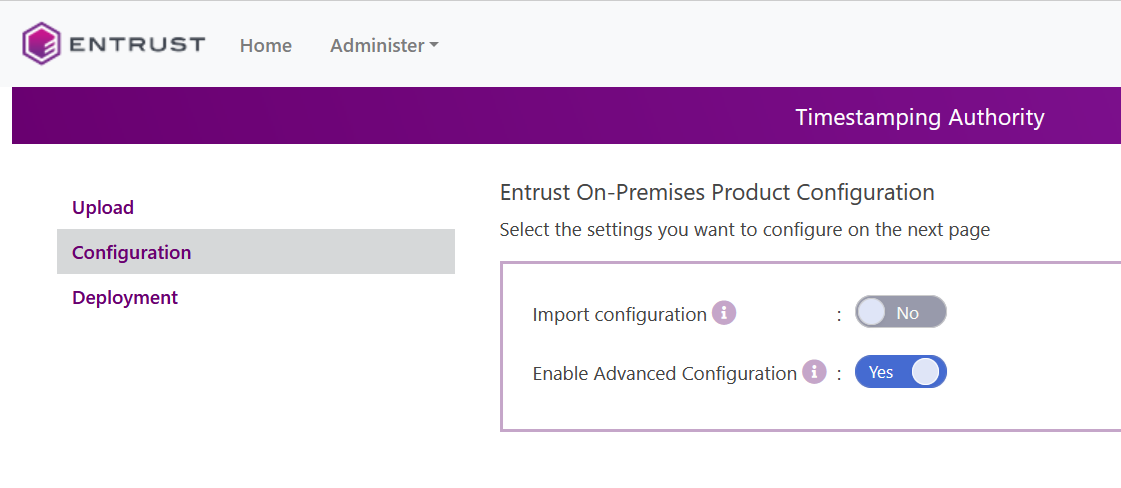
Select Configuration.
-
Active Enable Advance Configuration. Then select Next.
-
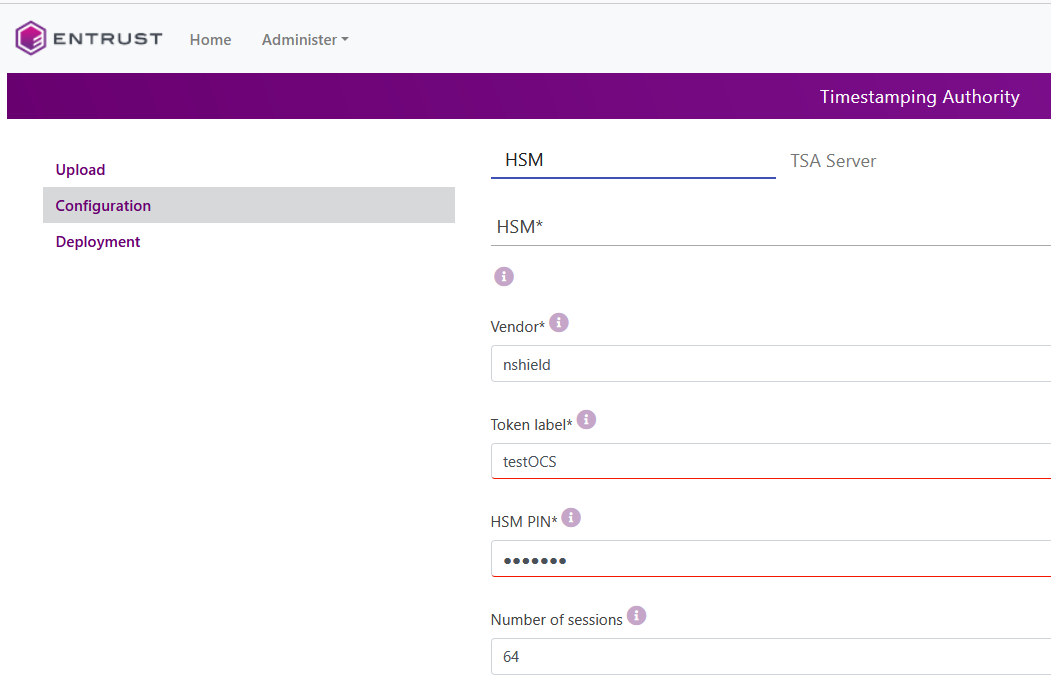
In the HSM tab, in the vendor pull-down menu, select nShield. Enter the token name and passphrase. For Number of sessions, the default 64 was used. Then select Next.
-
In the TSA Server tab, make you selection. Defaults were used. Then select Next.
-
In the Clock Service tab, make you selection. Defaults were used. Then select Next.
-
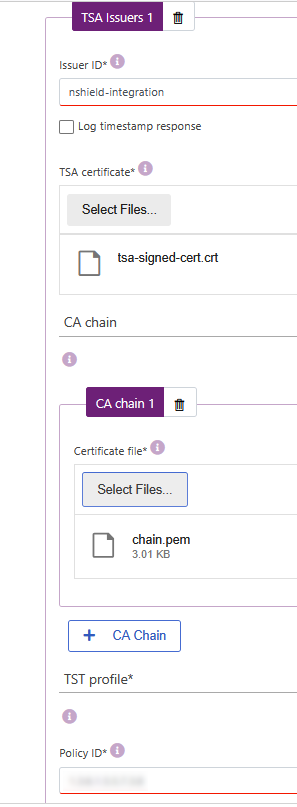
In the TSA Issuers tab, select the + TSE Issuers icon.
-
Enter the issuer ID or name.
-
In TSA certificate, select the
tsa-signed-cert.cerfile created in integrate-nshield-timestamping-auth.adoc#sign-csr. -
In CA Chain, select the
chain.pemfile created in integrate-nshield-timestamping-auth.adoc#export-root-ca. -
In Policy ID, enter the RFC 3161 Time-Stamp Protocol (TSP) object identifier values of 1.3.6.1.5.5.7.3.8.
-
The default values were selected for the other fields in this window. Then select Validate.
-
Upon no validation errors, select Submit.
-
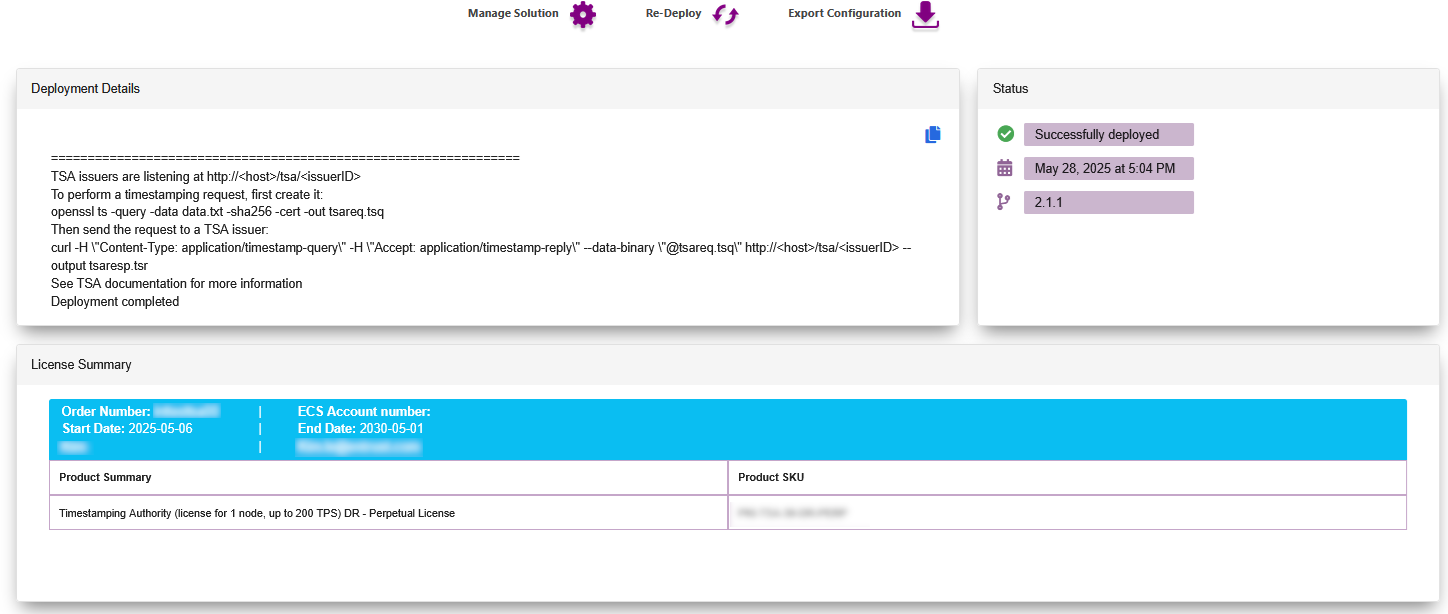
Upon no submissions errors, select Deploy. Then select Yes.
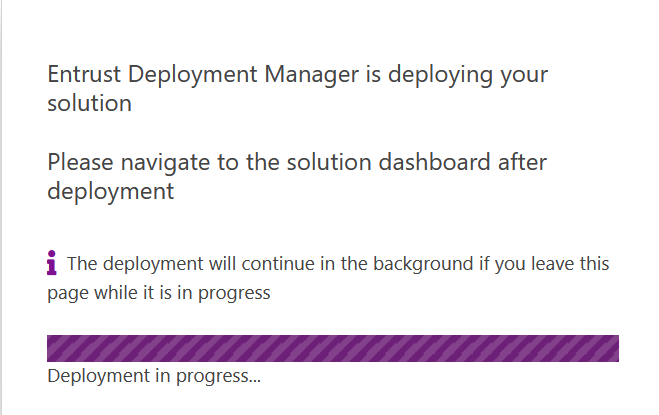
Example of a successful deployment: