Install OVA With VMware ESXi
Introduction
The nShield Monitor OVA can be installed on a VMware ESXi hypervisor including the following versions:
-
vSphere ESXi 6.0
-
vSphere ESXi 6.5
For installation of the VMware ESXi hypervisor it may be necessary to involve your vSphere management team if you plan to install this system in a corporate VMware environment and you do not have access/authority to create and manage virtual machines (administrative rights will be required).
It will be required to have access to a DVD or the nShield Monitor OVA file from the machine that has the vSphere software running for proper installation of the Virtual Appliance.
| The nShield Monitor OVA has been digitally signed with a signature based on the SHA-256 algorithm. Legacy VMWare software, such as the platform-native vCenter client, only supports signatures based on the deprecated SHA-1 algorithm and cannot directly deploy the nShield Monitor OVA.To deploy nShield Monitor to VMWare ESXi 5.5 or later, use the vCenter web client. |
Install the nShield Monitor OVA
| Screen views are based upon vSphere ESXi 6.5. |
Run the vSphere software.
-
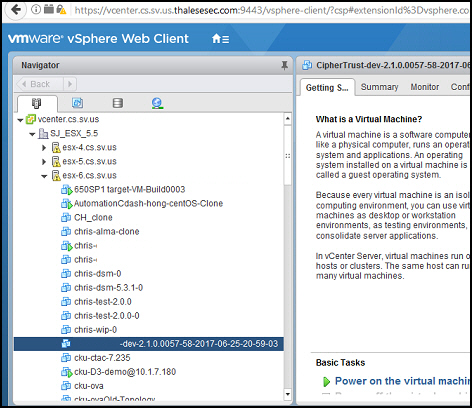
Log into the web client.
The initial VMware page opens.
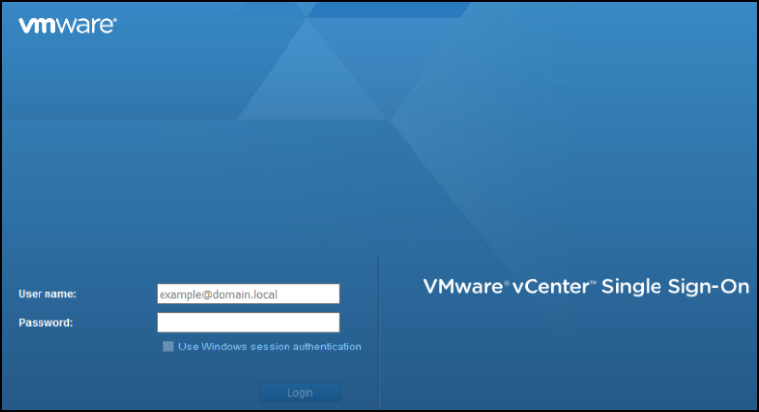
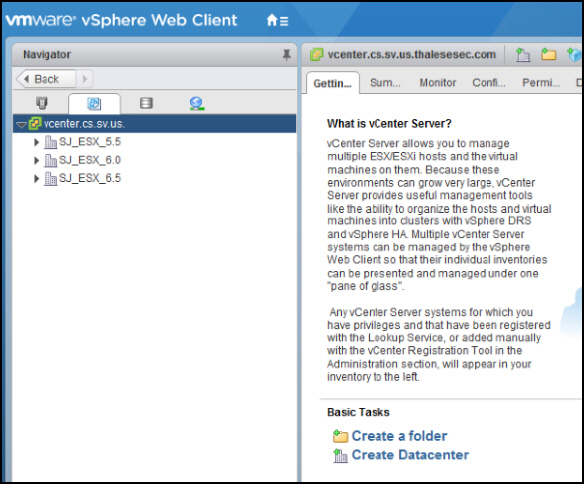
The web client is ready to be deployed.
-
Select your version.
-
Navigate to Deploy OVF Template.
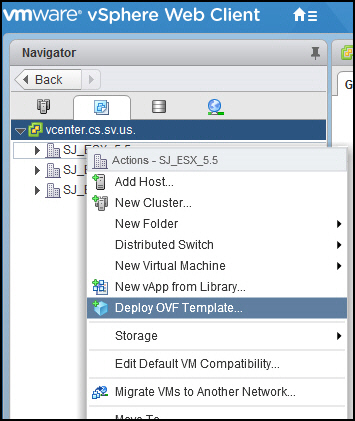
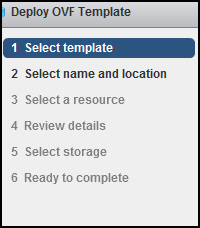
You will be prompted through the process:
-
Select template.
-
Enter the file location or select Browse and navigate to the location.
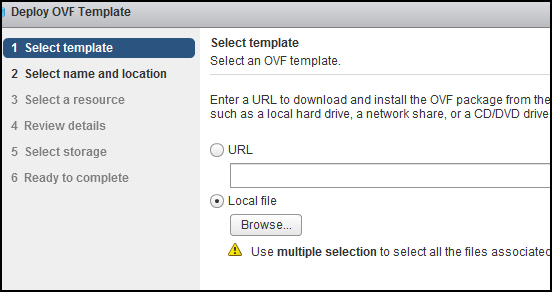
-
Select Next.

-
Select name and location.
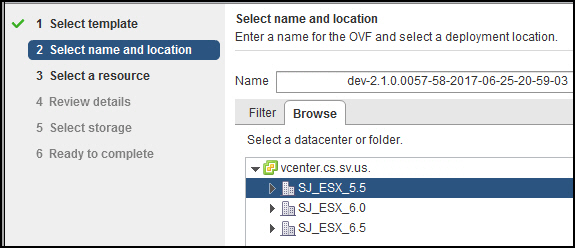
-
Select Next.
-
Select a resource (i.e., host).
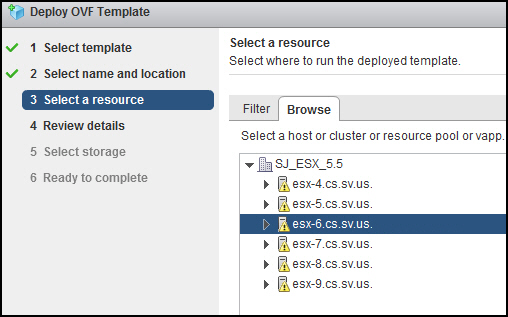
-
Select Next.
-
Review the details.
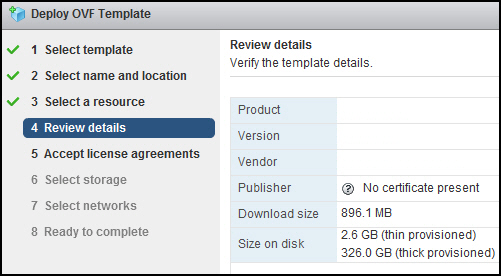
-
Select Next.
-
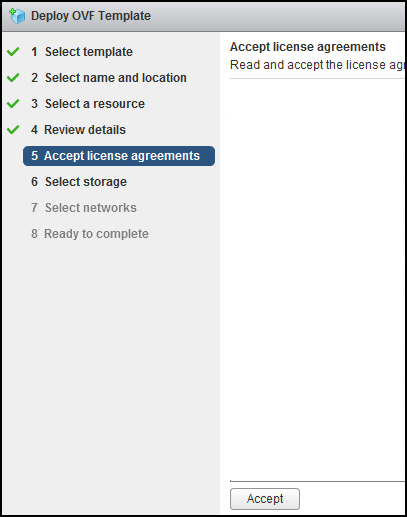
Review the Agreement, (selecting Next to scroll through the Agreement).
-
Select Accept.
-
Select storage.
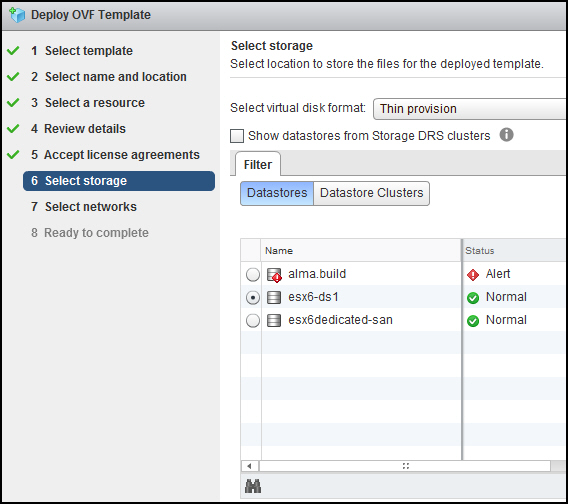
-
Select Next.
-
Select your network.
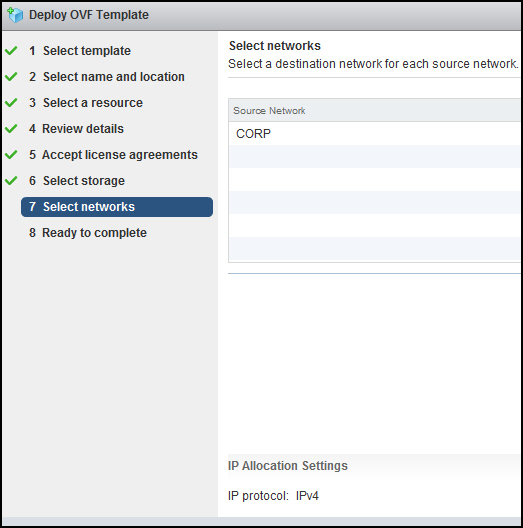
-
Select Next.
-
Review the configuration data.
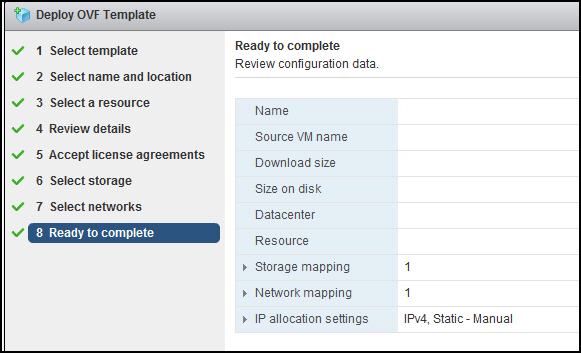
-
Select Finish.
-
You can follow the status.
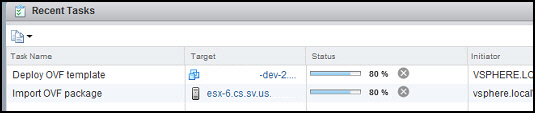
-
You are now ready to power on.
Turn on the Virtual Machine
-
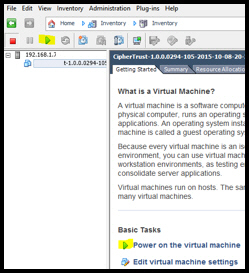
Click on the VM that you just created.
-
Select the Getting Started tab.
-
Select Power on the virtual machine.
-
Allow five minutes for the virtual appliance to load.
Run the Virtual Machine
Unfamiliar with VMware ESXI
-
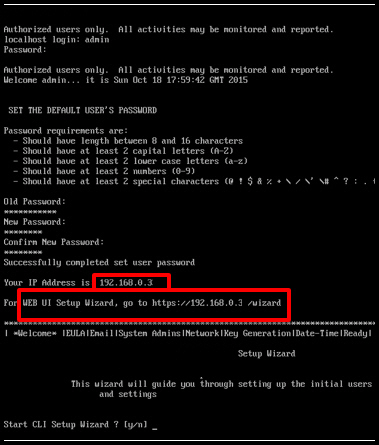
Select the Console tab, if you are unfamiliar with VMware ESXi and cannot determine the IP Address of the nShield Monitor VM that you just created:

-
The login prompt displays.
-
Login to the system using the default user ID and password:
-
Default user id: admin
-
Default password: password123
The system will prompt you to change the password.
-
-
Change the password to one that meets the same minimum requirements those for a user on the nShield.
After the first login from the CLI, the system prompts you to start the CLI Setup Wizard.
nCipher recommends using the WebUI set up wizard. If you would like to use the WebUI for setup, then answer "no" to the prompt for starting the CLI setup wizard.
| Entering the wrong password 3 or more times will lock the user out of system and a re-install of OVA is required. |
Familiar with VMware ESXI
If you are familiar with VMware ESXi and can determine the IP address assigned to the new VM, record your new password and the IP Address listed, and provide information to the appropriate personnel.
In most organizations the information technology or infrastructure group will accomplish the setup of the OVA, while the installation and operation of the nShield Monitor Virtual Appliance will be performed by a different functional group.
If you are to perform both tasks (nShield Monitor OVA install and nShield Monitor setup), record your new password and the IP Address listed above.
Proceed to Setup Wizard for instructions on using the WebUI Setup Wizard for setting up and configuring the nShield Monitor Virtual Appliance.