Setup Wizard
Overview
nShield Monitor is delivered as an Open Virtual Appliance, OVA, format. The OVA includes a 64 bit Linux based OS. The nShield Monitor system can be accessed with a web browser.
Supported web browsers include:
-
Firefox (Version 44 or higher)
-
Internet Explorer (Version 11 or higher)
-
Chrome (v 55.0)
Wizard
The initial setup of nShield Monitor upon first boot and login is done via a setup wizard. This setup wizard can be run both from the WebUI or the Command Line Interface (CLI). It is recommended that you use the WebUI Setup Wizard for initial setup of nShield Monitor.
| See nShield CLI Commands for details on how to setup using the CLI. |
-
Access the Virtual Appliance from your Internet browser, go to:
https://XXX.XXX.X.XXX(Use the IP address assigned in the CLI during the installation process.)
-
If the password was not changed during an initial OVA installation, via the CLI, enter the default admin username and password.
-
Followed by a new password.

-
Click Change Password.
Once your password has changed (either using the CLI or the WebUI), the nShield Monitor Setup Wizard loads.
| The Wizard prompts you through each tab. |
-
Click Start.
The EULA page displays In order to continue to setup, you must accept the terms of the End User license Agreement (EULA) provided with the Virtual Appliance. If you decline the EULA, you will be automatically logged off.
-
Read through the entire EULA and then select I Accept.

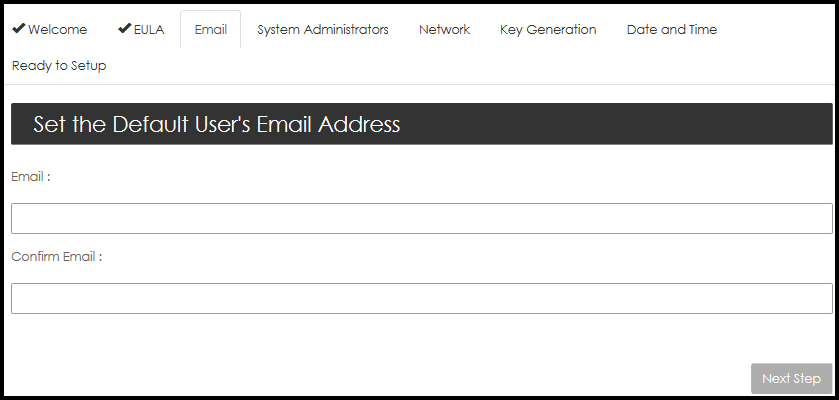
The Email Setup page displays.
-
Enter the email associated with the default user (admin).
-
Enter the email a second time to confirm and then click Next Step.
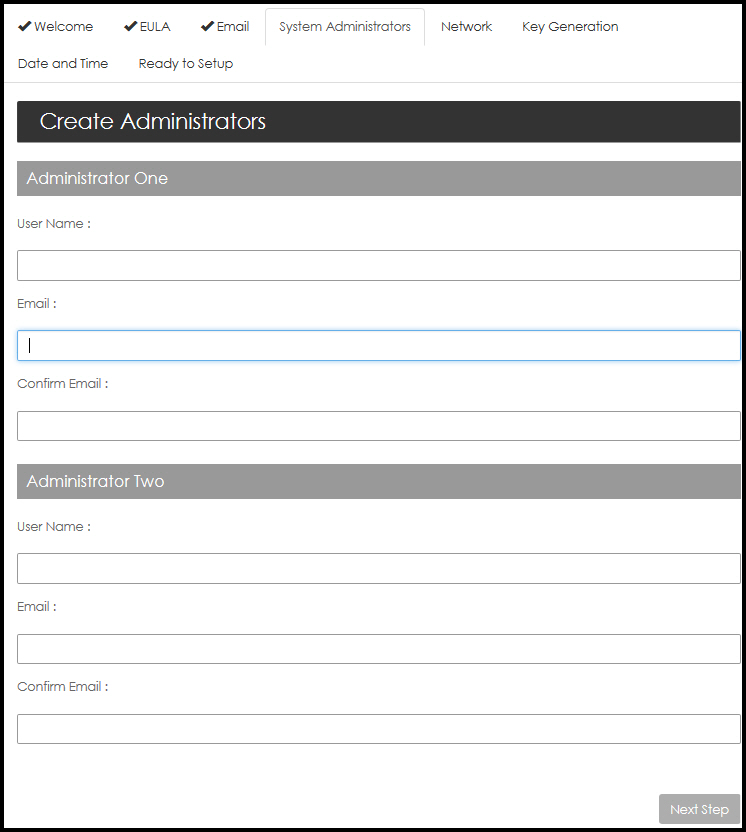
The Create Administrators page opens.
Creating Administrators
| nShield Monitor requires at least two administrators. During the setup, the system prompts to create two new Administrators (in addition to the default administrator which cannot be deleted during setup). The best practice recommendation is to come back and delete the default administrator, after you have successfully created your two official administrators, as described in the procedure below. |
-
Enter the User Name (e.g., Admin1) and Email (and confirm email) for each Administrator.
-
Select Next Step.
A one time password is automatically sent to the both Administrator email addresses.
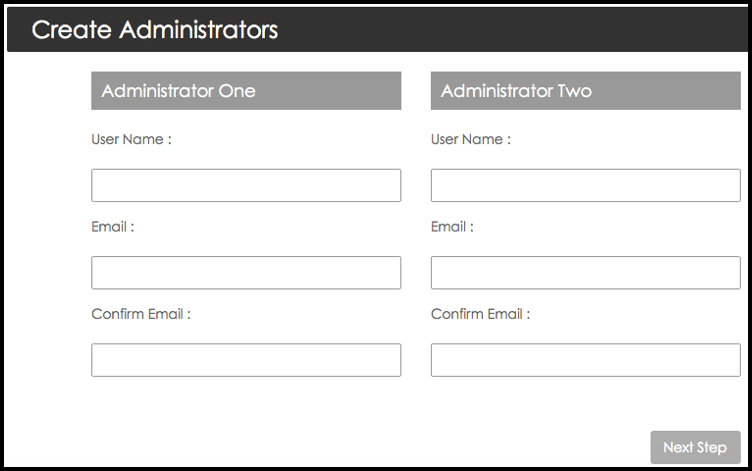
The Create Administrators page displays:
-
Complete the fields and then select Next Step.
The Network Settings page opens:

Setting up the Network
To use nShield Monitor, you must setup a network.
| Please do not change the following parameters without assistance from your IT support/infrastructure organization. |
-
IP Address
-
Subnet
-
Gateway
-
Hostname
-
Domain (optional)
-
Primary DNS (optional)
-
Secondary DNS (optional)
-
Mail Host (optional)
-
Master Key Generation
Mail Host Credentials are optional. Should you select the Mail Host Credentials box, a window opens prompting for Mail Host User Name and Mail Host Password. -
On the Network Settings page, select Next Step.

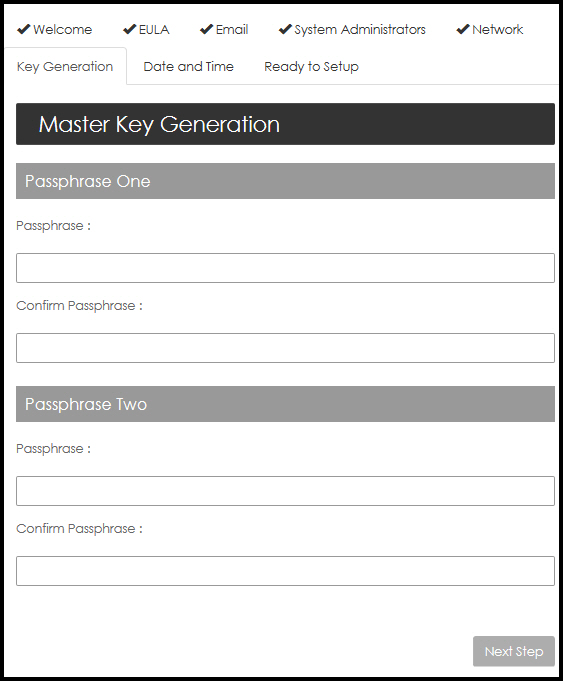
The Master Key Generation page opens.
-
Master Key Generation
The master key consists of an AES256 wrapping key and an HMAC-SHA-512 hash key that is used as the root of protection.
The master key is derived by using the two passphrases, using PBKDF2, that are input during the wizard configuration after the first boot and after every reboot.
The master key is never stored in persistent storage.
Please note to record each passphrase in a secure location as you will re-enter them when nShield Monitor reboots.
-
Enter Passphrase One and Passphrase Two and then re-enter both for confirmation.
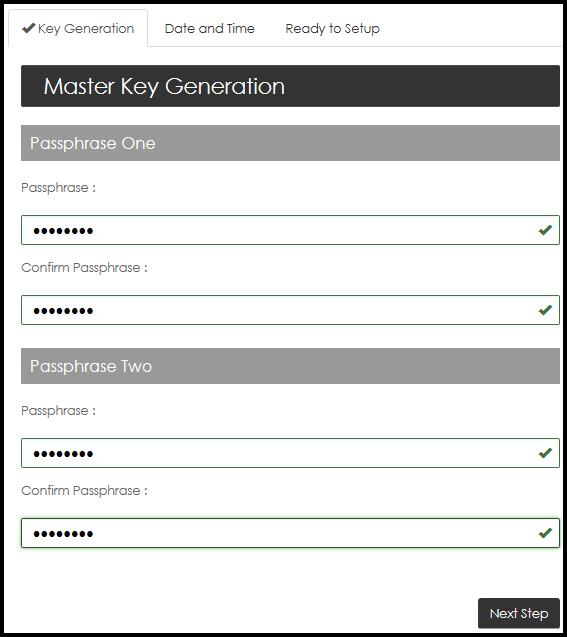
-
Record both phrases before continuing to the next step.
-
Select Next Step.
The Date/Time Settings page opens.
Date/Time
The Network Time Protocol (NTP) is an Internet standard protocol that synchronizes computer clock times on your network. NTP servers transmit time to their client systems.
| NTP Disable is the default setting. If you select NTP Enable, a new window opens and you are prompted to enter the NTP Server Address(es). You have the option of entering multiple servers, as long as you separate the entries with commas. |
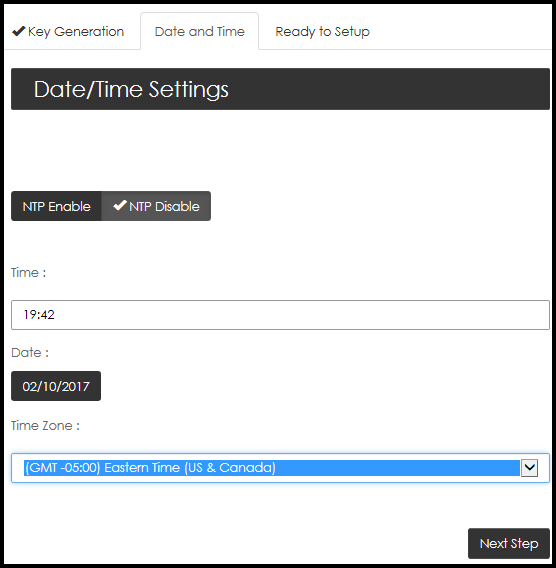
NTP Disabled
-
Select NTP Disable.
-
Enter Time, Date and Time Zone.
The default setting is:
GMT Greenwich Mean Time.
-
Select Next Step.
The Ready to Setup page opens.
-
Continue to Ready to Setup.
NTP Enabled
If NTP is enabled, you must indicate the NTP server that you want to use in the NTP Server Address field.
| You can enter multiple servers, as long as you separate them using commas. |
-
Use the drop down arrow to open the Time Zone drop down menu.
-
Select the appropriate Time Zone.
-
Select Next Step.
The Ready to Setup page opens.
Ready to Setup
-
Select Initialize.
The initialization status page opens and tracks the process.
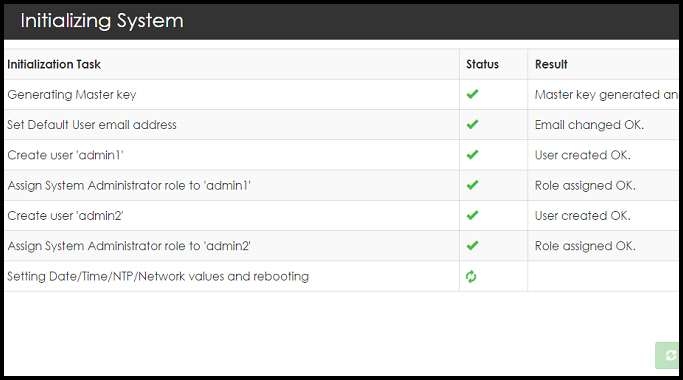
nShield Monitor Reboots.
Log In
-
Enter your User ID and Password.

-
Select Log In.
The Master Key needs to be reloaded every time that nShield Monitor is rebooted. After rebooting, you are prompted to enter the Master Key passphrase.

-
Select the message to initiate the Master Key load.
The Master Key / SSL Certificate and the User Interface SSL/TLS Options windows open.
-
Enter Passphrase One and Passphrase Two.
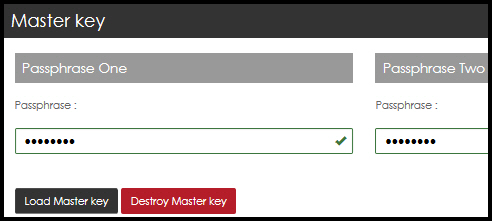
-
Select Load Master Key.
The GUI session disconnects and the a pop-up reports:
Connection to nShield Monitor has been lost. If you have updated SSL Certificate, change the IP address or Hostname of nShield Monitor. You will need to open a new browser window to correct address. Attempting to reconnect.
-
After the system reconnects, log back on to the system.
The system is now ready to use.