Deploy KeyControl
Deploy a KeyControl cluster
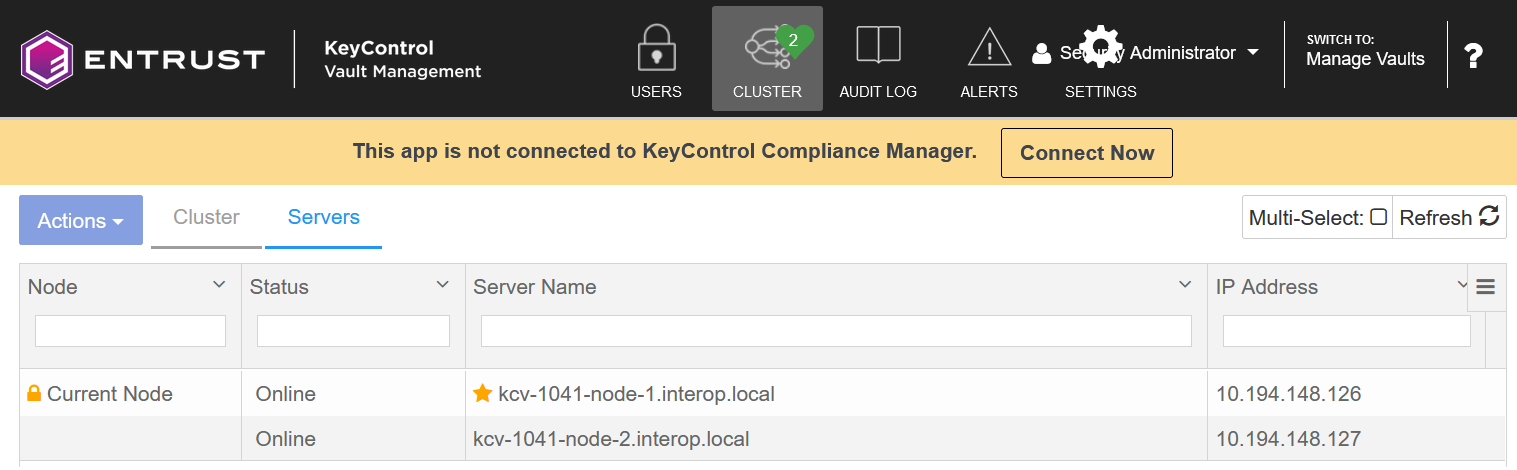
For the purpose of this integration, a two-node cluster was deployed as follows:
-
Download the KeyControl software from Entrust TrustedCare. This software is available as an OVA or ISO image. This guide deploys an OVA installation.
-
Install the Entrust KeyControl software as described in KeyControl OVA Installation.
-
Configure the first Entrust KeyControl node as described in Configuring the First KeyControl Node (OVA Install).
-
Add a second Entrust KeyControl node to the cluster as described in Adding a New KeyControl Node to an Existing Cluster (OVA Install).
Both nodes need access to an NTP server, otherwise the above operation will fail. Sign in to the console to change the default NTP server if needed.
-
Install the Entrust KeyControl license as described in Upgrading Your Trial License.
Additional Entrust KeyControl cluster configuration
After the KeyControl cluster is deployed, additional system configuration can be done as described in KeyControl System Configuration.
Configure authentication
This guide uses local account authentication.
For AD-managed Security groups, configure the LDAP/AD Authentication Server as described in Specifying an LDAP/AD Authentication Server.
Create DNS record for the Entrust KeyControl cluster
This guide uses the individual IP addresses of the Entrust KeyControl nodes.
To use hostnames, configure your DNS server giving each node in the KeyControl a unique name.
Create a KMIP vault in Entrust KeyControl
The Entrust KeyControl appliance supports different types of vaults. This section describes how to create a KMIP vault for this integration.
-
Sign in to the Entrust KeyControl Vault Server web GUI using the secroot credentials.
-
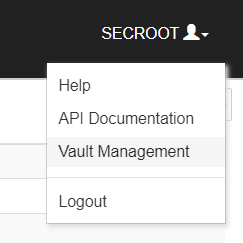
From the user’s dropdown menu, select Vault Management.
-
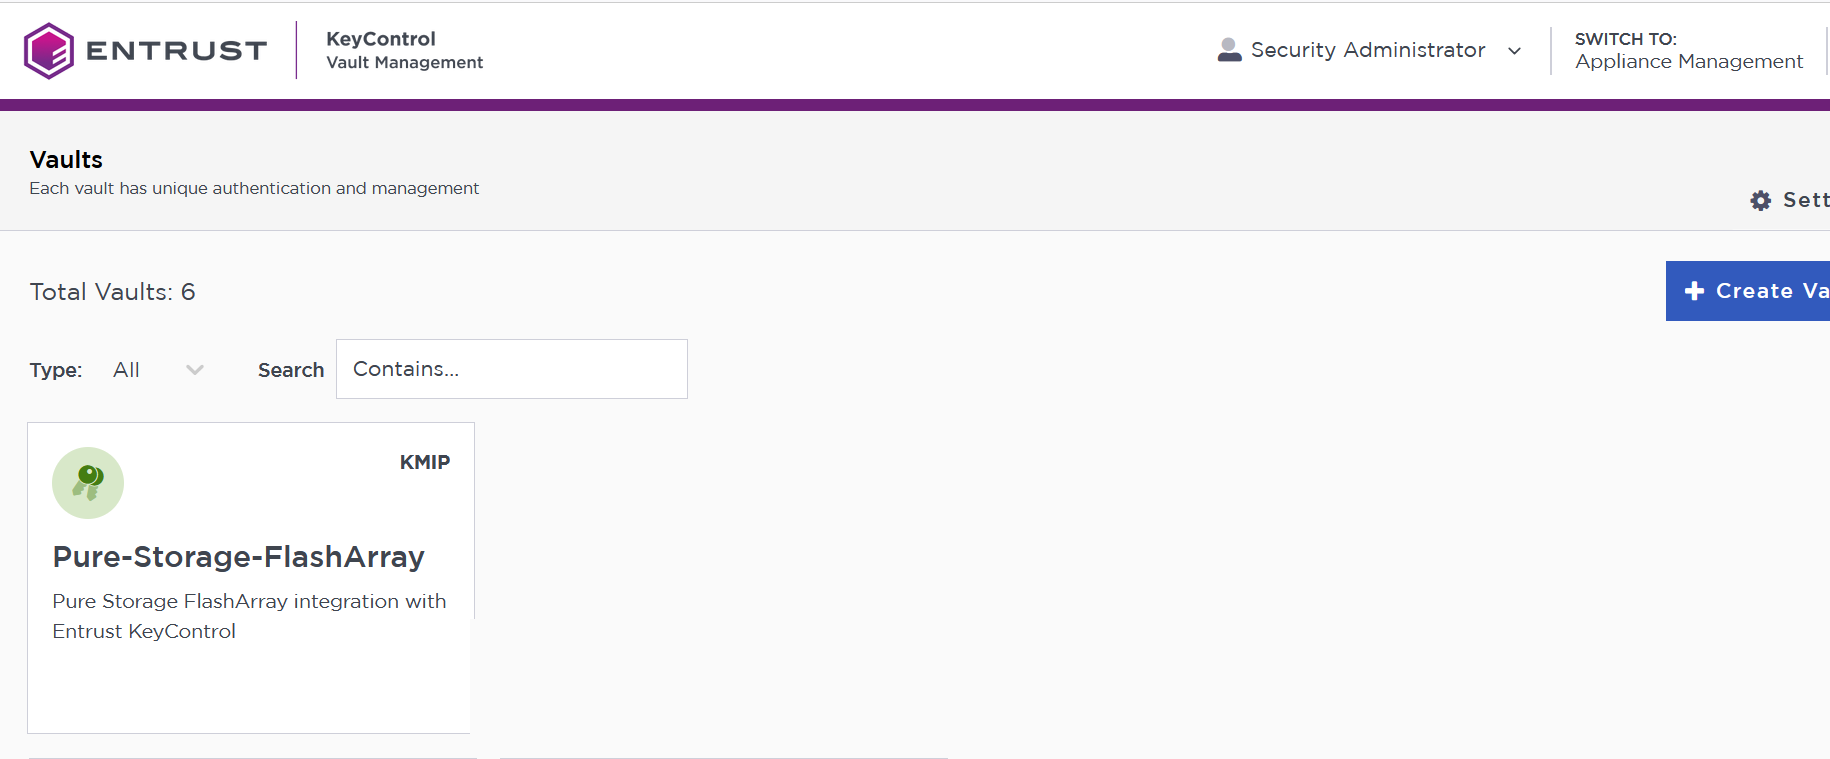
In the Vault Management interface, select the Create Vault icon.
-
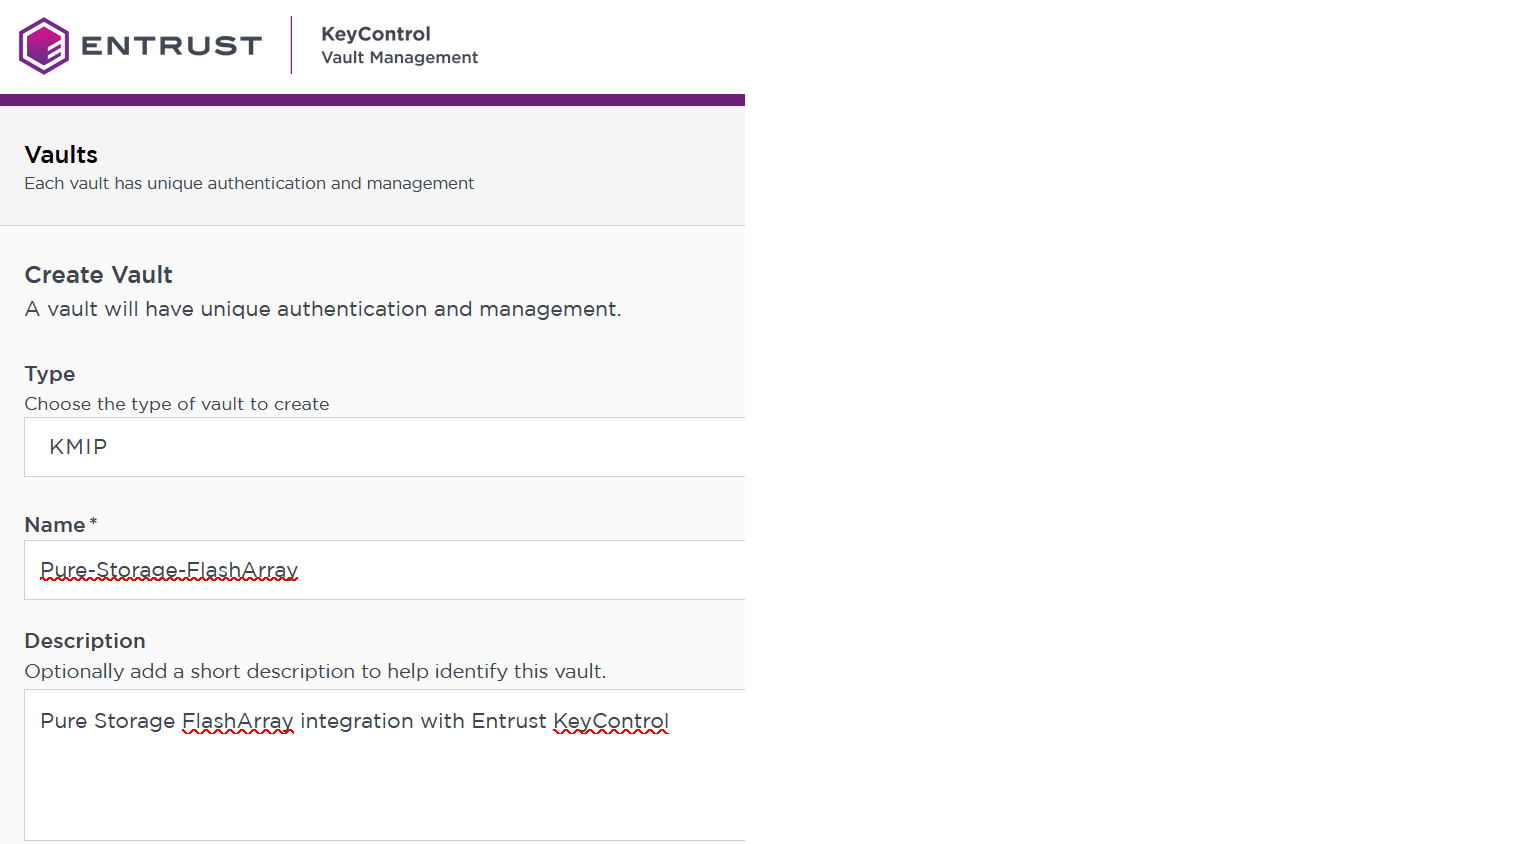
In the Create Vault page Type pull-down menu, select KMIP, then enter your information.
-
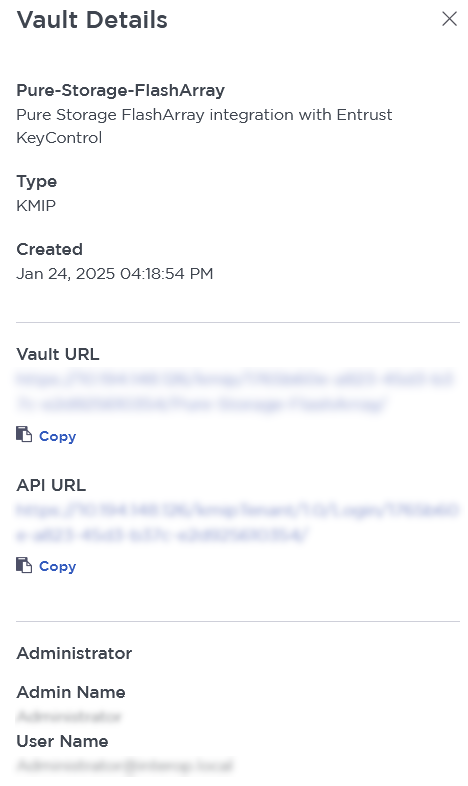
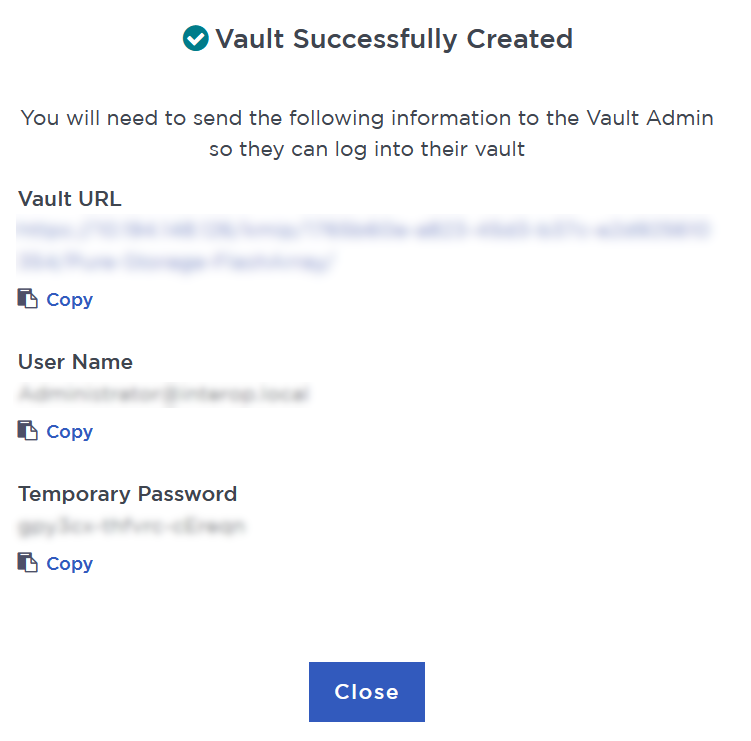
Select Create Vault, then select Close. A window with the newly created vault information appears. In addition, an email with the same vault information is sent to the security administrator.
-
Bookmark the Vault URL listed above.
-
The new vault is added to the Vault Management dashboard.
-
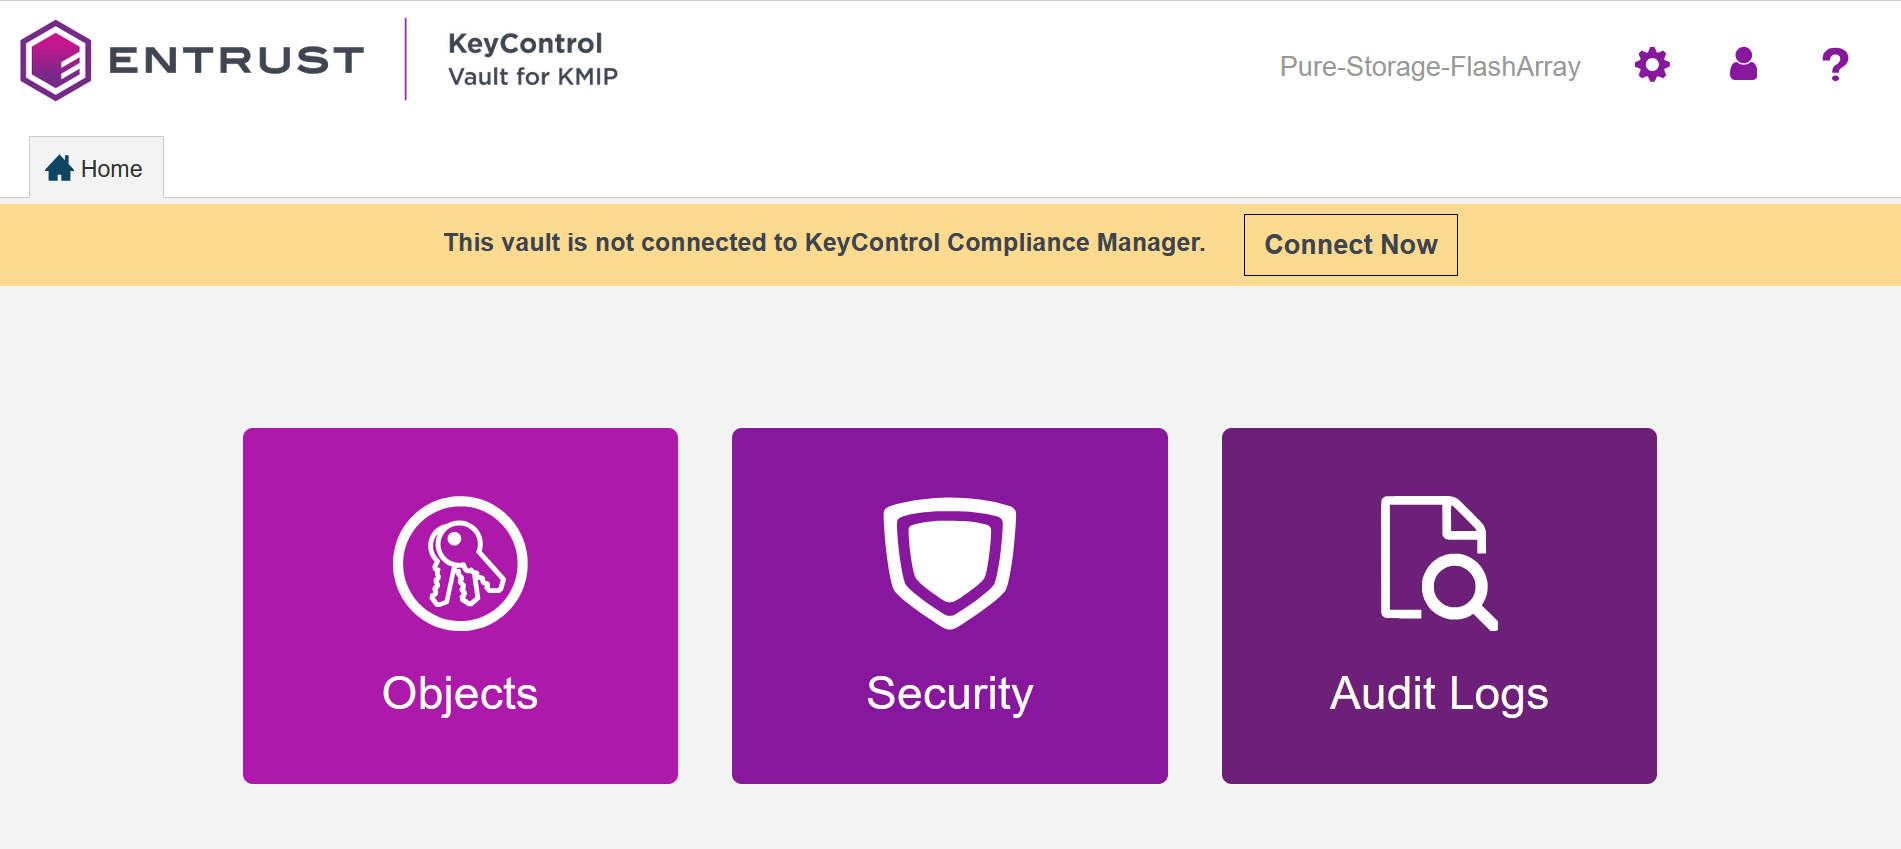
Sign in to the Vault URL with the temporary password. Change the temporary password when prompted. Sign in again to verify. Notice the vault name in the top right corner.
For more information, see Creating a Vault.