Set Up the KeySafe 5 Server and a nShield 5c 10G HSM
Installing KeySafe 5
Each nShield 5C 10G must be configured on a KeySafe 5 deployment. The KeySafe 5 deployment is used to manage the 5C 10G.
The KeySafe 5 deployment can be on any machine in the same network as the 5c 10G. You will be able to access the 5c 10G via any client that is configured on the 5c 10G.
Skip this section if you already have a compatible KeySafe 5 deployment in place. For compatibility information, see the nShield Security World Release Information
Please refer to the online KeySafe 5 documentation for additional installation instructions:
For steps on installing Security World software, refer to the online Security World documentation:
Server Installation - A quick example
-
Log in to the machine or virtual machine you want to set up as a KeySafe 5 deployment. Update the machine with the latest packages and security patches. If you are using a Linux machine, run the following commands:
Red Hat 9:
% sudo dnf update
% sudo dnf upgrade
Ubuntu :
% sudo apt update % sudo apt upgrade -
Install the Security World software on the KeySafe 5 server.
-
Open up the firewall ports 18080 and 18084:
RedHat 9 :
% sudo firewall-cmd --permanent --add-port=18080/tcp
% sudo firewall-cmd --permanent --add-port=18084/tcp
% sudo firewall-cmd --permanent --add-service=ssh
Ubuntu :
% sudo ufw allow 18080/tcp
% sudo ufw allow 18084/tcp
% sudo ufw allow ssh
Windows :
-
Type Firewall on the Windows search box and open Windows Defender Firewall.
-
Select Advanced settings then select Inbound Rules on the left pane,
-
Select New Rule on the right pane.
-
Select Port, then TCP, and specify local ports.
-
Enter port number 18080 in the text box.
-
Then select Next.
-
Select Allow the connection and Next twice.
-
Enter a name and description, and select Finish. Repeat steps c-g for port 18084.
-
Repeat steps b-g for setting ports 18080 and 18084 in Outbound Rules.
An example of Port number and name pair:

Port	Name
18080	KeySafe5Loopback
18084	KeySafe5NATS
-
-
Transfer the
nshield-keysafe5-1.5.0.tar.gzto the server. -
Extract the OS-specific content of the file and install it. For example:
Linux :
---
% tar xzvf nshield-keysafe5-1.5.0.tar.gz keysafe5-service/keysafe5-server-1.5.0-Linux.tar.gz
% sudo tar xzvf keysafe5-service/keysafe5-server-1.5.0-Linux.tar.gz -C /
% sudo /opt/nfast/keysafe5/server/sbin/install
---
Windows :
-
Right Click on the
nshield-keysafe5-1.5.0.tar.gz, select Open. -
Navigate into the
keysafe5-servicefolder. -
Run the
keysafe5-server-1.5.0-windowsinstaller by double-clicking on it.Example installation script output on Linux: -- Running install fragment keysafe5-server Creating keysafe5serviced group. Checking for user 'keysafe5serviced' Creating keysafe5serviced user. useradd: warning: the home directory /opt/nfast already exists. useradd: Not copying any file from skel directory into it. Checking user 'keysafe5serviced' is in correct group 'keysafe5serviced' users created correctly Checking user keysafe5serviced is in group nfast Initialising... Detecting all available interface IP addresses that KeySafe 5 agent's may use to connect to the server. This list may be manually provided by specifying a comma-separated list of addresses to 'keysafe5-server-admin init' The KeySafe 5 internal communication server TLS certificate contains the following addresses that KeySafe 5 Agents may use to securely connect to the server: - 127.0.0.1 (loopback/localhost address) - 10.194.148.22 - ::1 (loopback/localhost address) - fe80::6e61:6d3a:a0c4:2661 - keysafe5 Generated CA certificate is valid for 30 days Generated TLS certificates are valid for 30 days Initialisation complete. You may now add KeySafe 5 Agents using the 'sign' function Installing startup scripts for 'keysafe5-server'. Enabling the systemd service unit Adding and enabling a systemd unit Created symlink /etc/systemd/system/multi-user.target.wants/nc_keysafe5-server.service → /etc/systemd/system/nc_keysafe5-server.service. Starting KeySafe 5 Server Starting nCipher 'keysafe5-server' server process. KeySafe 5 Server started ---- Installation complete ----
-
-
Stop and Restart the server:
Linux :
% /opt/nfast/scripts/init.d/keysafe5-server stop
% /opt/nfast/scripts/init.d/keysafe5-server start
Windows :
-
Type Services in the Windows search box, and launch the Services application.
-
Right click on the
nShield KeySafe 5service and select Stop, then after it has stopped, click Start.
-
-
Check that you can access the KeySafe 5 web UI by opening a local browser on the KeySafe 5 server and going to the following address:
https://127.0.0.1:18080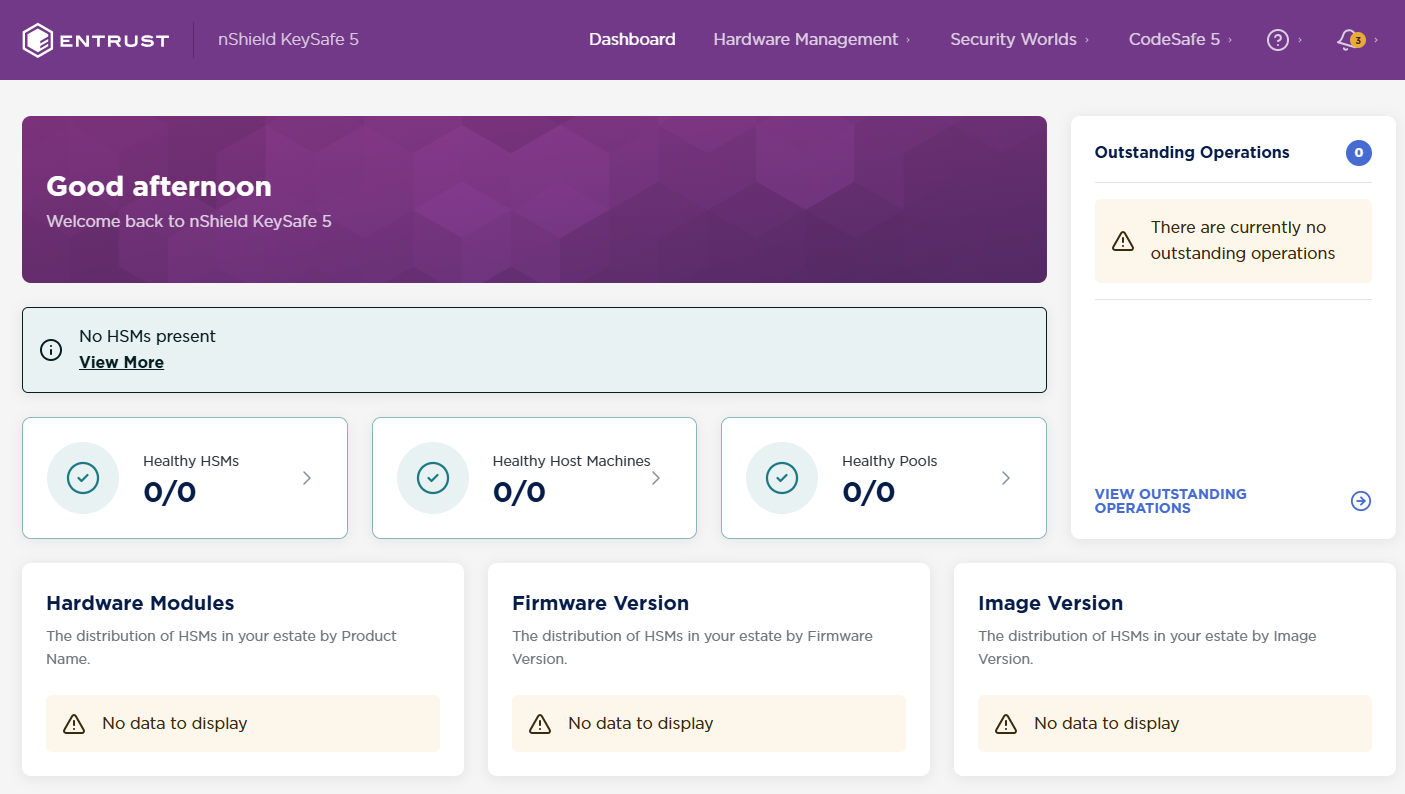
Setting up the nShield 5C 10G
This section details the steps for installing and configuring an Entrust nShield 5C 10G. For detailed setup procedures and options, see the Security World Software Installation Guide at https://nshielddocs.entrust.com/.
Equipment required for the installation:
-
Supplied with the 5c 10G by default:
-
USB serial console cable. To configure the 5C 10G, you must use the serial console through the console port. The serial console port will operate at 115200 baud, 8 data bits, no parity, and 1 stop bit (115200/8-N-1). You can use a serial port aggregator or the serial session software of your choice.
-
-
Supplied with the 5c 10G if ordered:
-
2x Ethernet port devices: Small Form-factor Pluggable+ module.
You need at least 1 SFP+ module to make the 5c 10G operational.
-
-
NOT supplied with the 5c 10G:
-
KeySafe 5 client-side software (if you have no KeySafe 5 installation yet).
-
1x host to configure the HSM using the CLI - serial console command line (direct or through a switch).
-
1x server/VM for the KeySafe 5 installation (optional if you already have installed KeySafe 5).
-
1x server/VM to act as the client that will use the HSM.
-
Verifying the physical security of your nShield 5c 10G
See the Physical Security Checklist provided in the box with a 5C 10G, or at https://nshielddocs.entrust.com/.
Physically Installing and connecting the HSM module
Please refer to the HSM diagrams in this section in order to identify hardware components present on the HSM when performing the installation.
-
Install the nShield 5c 10G in a 19” rack.
-
Follow the instructions supplied with the Entrust nShield® Premium Slide Rail Kit.
-
-
On the rear of the nShield 5c 10G, plug an SFP+ module into the leftmost SFP+ 10G port, Port 1 (B).
-
Connect the network cable for the main subnet to make the HSM accessible from KeySafe 5.
-
Optionally, if your network settings require the 5c 10G to use additional SFP+ modules, plug them in to the other ports. If your network settings require a secondary subnet, connect a network cable to the relevant SFP+ module.
-
Connect the serial console cable from the serial console port © to the host running your serial session software. The connector can connect directly to your client machine or to a serial port aggregator for remote access.
-
Connect the two power cables to their sockets (A). When connected to power, the nShield 5C 10G will automatically power on.
-
On the front of the 5c 10G, the stand-by button (E) flashes until the boot sequence completes and the details of the boot sequence appear on the screen (F). The status LED (G) shows steady blue after the boot completes and then varies with activity.
HSM rear side:
| For your reference, (D) holds the battery for the HSM. |

HSM front side:

Identifying the network settings for the nShield 5c 10G
See the 5C 10G network profiles in the nShield Hardware Install and Setup Guide at https://nshielddocs.entrust.com/.
Configuring the network on the nShield 5C 10G
Network Transceiver Verification
The nShield 5C 10G supports SFP+ optical ethernet transceiver modules for network connectivity. Using an unsupported transceiver type may result in the interface remaining down, even if IP configuration (IP address, subnet, and gateway) appears correct.
Network IP configuration
If you have the HSM connected to a DHCP server, it will automatically set an IP address once network services start if DHCP is enabled.
To configure network settings manually, you must use the HSM serial CLI. This guide includes options to configure IPv4 networking. IPv6 networking is also supported.
-
Open a serial session that connects to the serial cable port interface.
-
Once connected, log in as the cli user.
-
The default password is admin. Change the password when prompted. The new password must be at least 8 characters long.
-
Verify that the serial CLI of the HSM is connected and the console is available. The next steps and commands should be performed on the HSM serial CLI.
-
-
Set the IP address of the nShield 5c 10G HSM on your primary network.
(cli)netcfg static -a <5c-10G-ip-addr/prefixlen> -g -
Verify changes with:
(cli)netcfg -
Verify network connectivity by pinging the new KeySafe 5 server.
(cli)ping <ip-addr-of-ks5-host>
Set the Date and Time on the HSM
The date and UTC time on the nShield 5c 10G HSM must be the same as the time on the KeySafe 5 Server.
-
Verify the date and time information of the nShield 5c 10G HSM and the KeySafe 5 server. To check, run the following commands on their respective OS/interface to get current time information.
nShield 5c 10G HSM’s Serial CLI :
(cli)datetimeKeySafe 5 Server (Linux):
% date -u +"%Y-%m-%dT%H:%M:%SZ"KeySafe 5 Server (Windows):
-
Open a PowerShell terminal and run the following to get the current time:
% [DateTime]::UtcNow
-
-
Correct the time information on the nShield 5c 10G HSM, if needed, to match the KeySafe 5 server’s time. Use the 24-hour clock when updating the nShield 5c 10G HSM’s time.
nShield 5c 10G HSM’s Serial CLI :
% (cli)datetime -D <YYYY-MM-DD hh:mm:ss>
Configure the nShield 5c 10G HSM’s KeySafe 5 Agent
To configure the KeySafe 5 Agent on the HSM, run the following commands on the nShield 5c 10G CLI.
-
Configure the HSM KeySafe 5 agent’s
message_bus.urlthrough the serial CLI. Selectywhen prompted to restart KeySafe 5 agent.(cli)ks5agent cfg message_bus.url=<KeySafe-5-host-IPv4-address>:18084If using IPv6, place square brackets around the address. For example: (cli)ks5agent cfg message_bus.url=[<KeySafe-5-host-IPv6-address>]:18084An example output: (cli)ks5agent cfg message_bus.url=10.194.148.83:18084 logging.level=info logging.format=json logging.file.enabled=false logging.file.path=/opt/nfast/log/keysafe5-agent.log logging.journal.enabled=true message_bus.url=10.194.148.83:18084 message_bus.auth_type=tls message_bus.disable_tls=false message_bus.minProtocolVersion=TLSV1_2 message_bus.cipherSuites=ECDHE-ECDSA-AES128-GCM-SHA256,ECDHE-RSA-AES128-GCM-SHA256,ECDHE-ECDSA-AES256-GCM-SHA384,ECDHE-RSA-AES256-GCM-SHA384,ECDHE-ECDSA-CHACHA20-POLY1305,ECDHE-RSA-CHACHA20-POLY1305 kmdata_network_mount=false kmdata_poll_interval=1s update_interval=1m max_update_message_response_time=1m health_interval=1m recovery_interval=5s codesafe_update_interval=3m codesafe_cache_period=60m override_hostname=hsm_64DB-8D35-0405 Restart KeySafe 5 agent to apply new configuration (y|n): y Restarting KeySafe 5 agent. Success. -
Verify the configuration with:
(cli)ks5agent cfg