Deploy KeyControl
Deploy a KeyControl cluster
For the purpose of this integration, a two-node cluster was deployed.
Follow the installation and setup instructions in the KeyControl nShield HSM Integration Guide. You can access it from the Entrust Document Library and from the nShield Product Documentation website.
Make sure the KeyControl KMIP Vault gets created and certificates are generated for NetApp ONTAP. These certificates are used in the configuration of the KMS described below.
Also add a record in your DNS server for the KeyControl cluster. Associate all KeyControl Cluster node IPs to the one record.
The following sections describe how to create the KeyControl KMIP Vault and certificates.
Create a KMIP Vault in KeyControl
The KeyControl Vault appliance supports different type of vaults that can be used by all type of applications. This section describes how to create a KMIP Vault in the KeyControl Vault Server.
Refer to the Creating a Vault section of the admin guide for more details.
-
Sign in to the KeyControl Vault Server web user interface:
-
Use your browser to access the IP address of the server.
-
Sign in using the secroot credentials.
-
-
If not in the Vault Management interface, in the top menu bar, on the right side, select Switch to: Manage Vaults.

-
In the KeyControl Vault Management interface, select Create Vault.
-
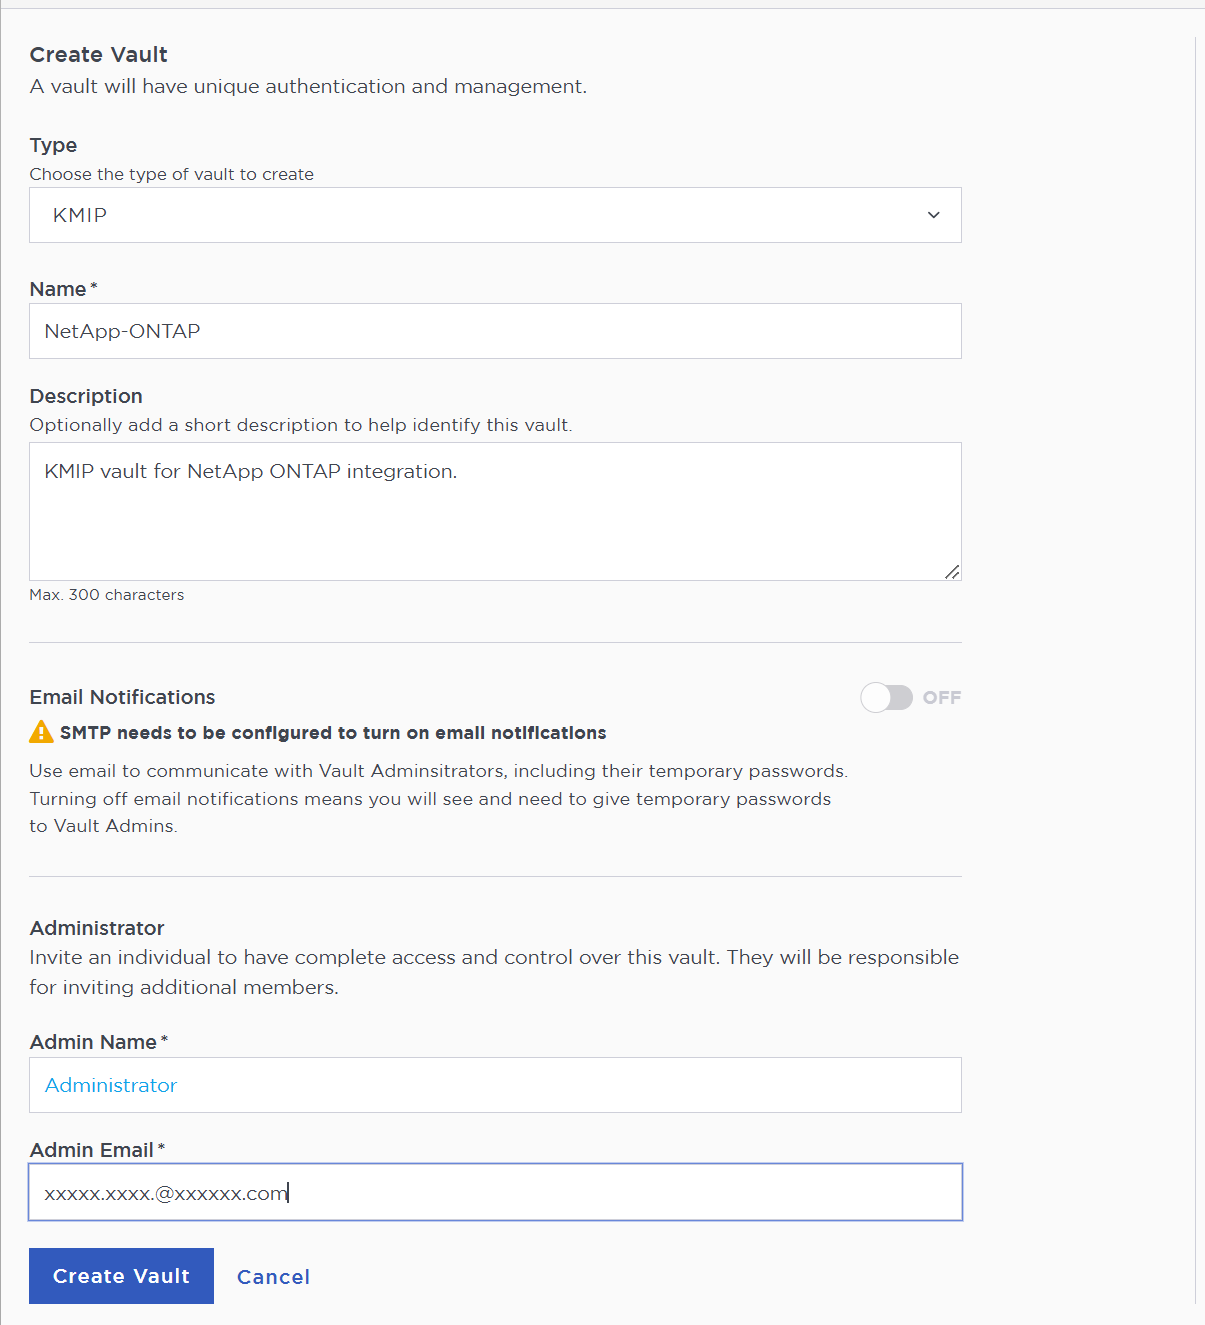
In the Create Vault page, create a KMIP Vault:
Field Value Type
KMIP
Name
Vault name
Description
Vault description
Email Notifications
Enable it if using email to communicate with Vault administrators
Admin Name
Vault administrator username
Admin Email
Vault administrator email
For example:
-
Select Create Vault.
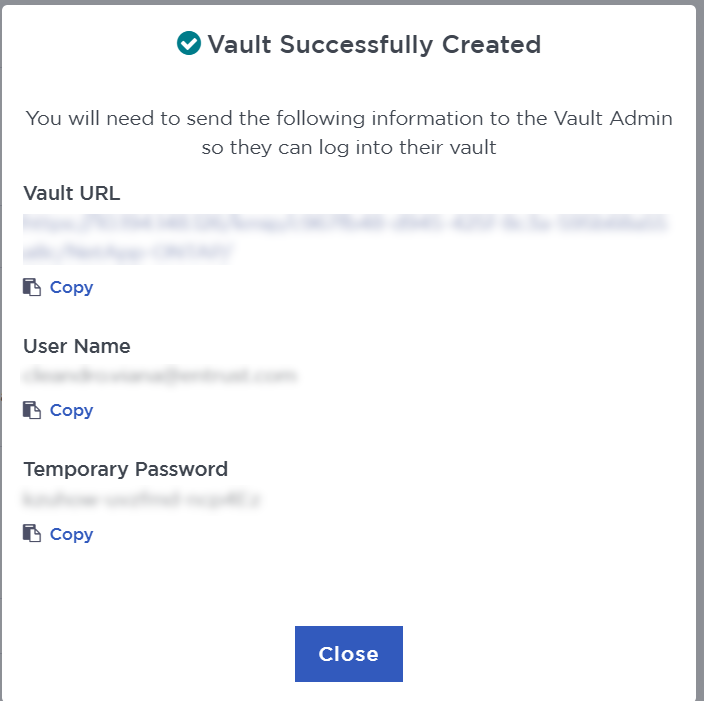
The new vault’s URL and sign-in credentials will be emailed to the administrator’s email address entered above. This is the password that will be used to sign in for the first time to the KMIP vault’s space in KeyControl. In closed gap environments where email is not available, the URL and sign-in credentials are displayed at this time. That can be copied and sent to the user.
-
Bookmark the KMIP Vault URL.
-
Select Close.
-
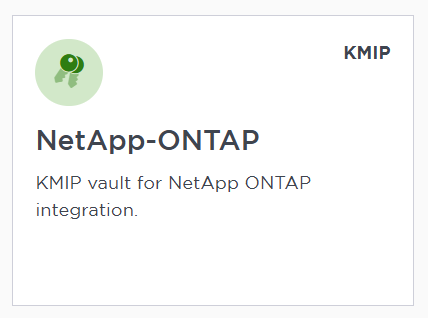
The newly created Vault is added to the Vault Management dashboard and the KMIP server settings on the appliance are enabled.
For example:
-
Sign in to the URL provided above with the temporary password. Change the initial password when prompted. Sign in again to verify.
KMIP server settings
The KMIP server settings are set at the KeyControl appliance level and apply to all the KMIP vaults in the appliance. After a KMIP vault is created, it is automatically set to ENABLED.
To use external key management and configure the KeyControl Vault KMIP settings, refer to the KeyControl Vault for KMIP section of the admin guide.
When you are using external key management, as is the case in this solution, the KeyControl server is the KMIP server and the NetApp server is the KMIP client.
-
Log into the KeyControl server vault management UI as secroot.
-
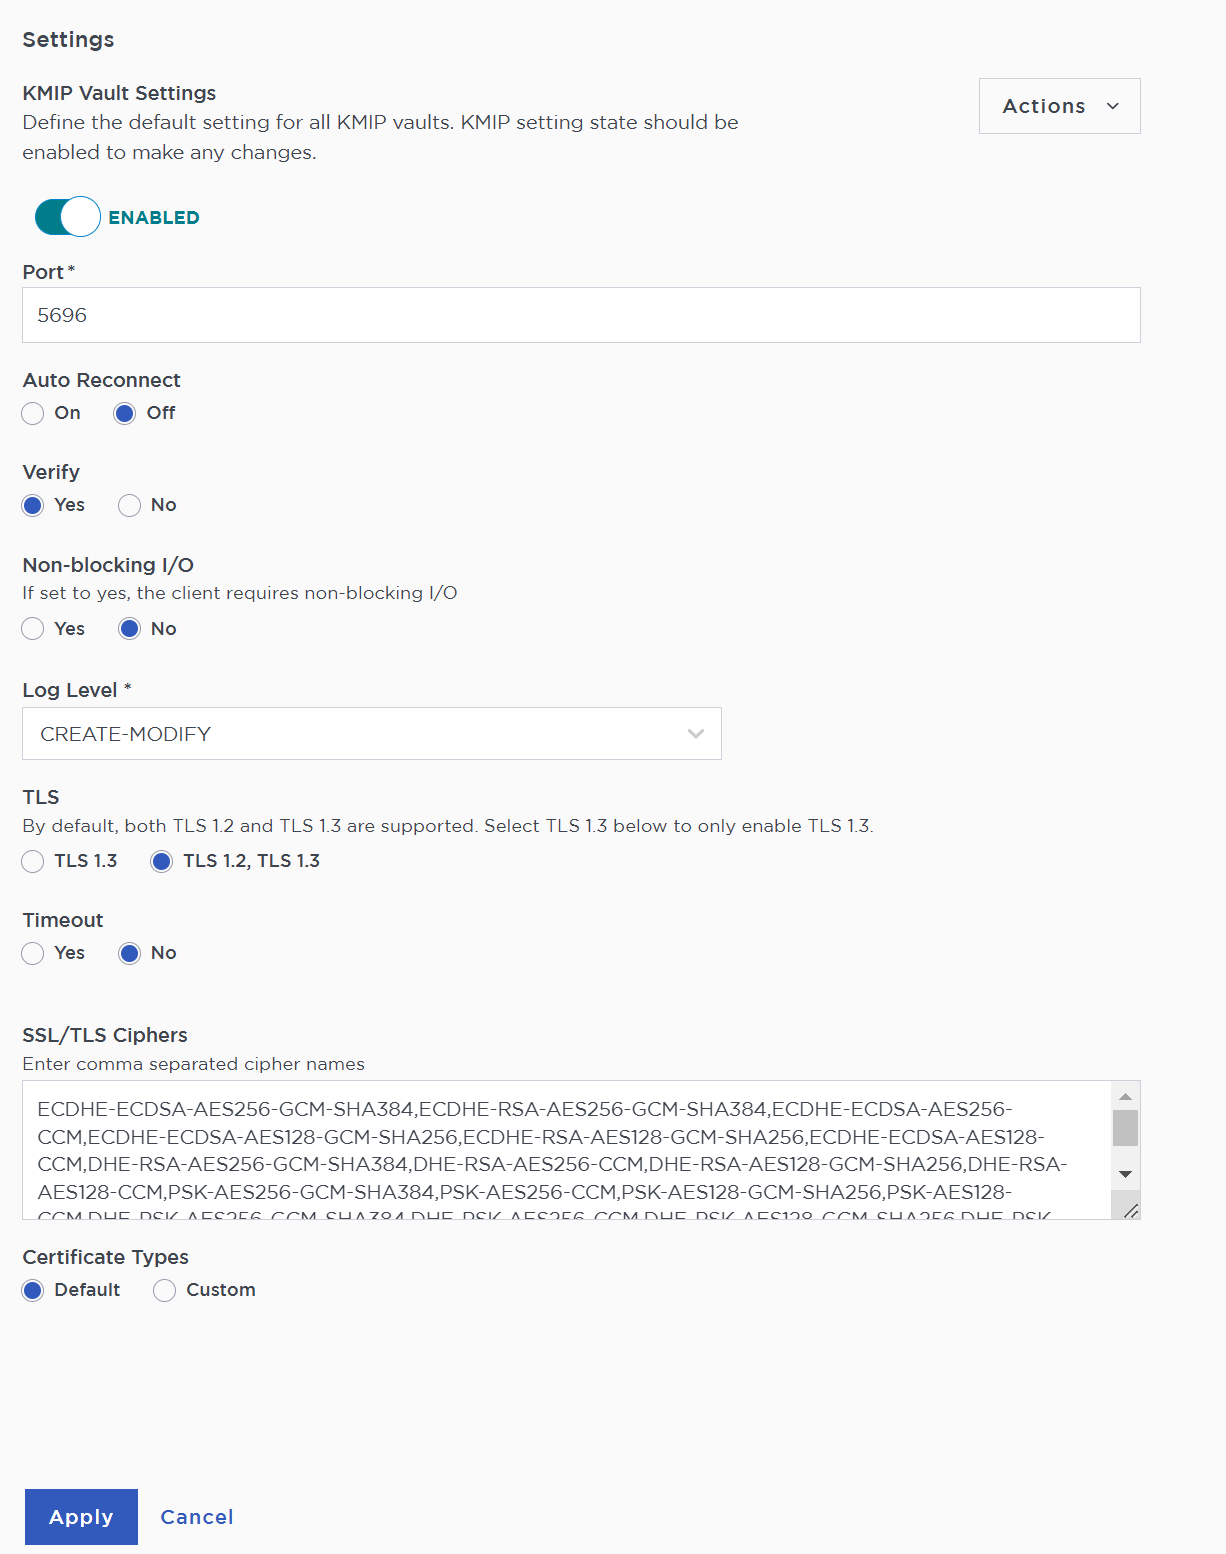
Select the Settings icon on the top right to view/change the KMIP settings.
The defaults settings are appropriate for most applications but you can change settings to suit your environment.
-
Select Apply.
Install a signed certificate from your local root CA in the KeyControl cluster
You can use any CA for this integration. This guide describes an integration in which a Microsoft Windows CA was configured as a local root CA.
Create a CSR
-
Log into the KeyControl server vault management UI as secroot.
-
In the Vault Management dashboard, select the Settings icon on the top right.
-
Select the Action icon pull-down menu. Then select Generate CSR.
-
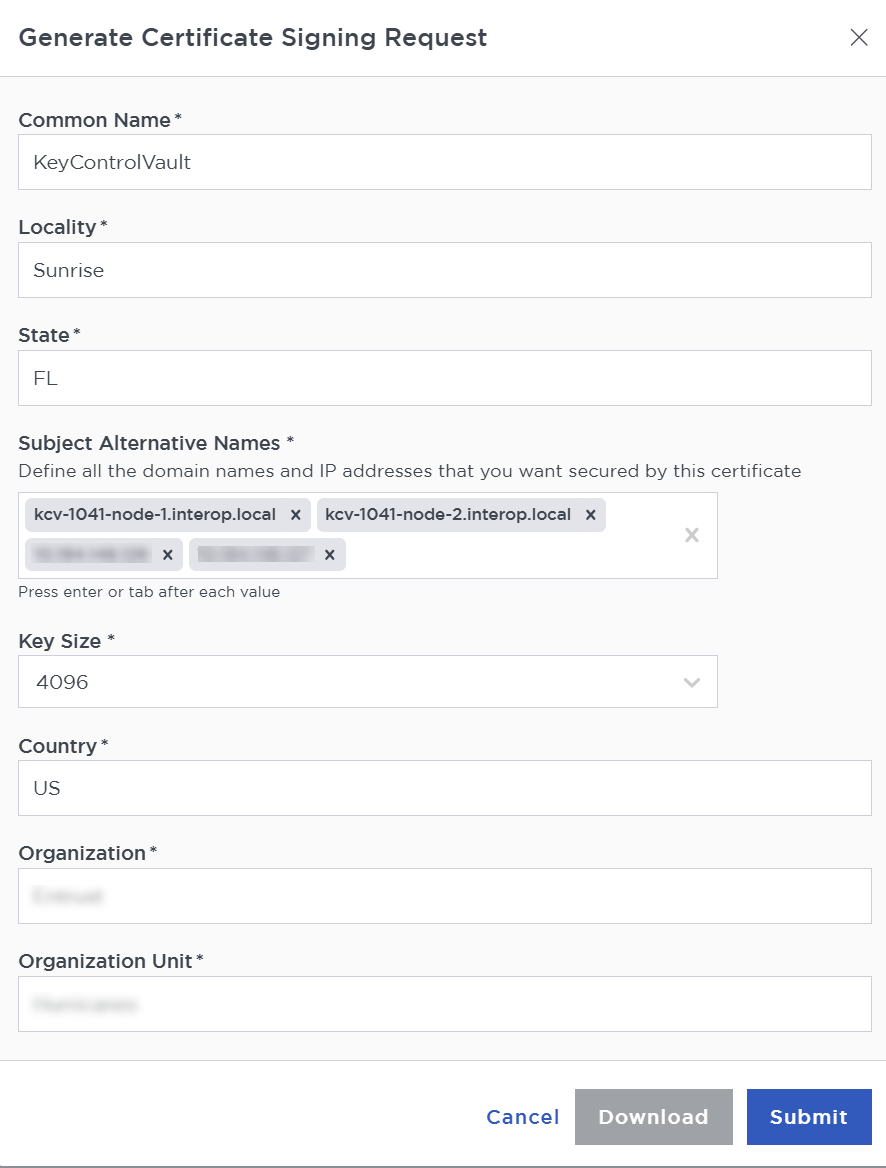
Enter your information.
Include the FQDN and / or IP of all the KeyControl nodes in the Subject Alternative Names.
For example:
-
Select Submit.
-
Once Submitted, Select Download. The CSR pem file is downloaded to your downloads folder.
-
Store the file so it can be signed in the next section.
Sign the certificate
-
Log into your local root CA with Administrator privileges.
-
Transfer the CSR created above to a local folder in your local root CA server. (Downloads folder)
-
Launch the Certificate Authority application.
-
Right-click on the <certification authority name> in the left pane and select All Tasks / Submit new request….
-
Select the copied CSR.
-
Select certification authority name / Pending Request in the left pane.
-
Right-click on the request in the right pane and select All Tasks / Issue.
-
Select certification authority name / Issued Certificates in the left pane.
-
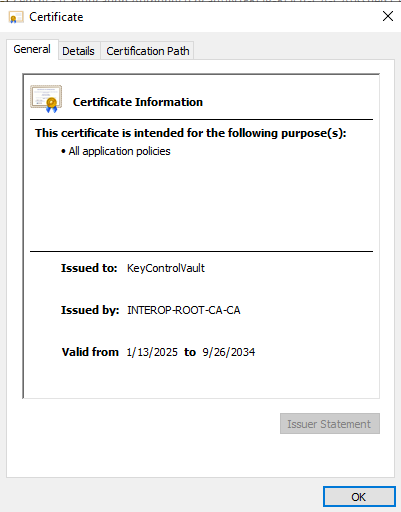
Select the certificate.
For example:
-
Select the Details tab / Copy to File…. Follow the instructions, selecting Base-64 encoded X.509 in Export File Format. Save as
keycontrolvaultin theDownloadsfolder. -
Export the local root CA certificate in pem format.
C:\Users\Administrator>certutil -ca.cert C:\Users\Administrator\Downloads\rootcacert.cer
CA cert[0]: 3 -- Valid
CA cert[0]:
-----BEGIN CERTIFICATE-----
MIIDFTCaaa2gAwbbbgIQepb3APptdddOv11kVoDg1jANBgkqhkiG9w0BAQsFADAd
.
.
.
18BAfZuJ/givxxk05ukP52FD3iVYMGoxWQ==
-----END CERTIFICATE-----

CertUtil: -ca.cert command completed successfully.
Now make it in
pemformat:C:\Users\Administrator>certutil -encode C:\Users\Administrator\Downloads\rootcacert.cer C:\Users\Administrator\Downloads\rootcacert.pem.cer Input Length = 793 Output Length = 1150 CertUtil: -encode command completed successfully. -
Copy the
keycontrolvault.cercertificate and therootcacert.pem.certo a location accessible by the KeyControl server.
Install certificate
-
Log into the KeyControl server vault management UI as secroot.
-
In the Vault Management dashboard, select the Settings icon on the top right.
-
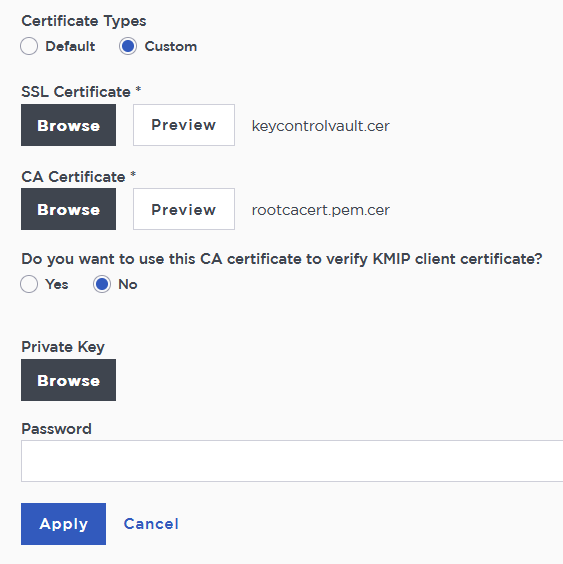
Select Custom radio button in Certificate Types.
-
Browse and select the certificate as shown.
-
The other defaults settings are appropriate for most applications. Make any changes necessary.
-
Select Apply.
Create the KeyControl client certificate bundle
Certificates are required to facilitate the KMIP communications from the KeyControl KMIP Vault and NetApp ONTAP application and conversely. The built-in capabilities in KeyControl are used to create and publish the certificate.
-
Login to the KMIP Vault with the URL and credentials from Create a KMIP Vault in KeyControl.
-
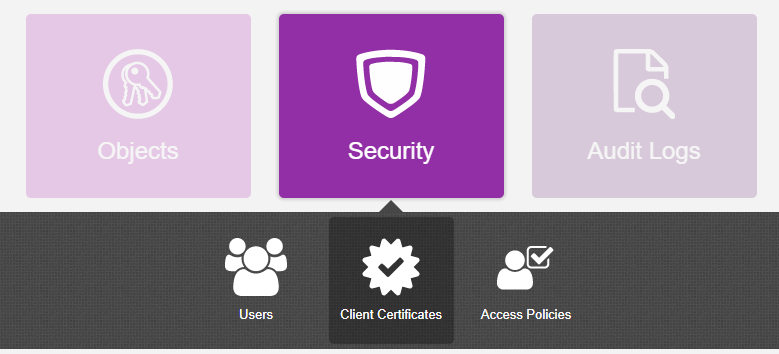
Select Security, then Client Certificates.
-
In the Manage Client Certificate page, select the + icon on the right to create a new certificate. The Create Client Certificate dialog box appears.
-
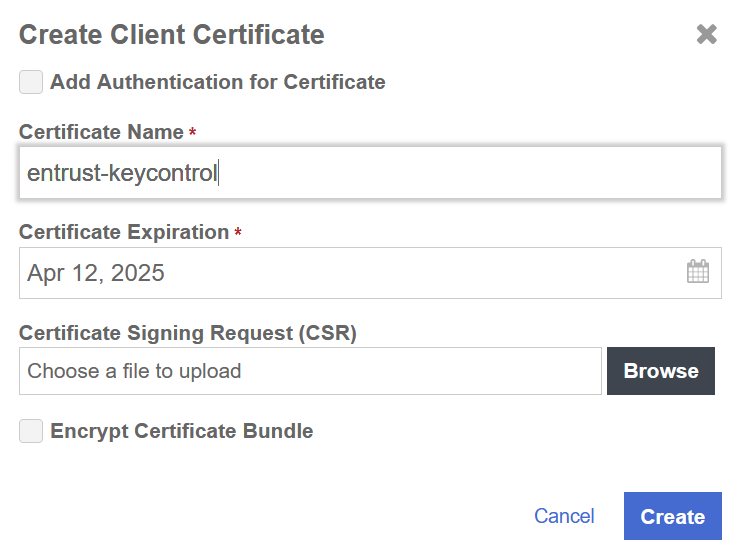
In the Create Client Certificate dialog box:
-
Enter the certificate name.
-
Enter the expiration date.
-
Leave Certificate Signing Request (CSR) field as default.
-
Select Create.
For example:
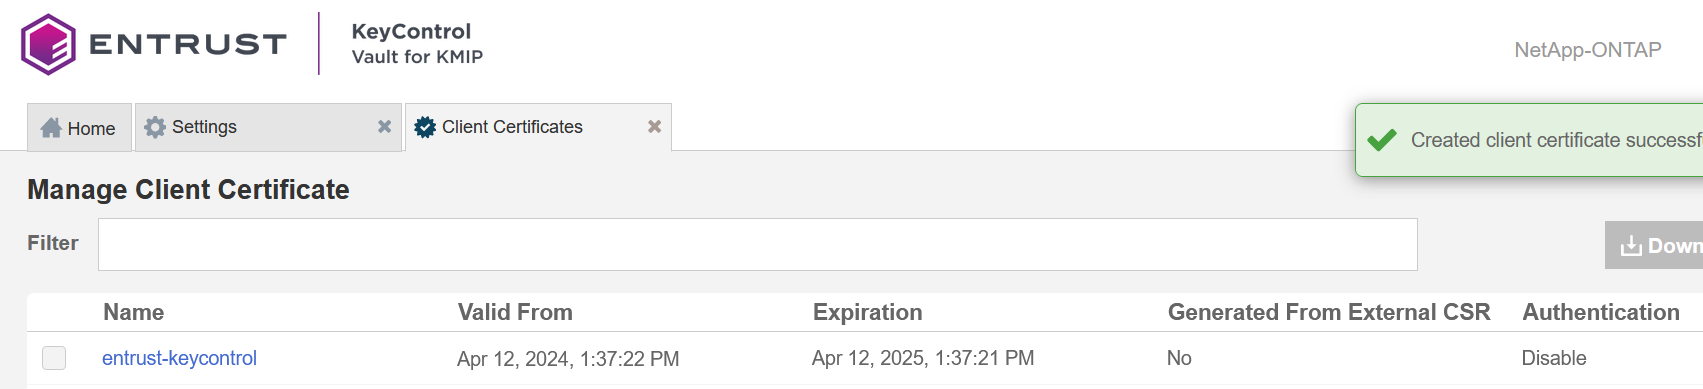
The new certificates are added to the Manage Client Certificate pane.
-
-
Select the certificate and select the Download icon to download the certificate.
-
Unzip the downloaded file.
% unzip NetApp-ONTAP_2025-06-06-14-28-04.zip
Archive:  NetApp-ONTAP_2025-06-06-14-28-04.zip
  inflating: NetApp-ONTAP.pem
  inflating: cacert.pem
It contains the following:
-
A
certname.pemfile that includes both the client certificate and private key. In this example, this file is calledNetApp-ONTAP.pem.The client certificate section of the
certname.pemfile includes the lines “-----BEGIN CERTIFICATE-----" and “-----END CERTIFICATE-----" and all text between them.The private key section of the
certname.pemfile includes the lines “-----BEGIN PRIVATE KEY-----" and “-----END PRIVATE KEY-----" and all text in between them. -
A
cacert.pemfile which is the root certificate for the KMS cluster. It is always namedcacert.pem.
-
-
These files will be used to establish trust between KeyControl and NetApp.
For more information on how to create a certificate bundle, see Establishing a Trusted Connection with a KeyControl-Generated CSR.