Install and configure KCM and KeySafe 5
Install the KeyControl Compliance Manager
The Entrust KeyControl Compliance Manager server is a software solution deployed from an OVA or ISO image. Entrust recommends that you read the Entrust KeyControl Compliance Manager Installation and Upgrade Guide online documentation to fully understand the KeyControl Compliance Manager server deployment.
To configure a KeyControl Compliance Manager cluster (active-active configuration is recommended), Entrust recommends the use of the OVA installation method, as described in the Entrust KeyControl Compliance Manager OVA Installation online documentation.
| Although an active-active cluster is not a requirement, and a single KeyControl Compliance Manager node can be deployed to perform its functions, Entrust strongly recommends deploying the solution with a minimum of two nodes in an active-active cluster solution. |
Install KeySafe 5
Please refer to the Online documentation for installation instructions:
Server Installation - A quick example
-
Update to the latest packages:
% sudo dnf update -
Install Docker:
% sudo dnf install docker -
Install Helm:
% sudo curl -L https://mirror.openshift.com/pub/openshift-v4/clients/helm/latest/helm-linux-amd64 -o /usr/local/bin/helm % sudo chmod +x /usr/local/bin/helm -
Open up the firewall:
% sudo firewall-cmd --zone=public --permanent --add-port="443/tcp" --add-port="5671/tcp" % sudo firewall-cmd --reload % sudo firewall-cmd --list-all -
Transfer the
nshield-keysafe5-1.4.0.tar.gzto the server. -
Create a directory for the installer file:
% mkdir keysafe5-install -
Untar the KeySafe 5
tarfile into this directory:% tar -xf nshield-keysafe5-1.4.0.tar.gz -C keysafe5-install -
Change to the install directory:
% cd keysafe5-install -
Disable authentication:
export DISABLE_AUTHENTICATION=yesRefer to documentation for information on how to setup authentication. -
Perform a dry-run of the installation:
% ./deploy.sh -nOutput:
helm not found.  Will fetch helm
istioctl not found.  Will fetch istioctl
kubectl not found.  Will fetch kubectl
Pre-flight checks
Found firewalld:
  * configuration will need sudo as K3s firewall rules are applied.
  * To prevent firewall reconfiguration set FIREWALL_CONFIGURED=YES
Kubernetes installation not found.  Will fetch and install K3s
    This will call sudo
istioctl unavailable – cannot determine the state of Istio
No MongoDB specified.  Will install MongoDB
No RabbitMQ specified.  Will install RabbitMQ
Will create local object storage in K3s
Will install a local Docker Registry
No authentication set
Resolve any issues before proceeding with the actual installation. -
If no errors are reported, run the installation:
% ./deploy.sh -yOutput:
Preparing to deploy KeySafe 5 helm not found. Will fetch helm istioctl not found. Will fetch istioctl kubectl not found. Will fetch kubectl ===================================================== ============ Downloading Required Tools ============= ===================================================== kubectl Acquisition In Progress kubectl Acquisition Completed Helm Acquisition In Progress Helm Acquisition Completed Istioctl Acquisition In Progress Istioctl Acquisition Completed Pre-flight checks Found firewalld: * configuration will need sudo as K3s firewall rules are applied. * To prevent firewall reconfiguration set FIREWALL_CONFIGURED=YES Kubernetes installation not found. Will fetch and install K3s This will call sudo Istio not installed. Will install Istio No MongoDB specified. Will install MongoDB No RabbitMQ specified. Will install RabbitMQ Will create local object storage in K3s Will install a local Docker Registry No authentication set ===================================================== ===================== Deploying ===================== ===================================================== Apply K3s Firewall rules In Progress Apply K3s Firewall rules Completed K3s Installation In Progress K3s Installation Completed Local Docker Registry In Progress Local Docker Registry Completed Docker Images In Progress Docker Images Completed Istio Installation In Progress Istio Installation Completed CA Setup In Progress CA Setup Completed RabbitMQ Installation In Progress RabbitMQ Installation Completed MongoDB Installation In Progress MongoDB Installation Completed Object Storage Local PVC Installation In Progress Object Storage Local PVC Installation Completed Installing KeySafe 5 In Progress Installing KeySafe 5 Completed Updating RabbitMQ certificates In Progress Updating RabbitMQ certificates Completed Uninstall local Docker Registry In Progress Uninstall local Docker Registry Completed To use K3s you will need to set the environment variable KUBECONFIG This may be done by running: export KUBECONFIG=/home/<user>/.kube/config You may append this to your shell's configuration file: KUBECONFIG=/home/<user>/.kube/config export KUBECONFIG You can list the pools through https://<keysafe5-server-ip>/mgmt/v1/pools { "data": { "pools": [] }, "meta": { "page": { "next": "", "previous": "" } } }_ The ui is now available through https://<keysafe5-server-ip> Deployment completed successfully. Generated TLS certificates are valid for 30 days. See the Installation Guide for how to update certificates. -
Point your browser to the deployment URL:
https://<keysafe5-server-ip> -
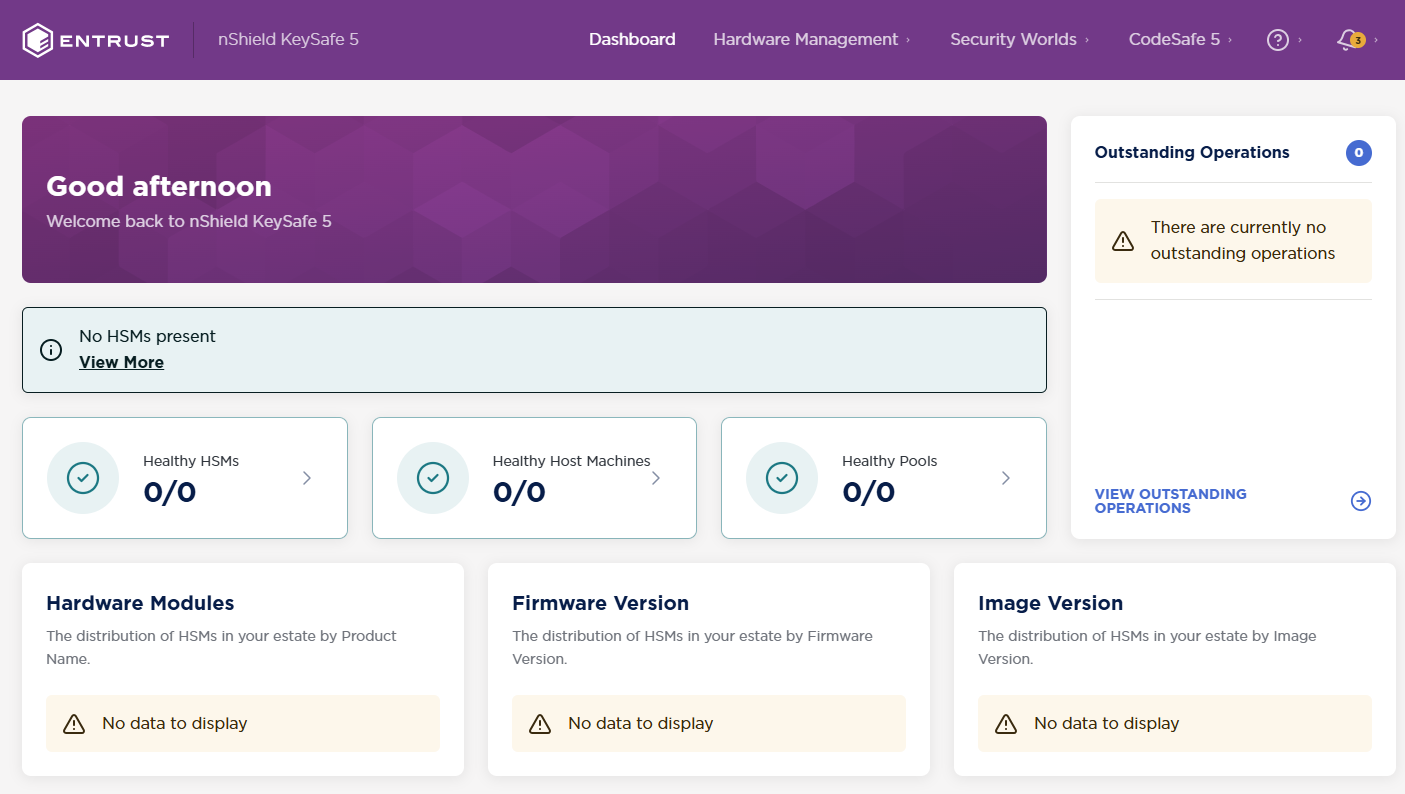
The KeySafe 5 dashboard appears:

-
The deploy script will also produce two archives for the agent configuration, one for Linux, one for Windows.
These files contain the agent configuration file and CA certificates for TLS authentication to RabbitMQ. The contents are used for configuring the KeySafe 5 client machines.
-
Configure
kubectlaccess, which will be needed later during the integration:% mkdir -p ${HOME}/.kube % sudo /usr/local/bin/k3s kubectl config view --raw > ${HOME}/.kube/config % chmod 600 ${HOME}/.kube/config % export KUBECONFIG=${HOME}/.kube/config -
Add the following line to the user’s profile
~/.bash_profileso KUBECONFIG is set every time:export KUBECONFIG=${HOME}/.kube/config
Client installation - quick example
In this section we will go over a quick installation of the KeySafe 5 agent (client) on a RedHat 9 Linux server. For the purpose of this integration, we install the KeySafe 5 agent on a server that already has security world installed and configured with some keys. We demonstrate KeySafe 5 with the data from this server. In our scenario we have a RedHat Linux 9 server already setup and running and the integration picks up from the point where the KeySafe 5 agent is installed.
To configure the client machine to be managed and monitored by the KeySafe 5 server, we install the KeySafe 5 agent on this server:
-
Transfer the
nshield-keysafe5-1.4.0.tar.gzfile to the client server. -
Create a directory for the installer:
% mkdir keysafe5-install -
Untar the KeySafe 5
tarfile into this directory:% tar -xf nshield-keysafe5-1.4.0.tar.gz -C keysafe5-install -
Change to the install directory:
% cd keysafe5-install -
Create the installation directory:
% sudo mkdir -p /opt/nfast/keysafe5 -
Transfer the
agent-config.tar.gzthatdeploy.shgenerated to the client server:% scp <keysafe5-server-ip>:/home/<USER>/keysafe5-install/agent-config.tar.gz . -
Untar the agent into
/opt/nfast/keysafe5:% sudo tar -xf keysafe5-agent/keysafe5-1.4.0-Linux-keysafe5-agent.tar.gz -C / -
Untar the agent configuration,
agent-config.tar.gz:% sudo tar -xf agent-config.tar.gz -C /opt/nfast/keysafe5/ -
Generate a TLS private key for this KeySafe 5 agent.:
% /opt/nfast/keysafe5/bin/ks5agenttls -keypath=/opt/nfast/keysafe5/conf/messagebus/tls/tls.key -keygenOutput:
Will use nShield HSM as source of randomness for private key data Private key has been generated and saved to /opt/nfast/keysafe5/conf/messagebus/tls/tls.key When configuring message bus TLS for this KeySafe 5 agent, the key should be saved to /opt/nfast/keysafe5/conf/messagebus/tls/tls.key with file permissions and ownership as documented in the KeySafe 5 Installation Guide -
Generate a TLS CSR for this KeySafe 5 agent:
% /opt/nfast/keysafe5/bin/ks5agenttls -keypath=/opt/nfast/keysafe5/conf/messagebus/tls/tls.key -csrgenOutput:
CSR has been generated and saved to ks5agent_openssl-redhat-9.csr -
Copy the CSR file to the KeySafe 5 server
keysafe5-installdirectory:% scp ks5agent_openssl-redhat-9.csr <keysafe5-server-ip>:/home/<USER>/keysafe5-install/. -
Go back to the KeySafe 5 server:
-
Run
agentcert.shto create a client TLS certificate for the KeySafe 5 client (agent) using the CSR from the client and the CA created by the deploy script:% cd /home/<user>/keysafe5-install % agentcert.sh ks5agent_openssl-redhat-9.csr 365Certificate generated to ks5agent_openssl-redhat-9.crt. Valid for 365 days CA Certificate available at /home/<user>/keysafe5-install/internalCA/cacert.pem RabbitMQ will need to be configured to allow access for the user 'ks5agent_openssl-redhat-9': export RUN_RABBIT="kubectl -n rabbitns exec rabbit-chart-rabbitmq-0 -c rabbitmq -- " ${RUN_RABBIT} rabbitmqctl add_user ks5agent_openssl-redhat-9 ephemeralpw ${RUN_RABBIT} rabbitmqctl set_permissions -p nshieldvhost ks5agent_openssl-redhat-9 '.*' '.*' '.*' ${RUN_RABBIT} rabbitmqctl clear_password ks5agent_openssl-redhat-9 -
In the KeySafe 5 server, Run the commands requested to configure RabbitMQ:
% export RUN_RABBIT="kubectl -n rabbitns exec rabbit-chart-rabbitmq-0 -c rabbitmq -- "
% ${RUN_RABBIT} rabbitmqctl add_user ks5agent_openssl-redhat-9 ephemeralpw
Output:
Adding user "ks5agent_openssl-redhat-9" ...
Done. Don't forget to grant the user permissions to some virtual hosts! See 'rabbitmqctl help set_permissions' to learn more.
% ${RUN_RABBIT} rabbitmqctl set_permissions -p nshieldvhost ks5agent_openssl-redhat-9 '.*' '.*' '.*'Output:
Setting permissions for user "ks5agent_openssl-redhat-9" in vhost "nshieldvhost" ...% ${RUN_RABBIT} rabbitmqctl clear_password ks5agent_openssl-redhat-9Output:
Clearing password for user "ks5agent_openssl-redhat-9" ... -
In the KeySafe 5 server, copy the client TLS certificate output from the
agentcert.shcommand to the client server with the KeySafe 5 agent:% scp ks5agent_openssl-redhat-9.crt <KEYSAFE5_CLIENT_IP>:/home/<USER>/keysafe5-install/. -
In the KeySafe 5 server, also copy over the CA certificate
internalCA/cacert.pem:% scp internalCA/cacert.pem <KEYSAFE5_CLIENT_IP>:/home/<USER>/keysafe5-install/. -
Go back to the KeySafe 5 client machine.
-
Copy
ks5agent_openssl-redhat-9.crtto/opt/nfast/keysafe5/conf/messagebus/tls/tls.crt:% sudo cp /home/<USER>/keysafe5-install/ks5agent_openssl-redhat-9.crt /opt/nfast/keysafe5/conf/messagebus/tls/tls.crt -
Copy the
cacert.pemto/opt/nfast/keysafe5/conf/messagebus/tls/ca.crt:% sudo cp /home/<USER>/keysafe5-install/cacert.pem /opt/nfast/keysafe5/conf/messagebus/tls/ca.crt -
Edit the
/opt/nfast/keysafe5/conf/config.yamlfile:Set the URL to
<KEYSAFE5_CLIENT_IP>:5671/nshieldvhostandmessage_bustoamqpmessage_bus: # What technology to use for the message bus. # Supported Values: # - amqp # - nats # The default is nats type: amqp -
If the hardserver is already running, use the KeySafe 5 install script to start the KeySafe 5 agent without restarting the hardserver:
% sudo /opt/nfast/keysafe5/sbin/installOutput:
-- Running install fragment keysafe5-agent
Checking for user 'keysafe5d'
Creating keysafe5d user.
useradd: warning: the home directory /opt/nfast already exists.
useradd: Not copying any file from skel directory into it.
Checking user 'keysafe5d' is in correct group 'nfast'
users created correctly
Adding 'keysafe5d' user to 'nfastadmin' group
Enforcing permissions on existing KeySafe5 agent configuration file
Setting group ownership of '/opt/nfast/keysafe5/conf/config.yaml' to 'nfastadmin' group
Enforcing permissions on KeySafe5 agent message bus configuration files
Installing startup scripts for 'keysafe5-agent'.
Enabling the systemd service unit
Adding and enabling a systemd unit
Created symlink /etc/systemd/system/multi-user.target.wants/nc_keysafe5-agent.service → /etc/systemd/system/nc_keysafe5-agent.service.
Starting nCipher 'keysafe5-agent' server process.
 ---- Installation complete ----
Otherwise use the nShield install script that starts all the services:
% sudo /opt/nfast/sbin/installIf you have to start or stop the
keysafe5agent, use:% sudo /opt/nfast/scripts/init.d/keysafe5-agent [start/stop] -
View the KeySafe 5 agent log:
% sudo tail -50 /opt/nfast/log/keysafe5-agent.logOutput:
{"component":"KEYSAFE5-AGENT","level":"info","msg":"Starting agent with config: Hostname:openssl-redhat-9, Version:1.4.0-b69fc133, MessageBus:{type: amqp, URL: amqps://<keysafe5-server-ip>:5671/nshieldvhost, tls: true}, LoggerConfig:{level:Info, format:JSON, file.enabled:true, file.path:/opt/nfast/log/keysafe5-agent.log}, UpdateInterval:1m0s, HealthInterval:1m0s, RecoveryInterval:5s, KmdataNetworkMount:false, KmdataPollInterval:1s, CodeSafeUpdateInterval:3m0sCodeSafeCachePeriod:1h0m0s","pid":94643,"time":"2024-10-30 11:28:34.204"} {"component":"KEYSAFE5-AGENT","level":"info","msg":"Recovery necessary","pid":94643,"time":"2024-10-30 11:28:34.205"} {"component":"KEYSAFE5-AGENT","level":"info","msg":"Started watching for changes in /opt/nfast/kmdata/local","pid":94643,"time":"2024-10-30 11:28:34.255"} {"component":"KEYSAFE5-AGENT","level":"info","msg":"Published HSM Data update for module: 1, esn: 5xxx-xxxx-xxxx (466 B)","pid":94643,"time":"2024-10-30 11:28:34.259"} {"component":"KEYSAFE5-AGENT","level":"info","msg":"Starting nCore handler on 5xxx-xxxx-xxxx_ncore_request for module: 1, esn: 5xxx-xxxx-xxxx","pid":94643,"time":"2024-10-30 11:28:34.259"} {"component":"KEYSAFE5-AGENT","level":"info","msg":"Starting feature certificate handler for openssl-redhat-9","pid":94643,"time":"2024-10-30 11:28:34.269"} {"component":"KEYSAFE5-AGENT","level":"info","msg":"Starting platform handler for openssl-redhat-9","pid":94643,"time":"2024-10-30 11:28:34.269"} {"component":"KEYSAFE5-AGENT","level":"info","msg":"Published host[openssl-redhat-9] update (20 KiB), containing hsms: [5xxx-xxxx-xxxx]","pid":94643,"time":"2024-10-30 11:28:34.274"} {"component":"KEYSAFE5-AGENT","level":"info","msg":"Published kmdata update for world hknso 0e41xxxxxxxxx6c2315xxxxxx451xxx. keys=7 softcards=1 cardsets=2 cards=10 modulecerts=2 (54 KiB)","pid":94643,"time":"2024-10-30 11:28:34.488"} {"component":"KEYSAFE5-AGENT","level":"info","msg":"Starting kmdata handler for openssl-redhat-9","pid":94643,"time":"2024-10-30 11:28:34.488"} {"component":"KEYSAFE5-AGENT","level":"info","msg":"No recovery necessary. hardserver running = true","pid":94643,"time":"2024-10-30 11:28:39.270"} -
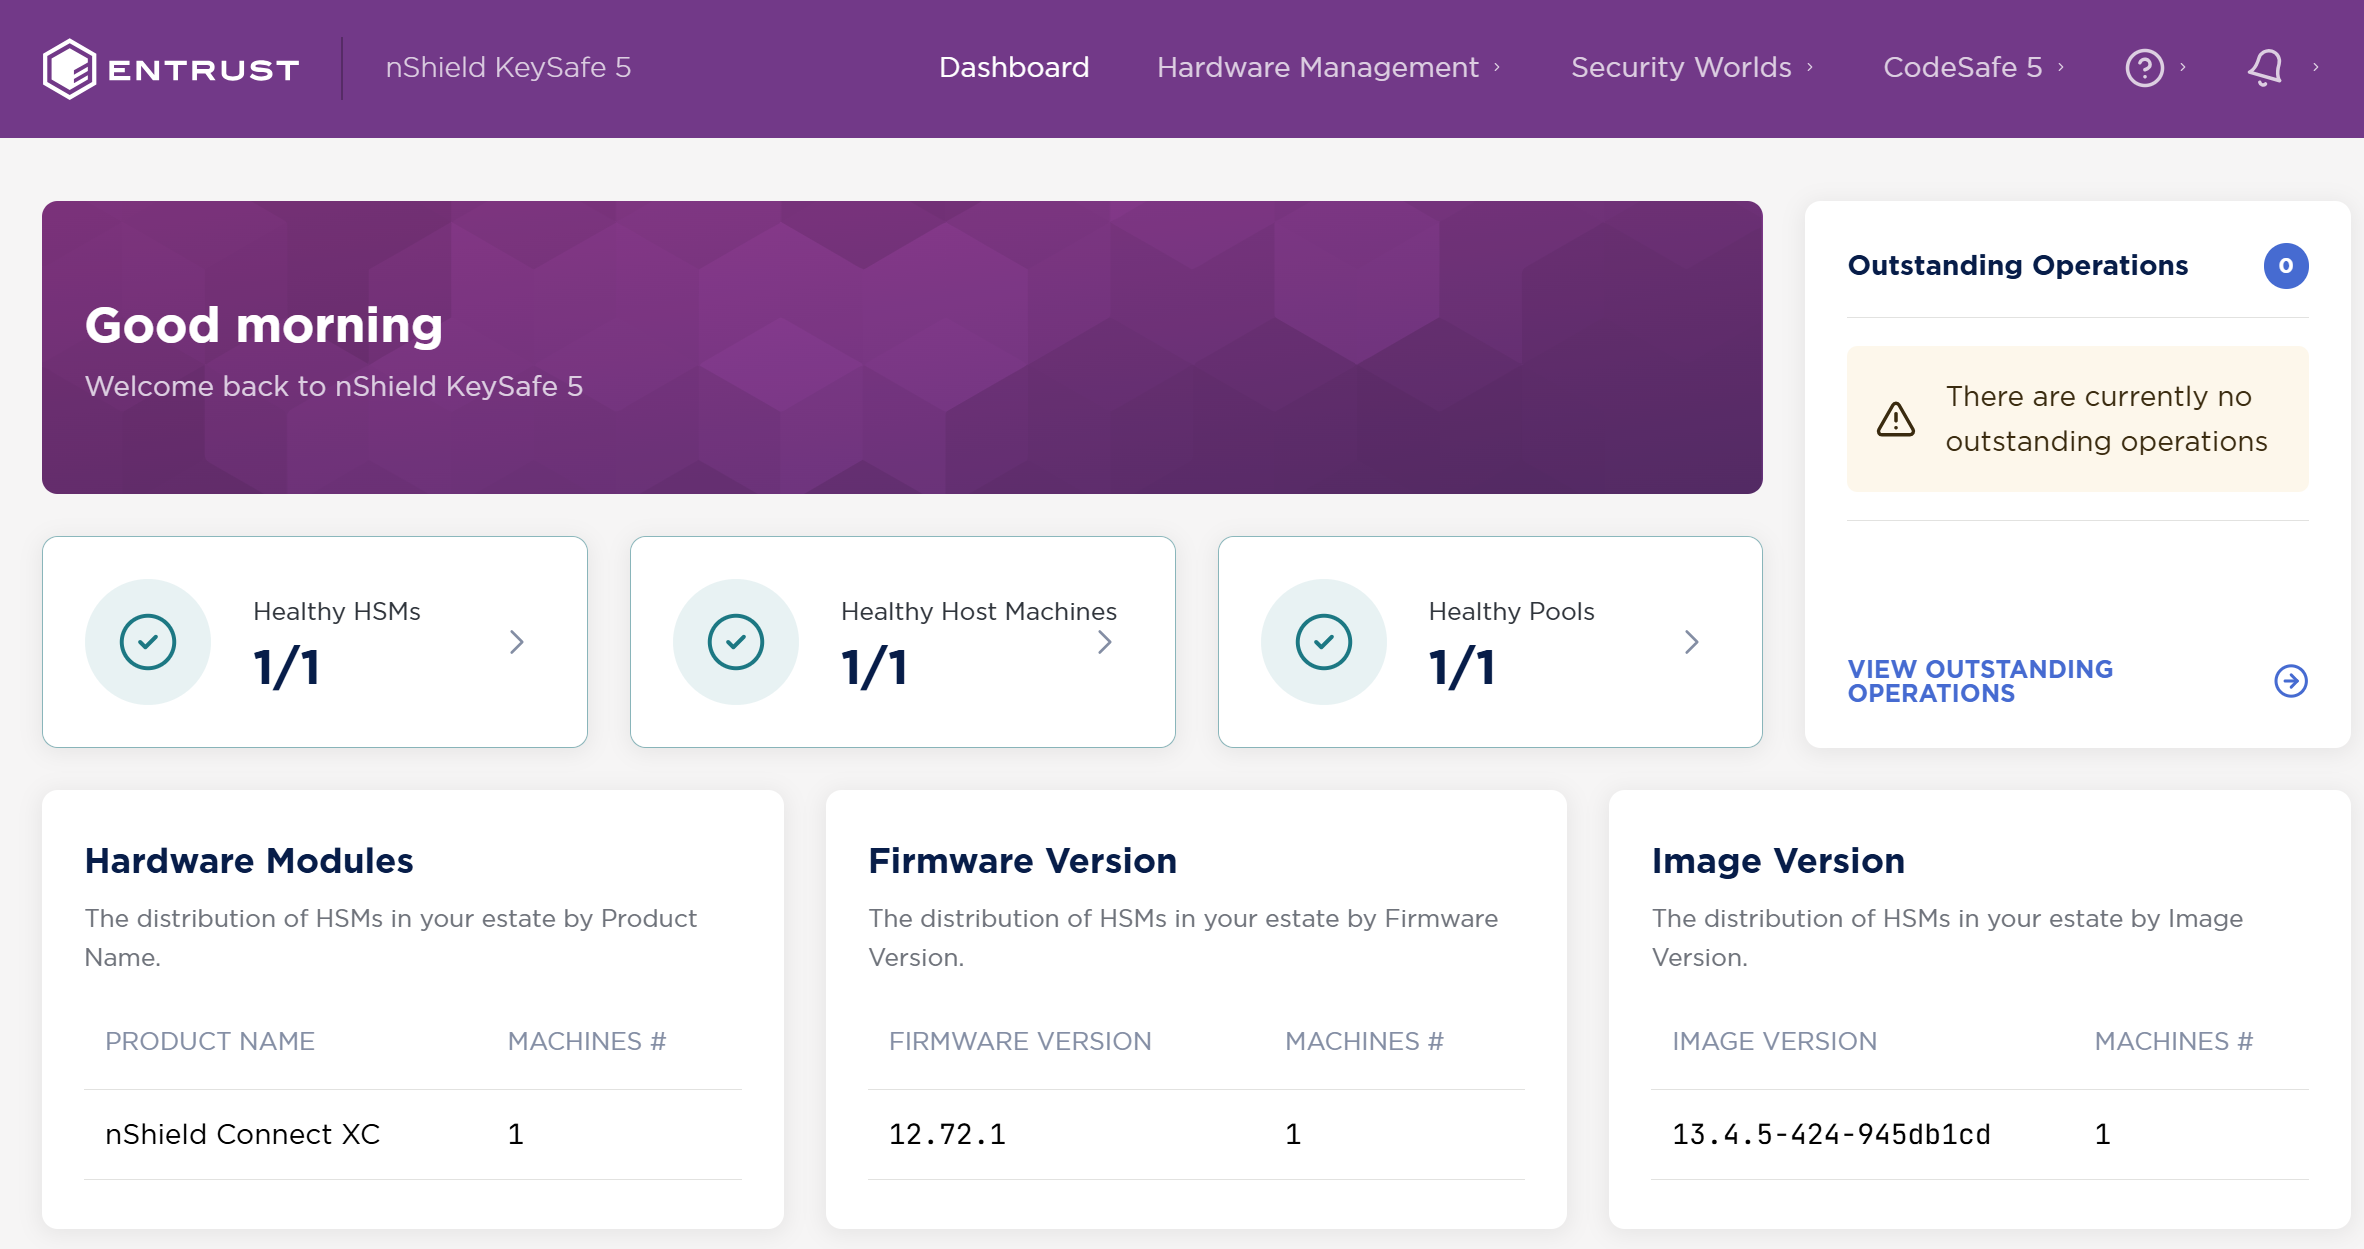
Once deployed you should see the HSM and Security World information from the KeySafe 5 client populated into the KeySafe 5 server:
