Procedures
Install Java
-
Install the Java Development Kit (JDK).
HID specifically requires the JDK and not the Java Runtime Environment (JRE). Refer to the HID documentation for validated versions of the JDK. -
Set the JAVA_HOME environment variables
>export JAVA_HOME=/usr/lib/jvm/java-11-openjdk
>export JRE_HOME=/usr/lib/jvm/java-11-openjdk
>export PATH=$JAVA_HOME/bin:$PATH
Install the HSM
Install the nShield Connect HSM locally, remotely, or remotely via the serial console. See the following nShield Support articles and the Installation Guide for the HSM:
| Access to the Entrust nShield Support Portal is available to customers under maintenance. To request an account, contact nshield.support@entrust.com. |
Install the Security World software and create a security world
-
Install the Security World software:
-
Mount the DVD or .iso/disc image and locate
setup.exe. -
Right-click the
setup.exeicon and select Run as Administrator. -
For detailed instructions, see the Installation Guide and the User Guide for the HSM.
-
-
Add the Security World utilities path
C:\Program Files\nCipher\nfast\binto the Windows system path. -
Open the firewall port
9004for the HSM connections. -
Inform the HSM of the client’s location. In this integration the client is the HID database. For instructions, see in Configuring the nShield HSM to use the client. If it’s a high-availability setup, repeat the client configuration for each HSM.
-
Enroll HID as a client of the HSM. See Configuring client computers to use the nShield HSM. If it’s a high-availability setup, repeat the enrolment for each HSM.
-
Open a command window and run the following command to confirm that the HSM is
operational:>enquiry Server: enquiry reply flags none enquiry reply level Six serial number 6308-03E0-D947 mode operational ... Module #1: enquiry reply flags none enquiry reply level Six serial number 6308-03E0-D947 mode operational ... -
Create your security world if one does not already exist, or copy an existing one. Follow your organization’s security policy for this.
-
Confirm that the security world is
usable:>nfkminfo World generation 2 state 0x3fb7000c Initialised Usable ... ... mode fips1402level3 Module #1 generation 2 state 0x2 Usable -
Edit the
C:\ProgramData\nCipher\Key Management Data\config\configfile. Add the following lines in the[server_startup]section:[server_startup] ... priv_port=9001 nonpriv_port=9000
Create the OCS
-
Create the OCS, following your organization’s security policy for the value N of K/N. As required, create extra OCS cards, one for each person with access privilege, plus spares.
Administrator Card Set (ACS) authorization is required to create an OCS in FIPS 140 level 3.
After an OCS card set has been created, the cards cannot be duplicated.
# createocs -m1 -s2 -N HIDValAuth -Q 1/1 FIPS 140-2 level 3 auth obtained. Creating Cardset: Module 1: 0 cards of 1 written Module 1 slot 3: Admin Card #1 Module 1 slot 2: blank card Module 1 slot 0: empty Module 1 slot 2:- passphrase specified - writing card Card writing complete. cardset created; hkltu = 6165632fe011c6475f4d61ac555698d437230cf3 -
List the OCS created:
>nfkminfo -c Cardset list - 1 cardsets: (P)ersistent/(N)ot, (R)emoteable/(L)ocal-only Operator logical token hash k/n timeout name 6165632fe011c6475f4d61ac555698d437230cf3 1/1 none-NL HIDValAuth -
Configure Java by copying the
nCipherKM.jarfile from%NFAST_HOME%\java\classes\to the extensions folder of the local Java%JAVA_HOME%\lib:>copy "C:\Program Files\nCipher\nfast\java\classes\nCipherKM.jar" "C:\Program Files\Java\jdk-11.0.22\jre\lib\." 1 file(s) copied.
Install and configure the database
-
Install the database where information about issuers, credentials, and revocation lists will be stored. See the HID documentation for compatible database versions.
-
Create a new database called
rtc. -
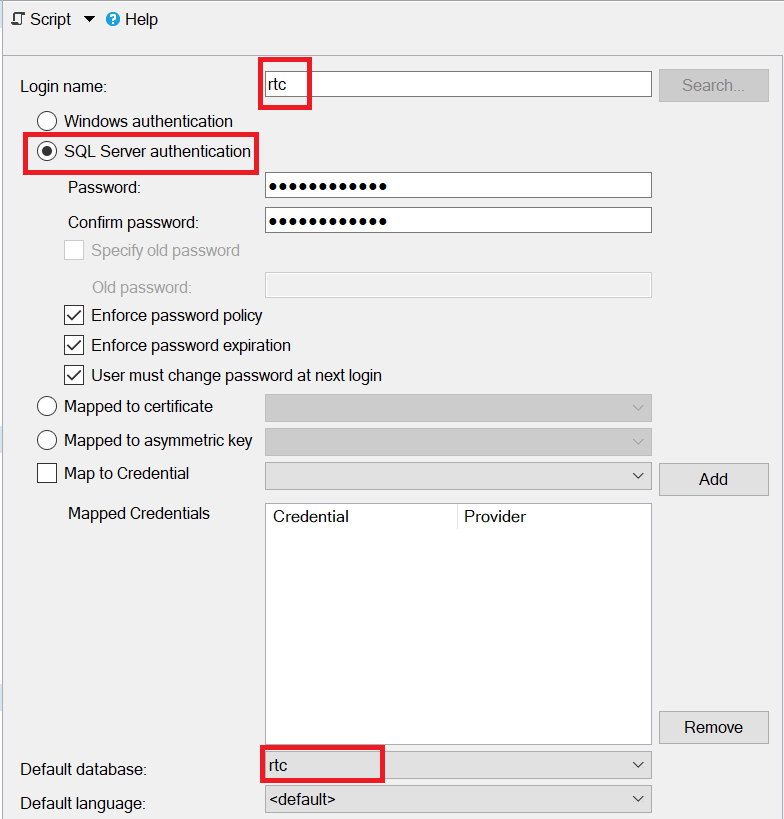
Create a new login:
-
For Login name, enter rtc.
-
Select SQL server authentication.
-
Enter a Password and confirm the password.
-
For Default database, select rtc. For example:
-
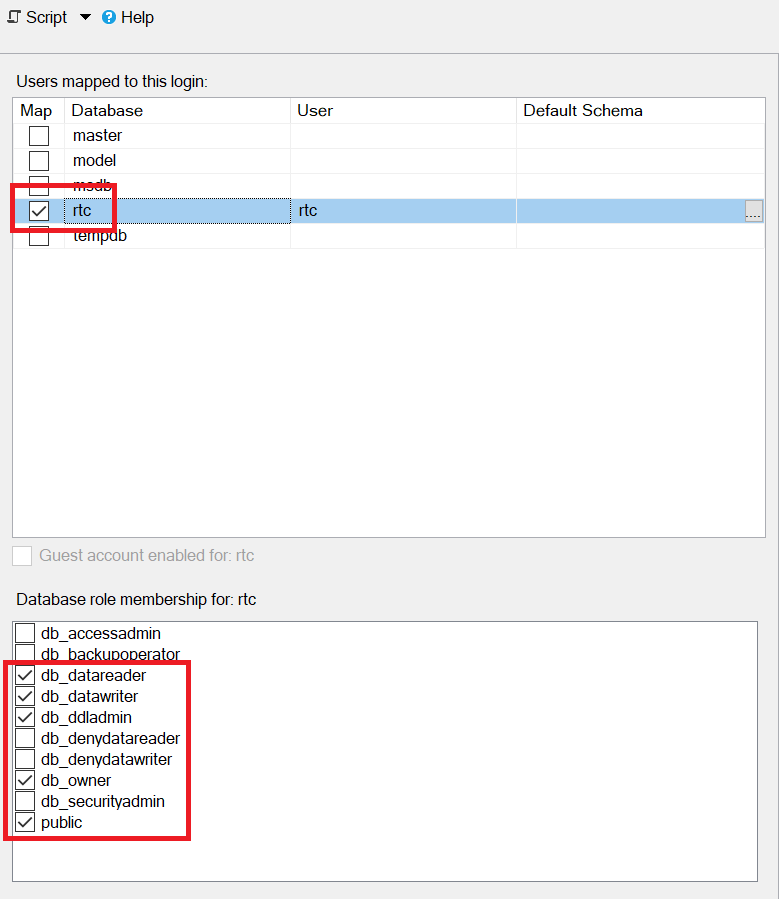
For Users mapped to this login, select rtc.
-
For Access privilege, select db_datareader, db_datawriter, db_ddladmin, db_owner, and public. For example:
-
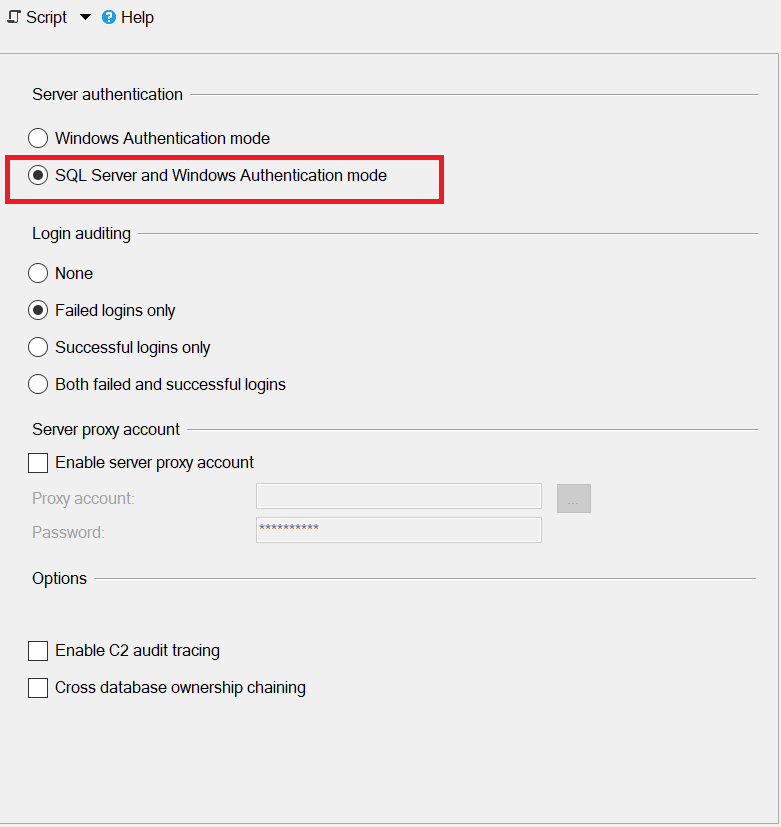
For Server authentication, select SQL Server and Windows Authentication mode.
-
-
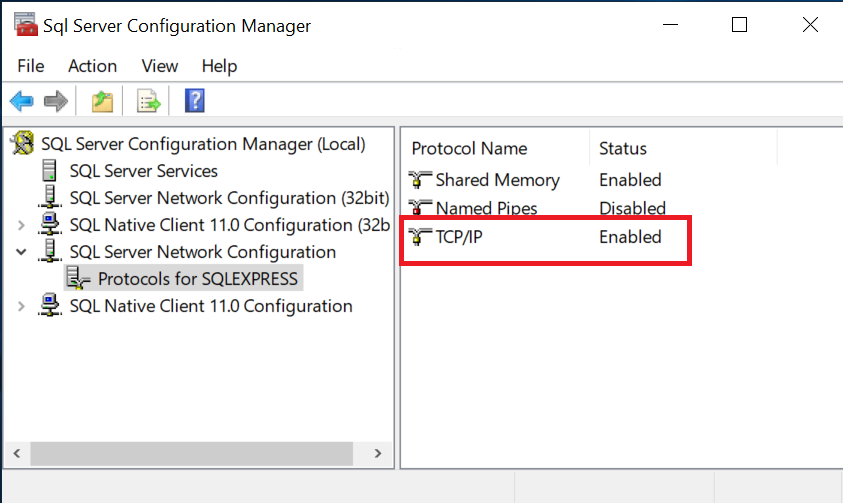
Enable the TCP/IP network protocol.
-
Open the firewall port 1433 for the TCP/IP connection to the MS SQL server.
Install the HID Global Validation Authority
For detailed instructions, see the ActivID® Validation Authority Installation and Configuration Guide.
-
Run through the HID VA installer.
-
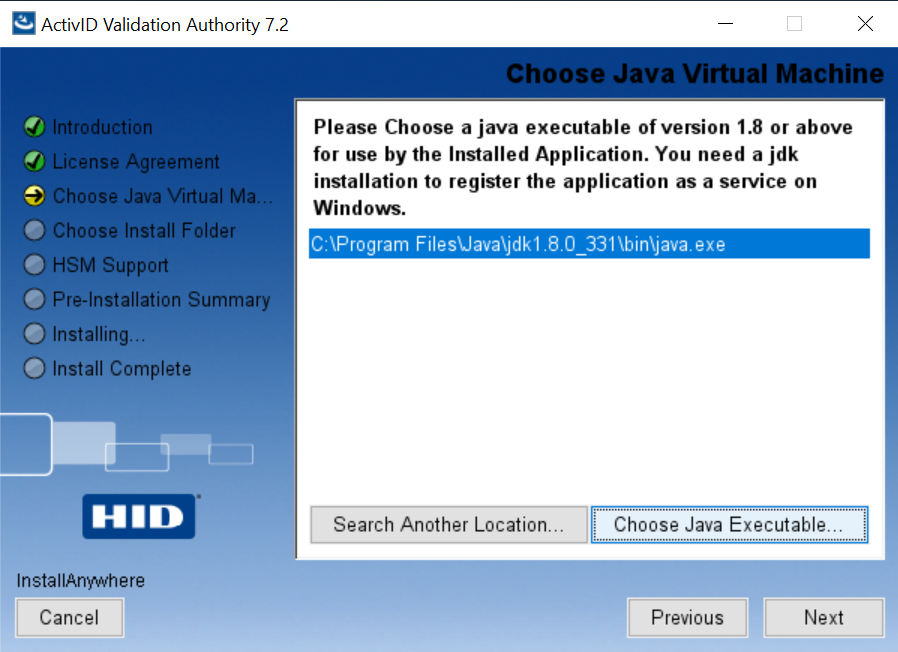
On the Choose Java Virtual Machine page of the installer, choose the Java executable within the JDK folder.
-
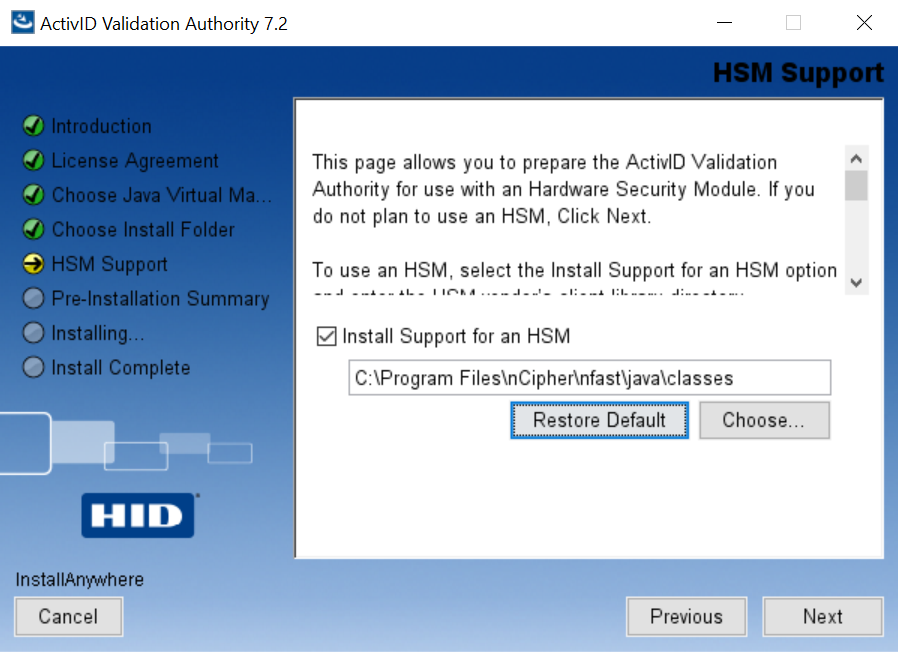
On the HSM Support page of the installer:
-
Select Install Support for an HSM.
-
Select Choose and find
%NFAST_HOME%\java\classes.
-
-
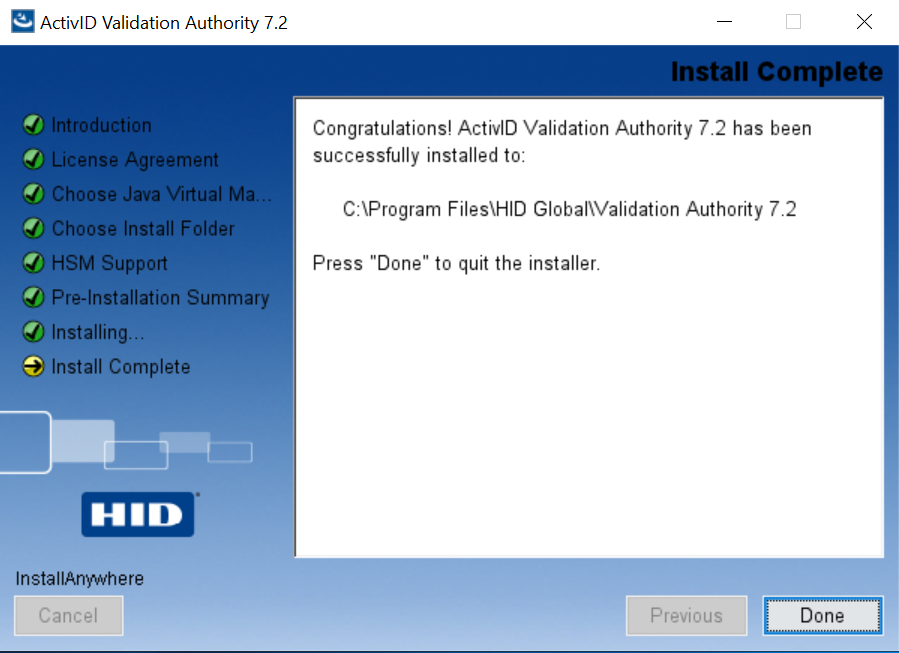
Complete the installation.
-
Launch the Windows Services and locate ActivID Validation Authority.
-
Right-click ActivID Validation Authority to select its properties.
-
On the General tab, for Startup type select Manual.
-
On the Log On tab, select Local System account.
-
Select Apply and then select OK.
Configure the HID Global Validation Authority
-
Insert the OCS in the HSM.
-
On the Windows Start menu, run Configure Validation Authority.
-
Select Begin.
-
Select whether you are upgrading or new installation.
-
On the next page, provide your organization name.
-
On the Keystore page:
-
Select nShield (client software v11 or later) from the drop-down menu.
-
Clear the Oracle SunJCE keystore for SSL Key check box.
-
Select Regenerate Keys to create a new set of security keys that are protected by the nShield HSM.
-
Select all four key options if this is a fresh install.
This version of the VA has a known issue. It does not support an ECC key for the Asymmetric SSL Key option. If you want to install the VA using ECC keys, contact HID for more information. -
Under Message Digest Algorithms:
-
For the For Signatures property, select SHA-256.
-
For the For OCSP Response Data property, select SHA-256.
-
-
Under Keystore Password (Required)
-
Select Prompt for Password at Server Start.
-
Enter and confirm the enter the OCS passphrase.

-
-
Select Next.
-
-
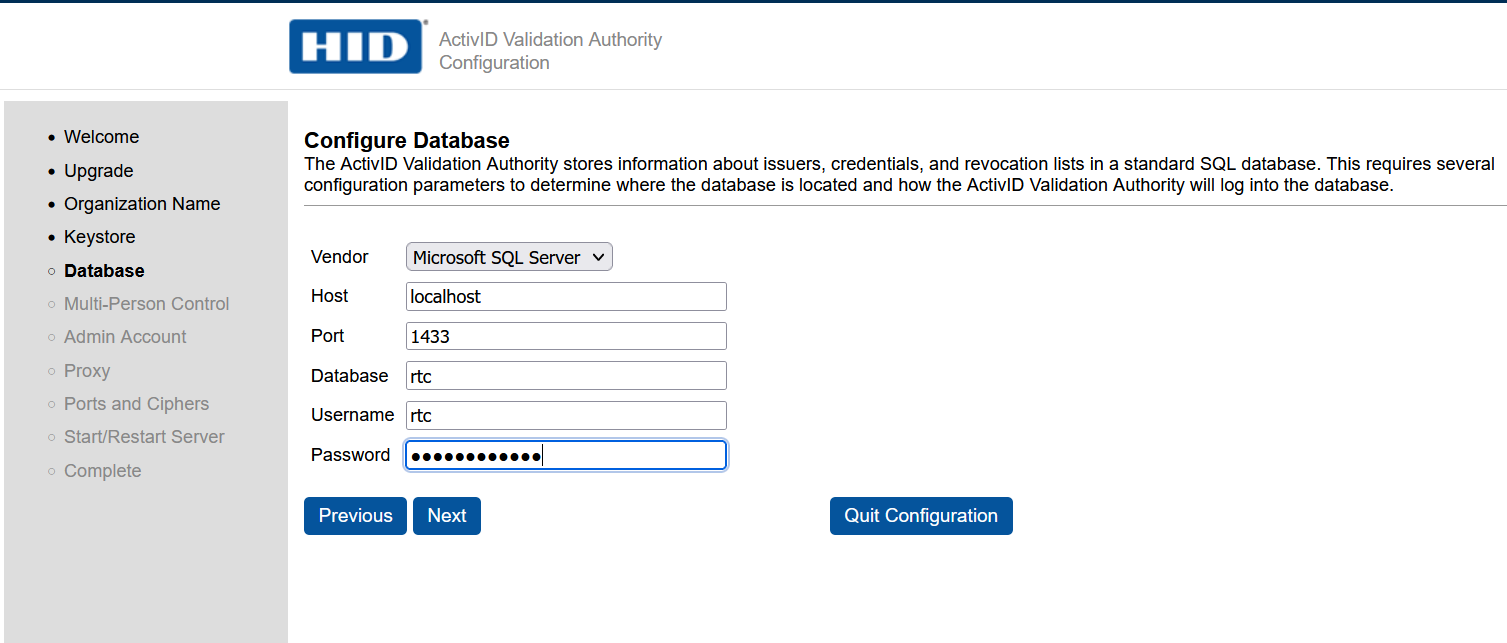
In the Configure Database page:
-
For Vendor, select Microsoft SQL Server.
-
For Host, enter localhost.
-
For Port, enter 1433.
-
For Database, enter rtc.
-
For User, enter rtc.
-
For Password, enter the database password defined in Install and configure the database.
-
Select Next.
-
-
In the Initialize Database page:
-
Clear the Remove all ActivID Validation Authority data and drop tables check box.
-
Select Create required tables.
-
Select Next.

-
-
In the Multi-Person Control page, select Next.

-
In the Administrator Account page:
-
Enter the credentials for the HID Global Validation Authority.
-
Select Next.

-
-
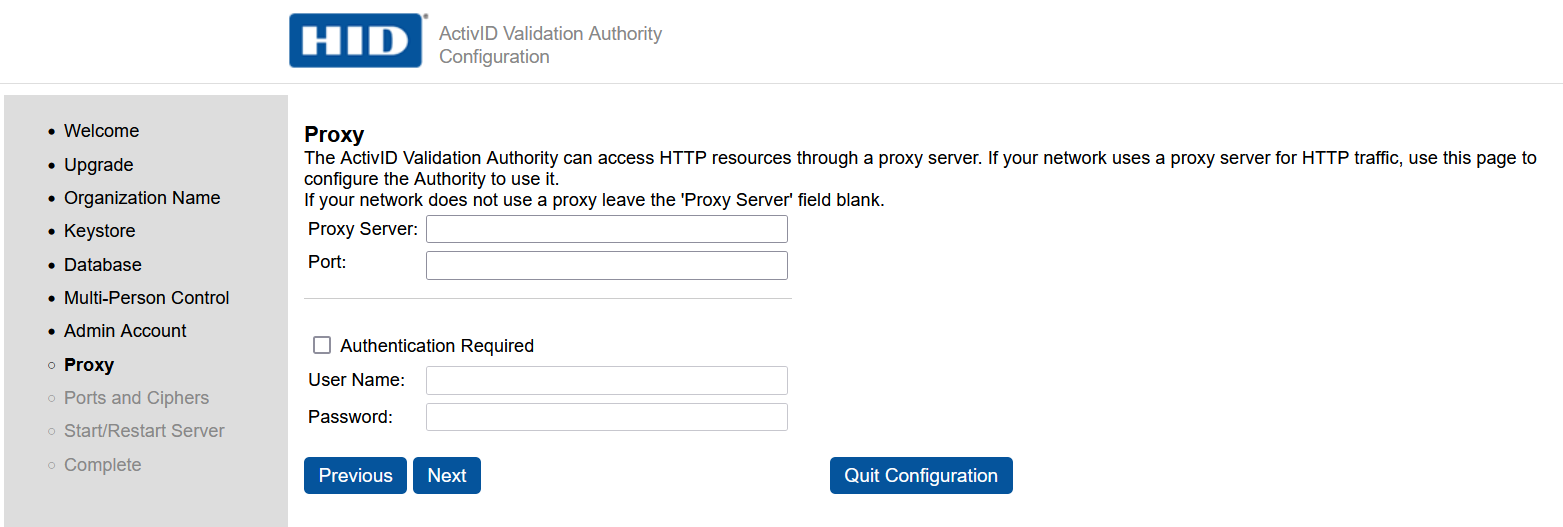
In the Proxy page, do not update any properties. Then, select Next.
-
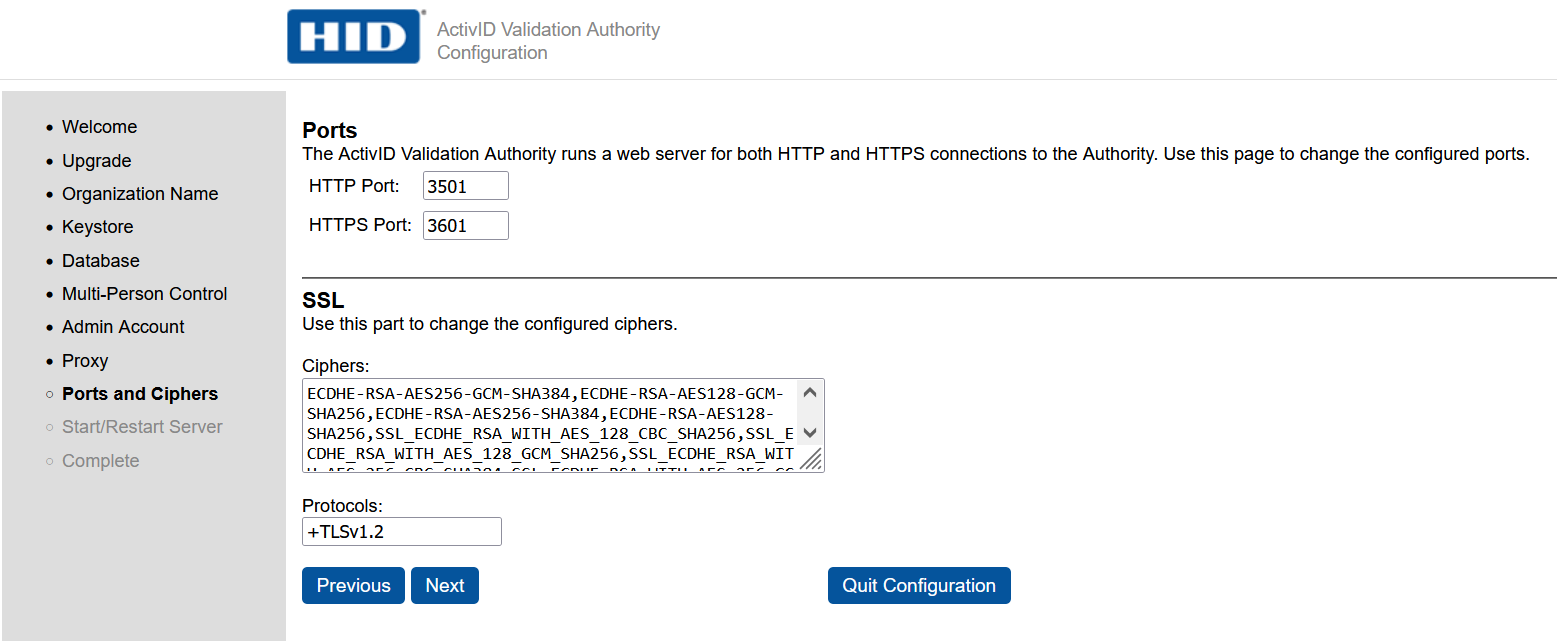
In the Ports page, do not update any properties. Then, select Next.
-
Select Start/Restart to finish.

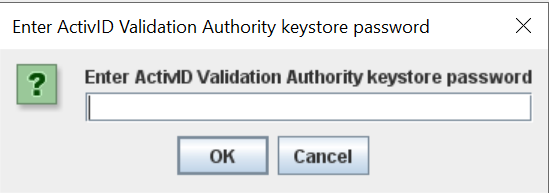
A password dialog appears. Be aware that the dialog may be behind the Browser window.
-
Enter the OCS passphrase and select OK.
The installation completes.

-
Verify the installation:
-
Close your browser.
-
Open your browser and enter the following URL
+\http://localhost:3501/monitor.jsp.
-
Confirm that STATUS OK appears.
-
Start the HID Global Validation Authority
To start the HID Global Validation Authority:
-
Insert the OCS card into the HSM.
-
Open a command prompt and start HID VA.
C:\Program Files\HID Global\Validation Authority 7.4\authority\bin>server.bat start
Using CATALINA_BASE:   "C:\Program Files\HID Global\Validation Authority 7.4\authority"
Using CATALINA_HOME:   "C:\Program Files\HID Global\Validation Authority 7.4\authority\..\tomcat"
Using CATALINA_TMPDIR: "C:\Program Files\HID Global\Validation Authority 7.4\authority\temp"
Using JRE_HOME:        "C:\Program Files\Java\jdk-11.0.22"
Using CLASSPATH:       "C:\Program Files\HID Global\Validation Authority 7.4\authority\..\tomcat\bin\bootstrap.jar;C:\Program Files\HID Global\Validation Authority 7.3\authority\..\tomcat\bin\tomcat-juli.jar"
Using Security Manager
Entrust was unable to start the HID VA service from services as detailed in the HID Global documentation. The server.batfile was used instead.A password dialog appears. Be aware that the dialog may be behind the Browser window.
-
Enter the OCS passphrase.
-
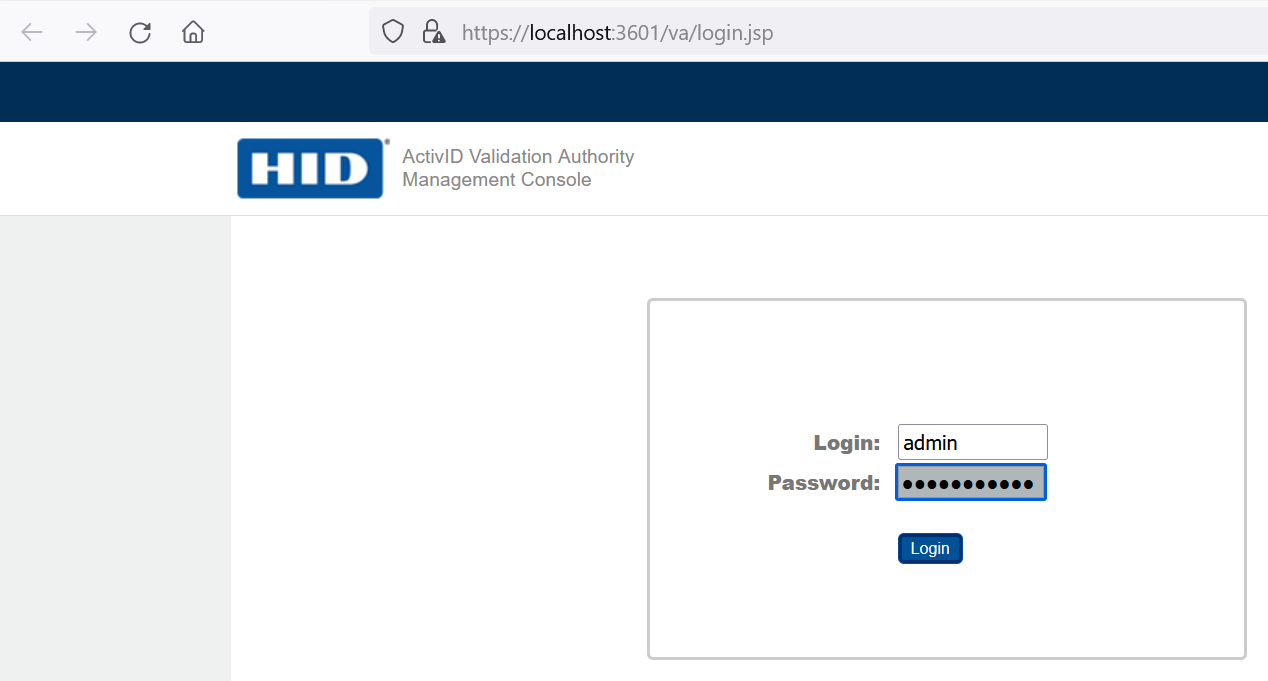
Access the HID Validation Authority Management Console from a web browser. To do this, select Start > HID Global > Validation Authority Management.
