Procedures
Prerequisites
Before you integrate the Entrust KeyControl KMIP Vault KMS with Commvault platform, complete the following tasks:
-
Entrust KeyControl KMIP Vault is deployed and configured.
-
Commvault Platform is deployed and configured.
-
You have administrator rights to manage the KMS configuration in Commvault.
Create a KMIP Vault in the KeyControl Vault Server
The KeyControl Vault appliance supports different type of vaults that can be used by all type of applications. This section describes how to create a KMIP Vault in the KeyControl Vault Server.
Refer to the Creating a Vault section of the admin guide for more details about it.
-
Log into the KeyControl Vault Server web user interface:
-
Use your browser to access the IP address of the server.
-
Sign in using the secroot credentials.
-
-
Select the user’s dropdown menu and select Vault Management.
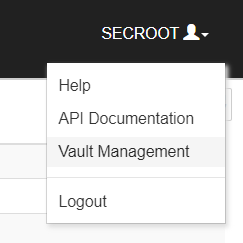
This action will take you to the KeyControl Vault Management interface.
-
In the KeyControl Vault Management interface, select Create Vault.
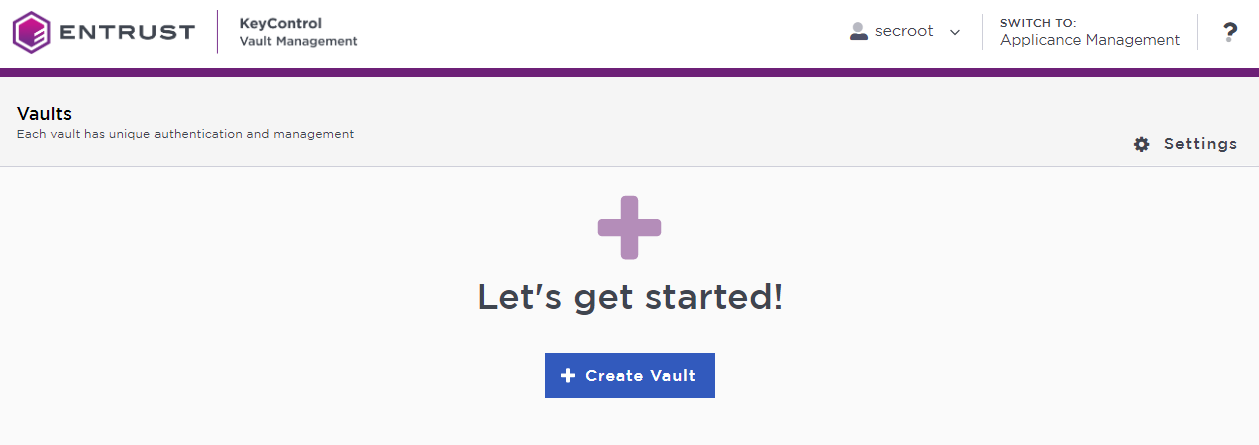
KeyControl Vault supports the following types of vaults:
-
Cloud Key Management - Vault for cloud keys such as BYOK and HYOK.
-
KMIP - Vault for KMIP Objects.
-
PASM - Vault for objects such as passwords, files, SSH keys, and so on.
-
Database - Vault for database keys.
-
Tokenization - Vault for tokenization policies.
-
VM Encryption - Vault for encrypting VMs.
-
-
In the Create Vault page, create a KMIP Vault:
-
For Type, select KMIP.
-
For Name, enter the name of the Vault.
-
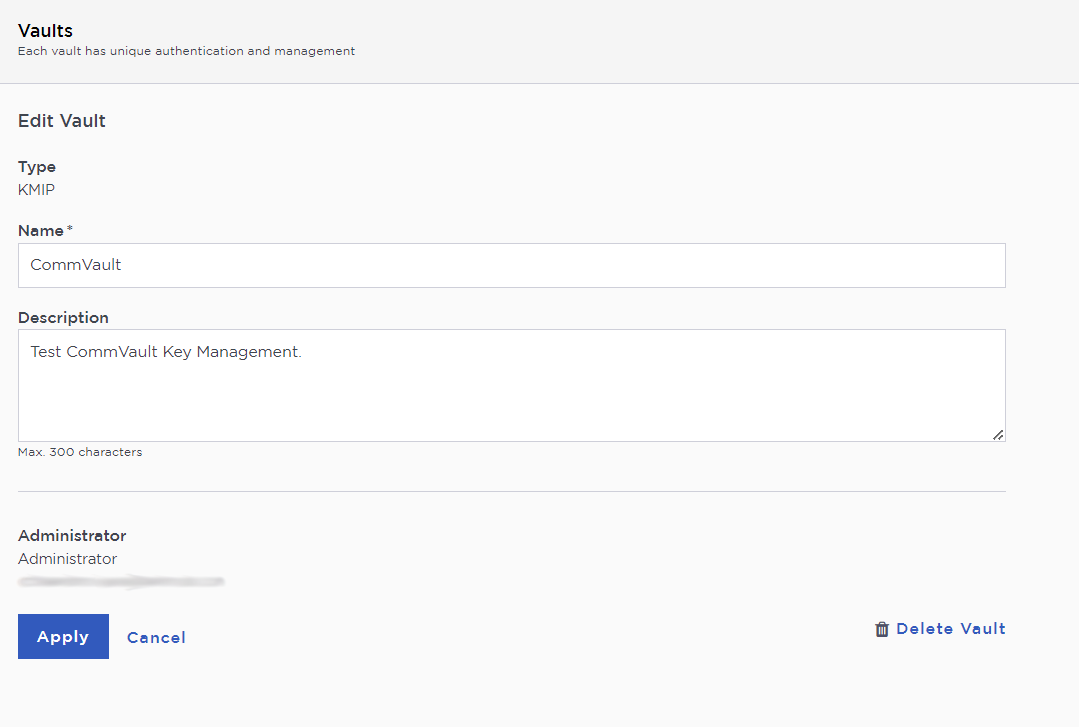
For Description, enter the description of the Vault.
-
For Admin Name, enter the name of the administrator of the Vault.
-
For Admin Email, enter a valid email for the administrator.
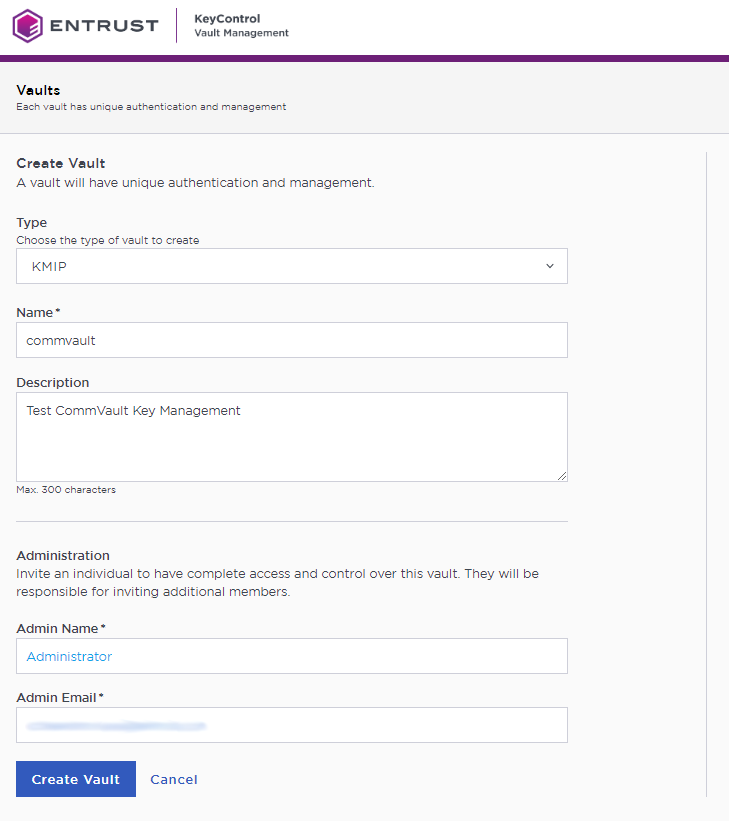
A temporary password will be emailed to the administrator’s email address. This is the password that will be used to sign in for the first time to the KMIP Vaults space in KeyControl. In a closed gap environment where email is not available, the password for the user is displayed when you first create the vault. That can be copied and sent to the user.
-
-
Select Create Vault.
-
Select Close when the Vault creation completes.
-
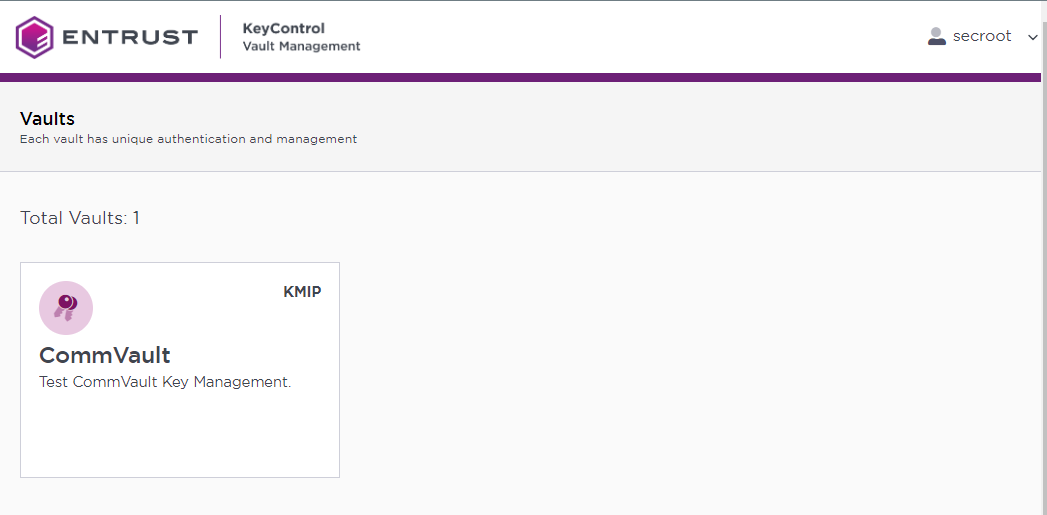
The newly created Vault is added to the Vault dashboard.
-
After the Vault has been created, the KMIP server settings on the appliance are enabled.
KeyControl KMIP Vault server settings
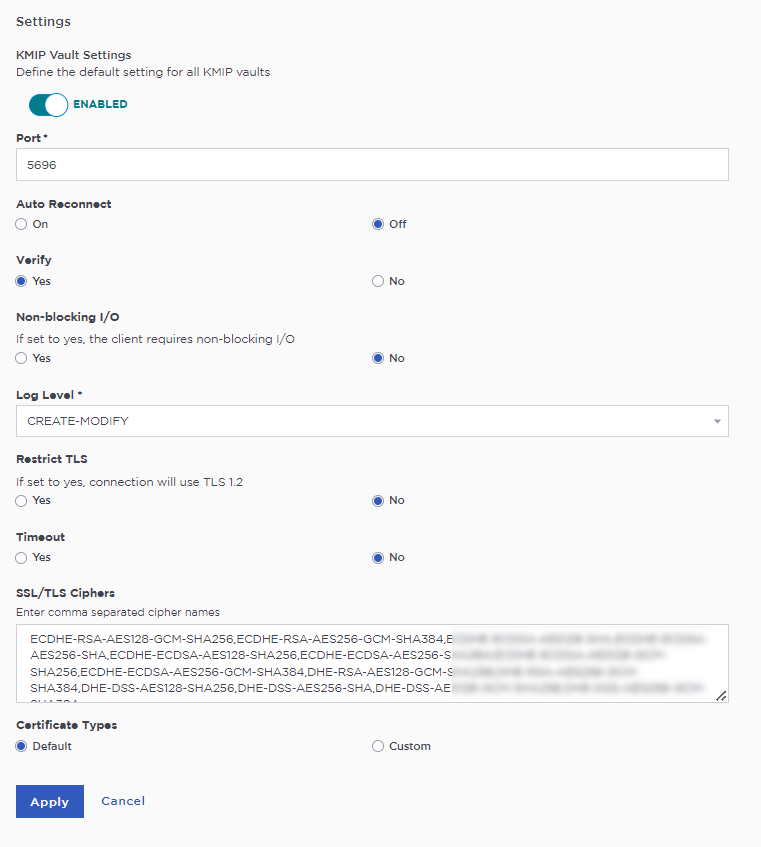
The KMIP server settings are set at the KeyControl appliance level and apply to all the KMIP Vaults in the appliance. After a KMIP Vault is created, they are automatically set to ENABLED.
To use external key management and configure the KeyControl Vault KMIP settings, refer to the KMIP Client and Server Configuration section of the admin guide.
| When using external key management, as is the case in this solution, the KeyControl server is the KMIP server and the Commvault Platform server is the KMIP client. |
-
Select the Settings icon on the top right to view/change the KMIP settings.
-
The defaults settings are appropriate for most applications.
-
Make any changes necessary.
-
-
Select Apply.
View details for the Vault
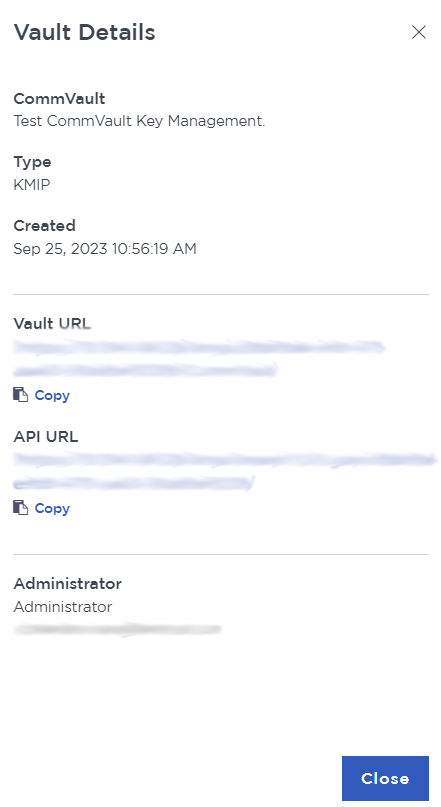
To view the details on the Vault, select View Details when you hover over the Vault.
Managing the Vault
After the Vault has been created, look for the email that was sent with the Vault’s URL and the login information for the Vault. For example:
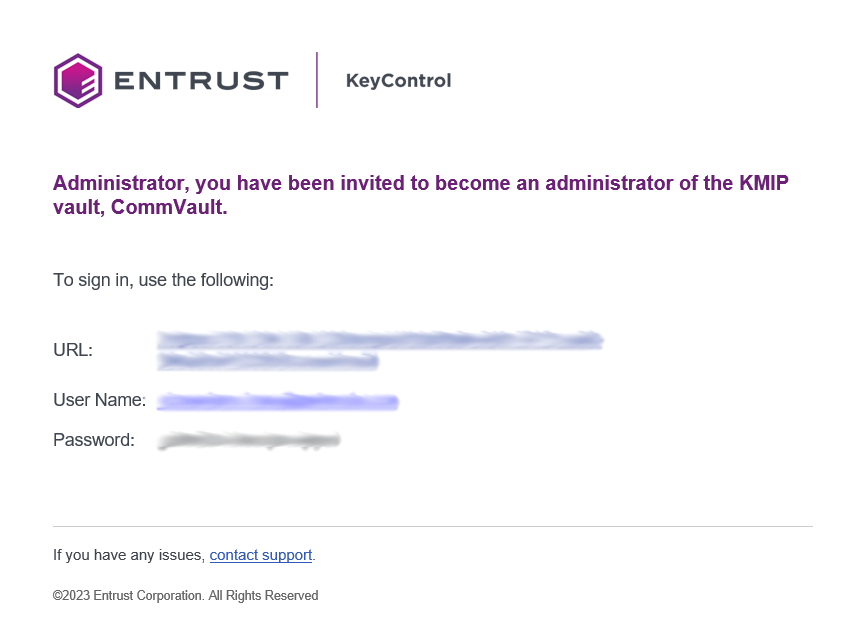
Go to the URL and sign in with the credentials given. When you sign in for the first time, the system will ask the user to change the password.
| In a closed gap environment where email is not available, the password for the user is displayed when you first create the vault. That can be copied and sent to the user. |
Setup other Administrators
It is important to have other administrators set up on the Vault for recovery purposes. Add one or more admins to the Vault.
-
Select Security > Users.
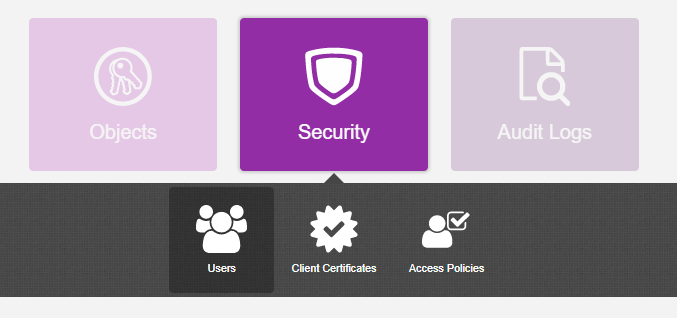
-
In the Manage Users dashboard:
-
Select the + icon to add one or more users.
-
Add the user by providing the information requested in the Add User dialog.

-
Select Add.
After the user is added, a window appears which requests selection of the policy to be used by this user.
-
-
Select Add to Existing Policy.
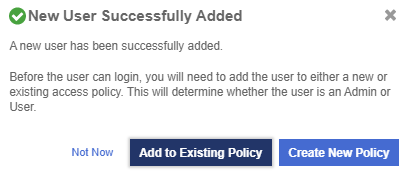
-
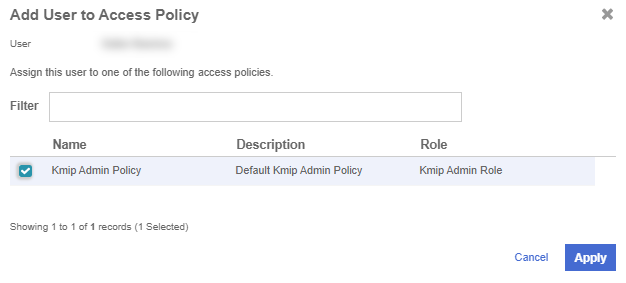
On the Add User to Access Policy dialog, select the KMIP Admin Policy and select Apply. The new user is added as an administrator to the Vault.
Establishing trust between the KeyControl KMIP Vault and the Commvault platform
Certificates are required to facilitate the KMIP communications from the KeyControl KMIP Vault and the Commvault Platform application and conversely. The built-in capabilities in the KeyControl KMIP Vault are used to create and publish the certificates.
The process below will show how to integrate Commvault platform with KeyControl KMIP Vault.
-
Sign in to the KMIP Vault created earlier. Use the login URL and credentials provided to the administrator of the Vault.
-
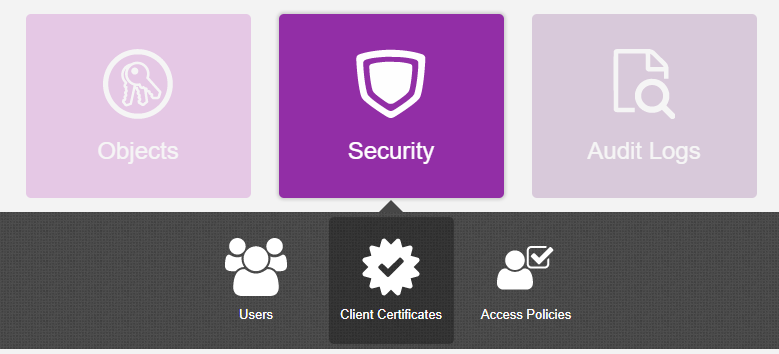
Select Security, then Client Certificates.
-
In the Manage Client Certificate page, select the + icon on the right to create a new certificate.
-
The Create Client Certificate dialog box appears.
-
-
In the Create Client Certificate dialog box:
-
Select Add Authentication for Certificate.
-
Enter the username.
-
Enter the password.
-
In the Certificate Expiration field, set the date on which you want the certificate to expire.
-
Select Create.
These settings will be used later when the certificates are used in Commvault.
The new certificates are added to the Manage Client Certificate pane.
-
-
Select the certificate and select the Download icon to download the certificate.
The webGUI downloads
certname_datetimestamp.zip, which contains a user certification/key file calledcertname.pemand a server certification file calledcacert.pem. -
Unzip the file so that you have the
certname.pemandcacert.pemfile available in the Commvault server for reference. -
The download zip file contains the following:
-
A
certname.pemfile that includes both the client certificate and private key. In this example, this file is calledcommvault.pem.The client certificate section of the
certname.pemfile includes the lines “-----BEGIN CERTIFICATE-----" and “-----END CERTIFICATE-----" and all text between them.The private key section of the
certname.pemfile includes the lines “-----BEGIN PRIVATE KEY-----" and “-----END PRIVATE KEY-----" and all text in between them. -
A
cacert.pemfile which is the root certificate for the KMS cluster. It is always namedcacert.pem.
These files will be used in the Commvault Key Management Server configuration later.
-
Adding a Key Management Interoperability Protocol Server - KeyControl to Commvault
For more detail on how to do this, see Adding a Key Management Interoperability Protocol Server in the Commvault online documentation.
-
Launch the Commvault Web Client and log into to Commvault.
-
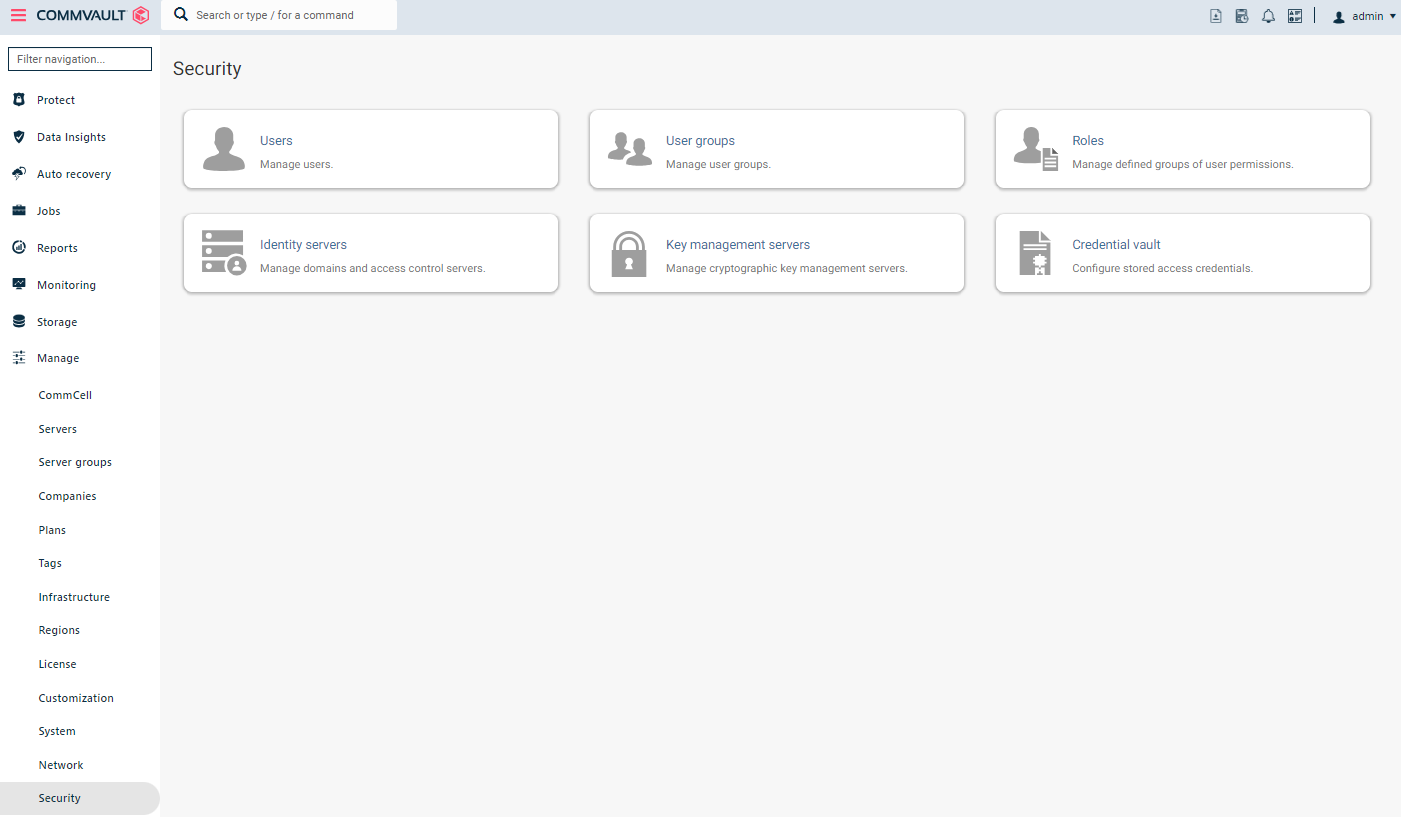
From the navigation pane, go to Manage > Security.
The Security page appears.
-
Select the Key management servers tile.

The Key management servers page appears.

-
Select Add at the top right, and then select KMIP.

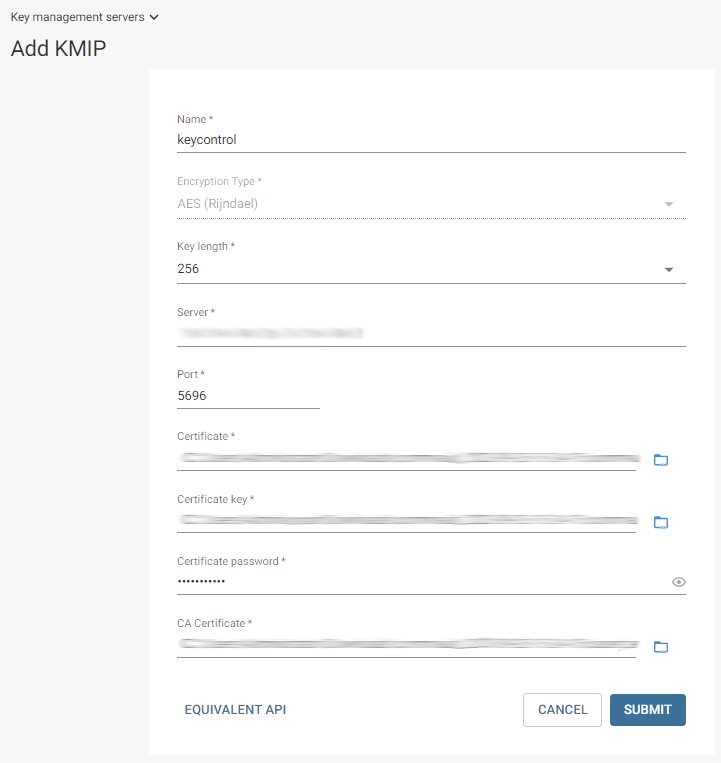
The Add KMIP dialog box appears.
-
Complete the following steps:
-
Name: Enter the name of the key provider (
keycontrol). -
Key length: Select the key length to use with the Advanced Encryption Standard (AES) Rijndael cipher.
-
Server: Enter the IP address or the hostname of the third-party key management server.
-
If the server is a cluster server, then specify the IP addresses or the hostnames of all the servers in the cluster, separated by a comma.
-
Note: If you use third-party key management servers, and you decide to migrate clients from one CommCell environment to another CommCell environment, then both the source CommCell environment and the destination CommCell environment must use the same third-party key management server.
-
-
Port: Enter the port that is used by the key management server.
-
If the server is a cluster server, then all the servers in the cluster must use the same port.
-
-
Passphrase: If you set a passphrase when you generated the certificate, then enter the passphrase.
-
Certificate: Select the location of the client certificate file. It is in the certificate download zip file from KeyControl. Unzip the file, place in a location and use the location of the file. This file is the
certname.pemfile in the zip file. In our examplecommvault.pem -
Certificate key: Select the location of the client certificate key. This is the same file as the file used for Certificate field above.
-
CA Certificate: Select the location of the key management server certificate authority (CA) certificate. This file is the
cacert.pemfile located in the same location as the certificate file used above.
-
-
Select Submit.
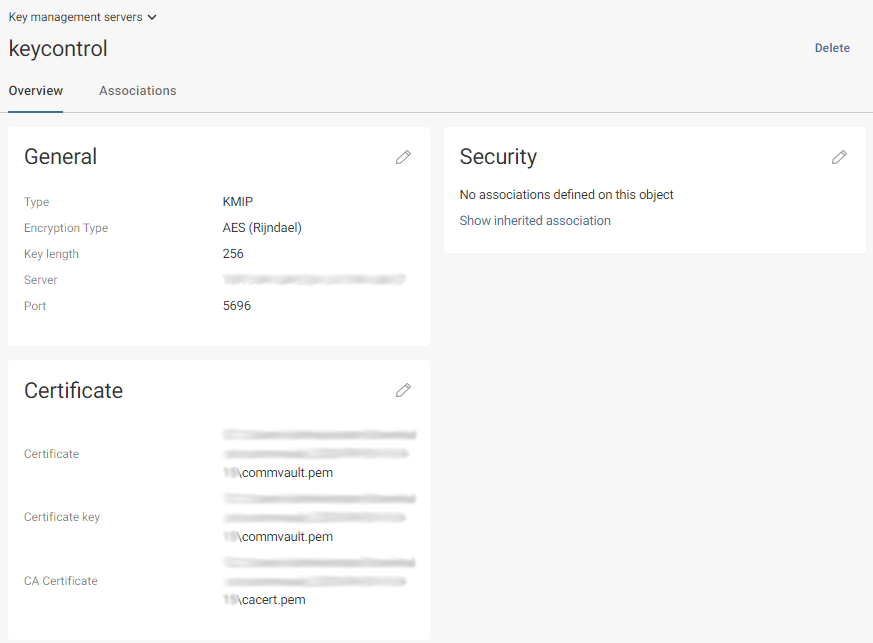
The KMIP server pane gets displayed with the name of the KMIP server and its configuration.
Test the Key Management server
You can test if Commvault is able to use KeyControl as the Key Management server by Configuring Software Encryption on Disk Storage: Configuring Software Encryption on Disk Storage.
First, Create a Disk Storage pool as outlined in the online documentation.
Now, let’s change it so it uses the Key Management Server (KeyControl) to encrypt it.
-
From the navigation pane, go to Storage > Disk > disk_storage. (The disk storage just created)
-
The Disk page appears.
-
-
Select the disk storage to add software encryption.
-
The disk storage page appears.
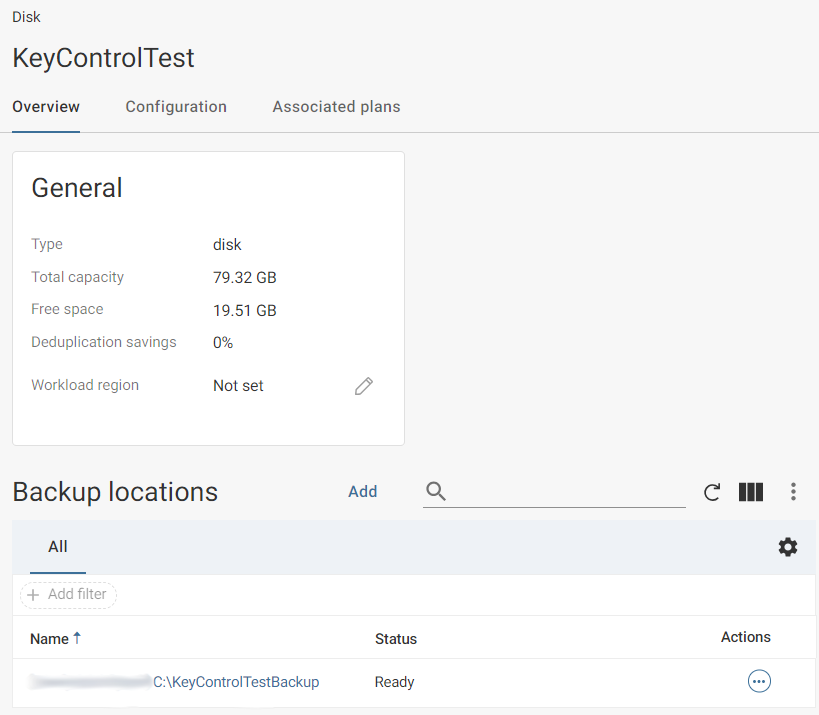
-
-
On the Configuration tab, in the Encryption section, move the Encrypt toggle key to the right.
-
The Add encryption dialog box appears.
-
-
Enter the encryption details:
-
From the Cipher list, select an encryption method.
-
From the Keylength list, select an encryption key length.
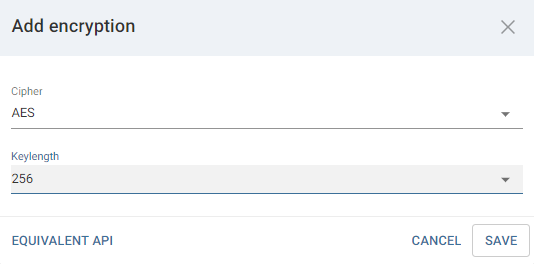
-
Click Save.
-
-
In the Encryption Title, edit the Key Management Server.
-
Change it from Built-in to the Key management server used during the Key Management server configuration. Select an existing server or add a new server.
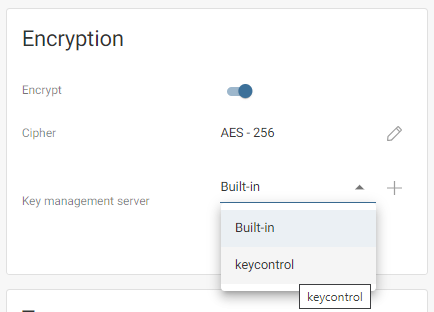
-
-
Select Save.
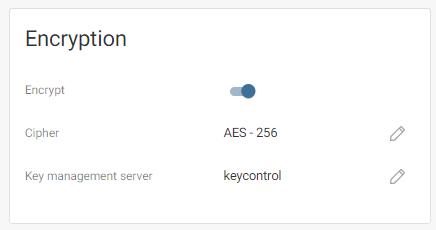
Check KeyControl by looking for the Commvault Keys in the Entrust KeyControl KMIP Vault
Check the disk storage encryption Commvault by looking for keys created in KeyControl:
-
Log into the KMIP Vault using the login URL.
-
Select the Objects tab to view a list of KMIP Objects. This will include the newly created keys. For example:

-
Select one of the keys to display its KMIP Object Details. For example:
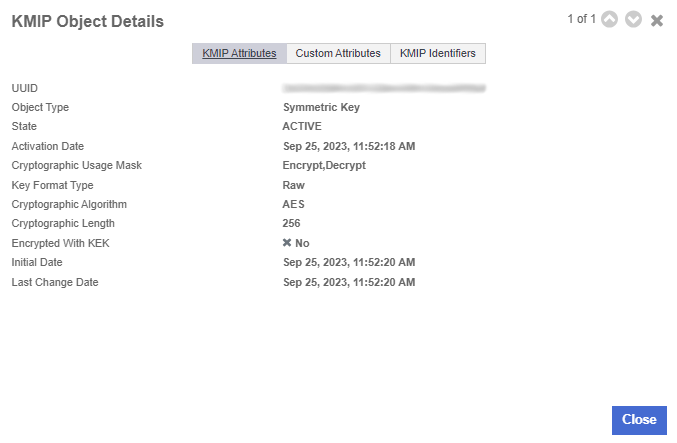
-
Select the Custom Attributes tab to make sure it is the key used by VMware vSphere.
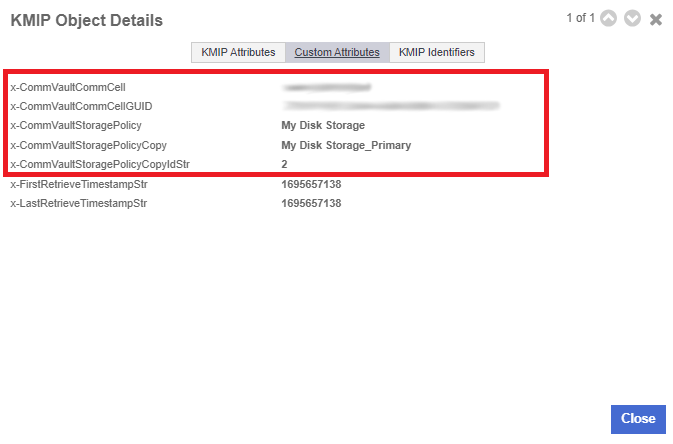
-
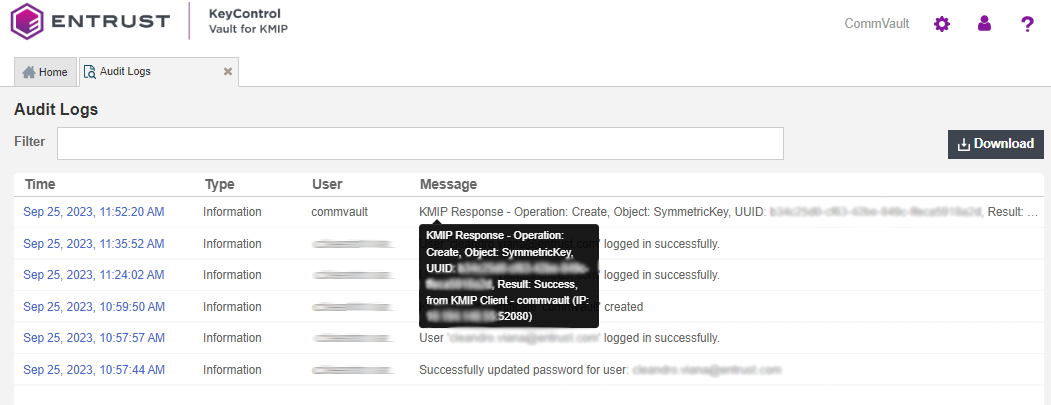
In the main screen, select the Audit Logs tab to view the log records related to the key creation process. For example:
